How to Unblock a Kitchen Extractor Fan: Fix Weak Suction Fast
 Sep, 5 2025
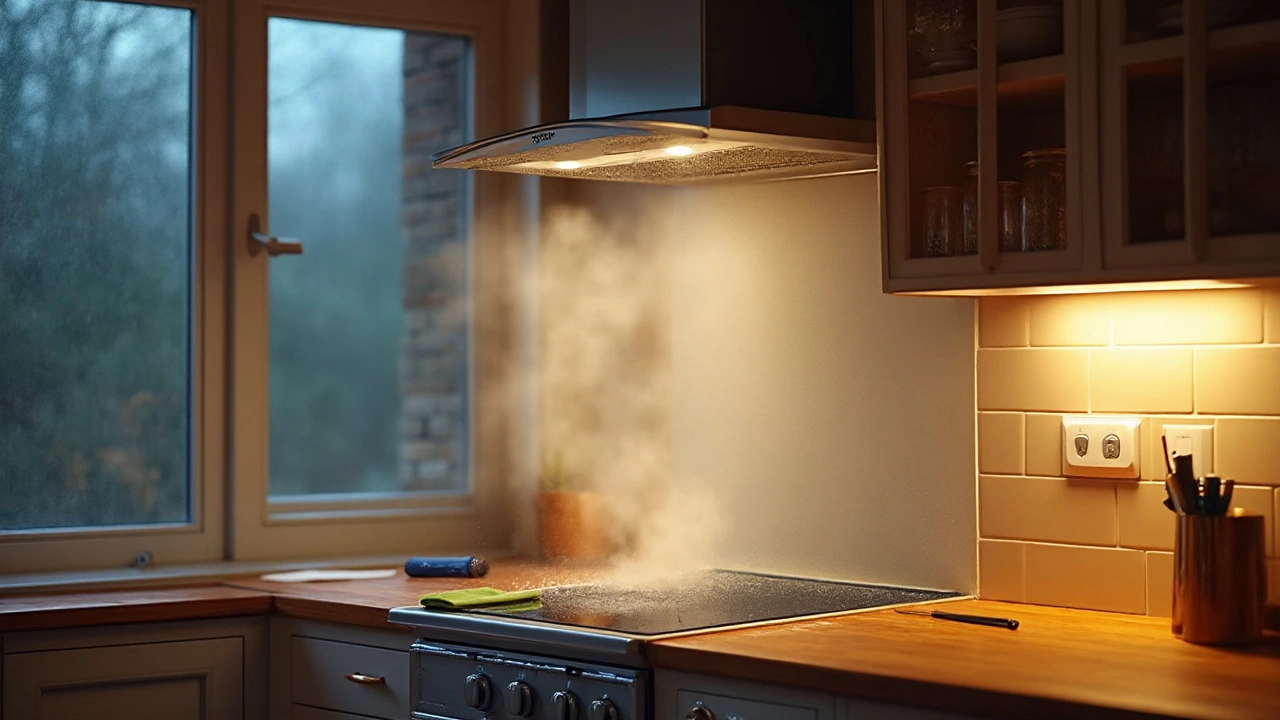
Your fan whirs, but the steam still hugs the hob and the kitchen smells like last night’s stir-fry. That’s a classic blocked extractor. The good news: most fixes are simple-clean filters, free the impeller, and clear the duct or vent flap. Plan for 30-90 minutes, a bit of degreaser, and basic tools. If the duct is crushed, the motor is seized, or birds moved into the outside vent, you may need parts or a pro. I’ll show you exactly how to find the blockage and get your airflow back.
TL;DR
- Do a quick tissue test at the intake. If the tissue won’t hold, you’ve got weak airflow.
- Clean metal grease filters first; they’re the number one choke point. Replace carbon filters if recirculating.
- Check the impeller (fan wheel) for grease clumps and the backdraft flap for a stuck, noisy hinge.
- Inspect the duct: avoid crushed flex hose, long runs, or bird nests at the exterior grille.
- Still weak? Wrong duct size or a tired motor could be the culprit-time to repair or call a pro.
Find the blockage: fast tests and safe prep
Before you reach for a screwdriver, confirm the problem and set up safely. This saves time and avoids breaking brittle plastic parts.
Safety first
- Switch off power to the hood at the wall isolator or breaker. Don’t trust only the control panel.
- Protect the hob with towels or cardboard. Degreaser drips can stain.
- Wear gloves and eye protection if you use strong cleaners. Degreasers are alkaline and can irritate skin.
Quick tests to pinpoint the choke
- Tissue suction test: Turn the fan on high. Hold a small tissue at the intake. If it barely holds or falls, airflow is weak. If it holds strongly, your issue may be noise, not a blockage.
- Filter-off test: Remove the grease filters and repeat the tissue test at the bare intake. Stronger pull with filters off = filters clogged. No change = suspect the impeller, duct, or vent flap.
- Airflow at exit: For ducted hoods, check outside. Feel for a strong blast and listen for the flap moving. Weak or no air = internal blockage or duct issue. Loud rattling flap = sticky hinge or misalignment.
- Smell test: Persistent cooking smells on a recirculating hood mean the carbon filters are saturated and need replacing, not washing.
- Sound clues: Humming with little air = stuck impeller or heavy grease. Whistling = restricted duct or undersized pipe. Rattle = loose fan wheel or flap slapping.
Know your hood type
- Ducted (vents outside): Grease filters + duct + exterior flap. Best extraction, more places to clog.
- Recirculating (no outside vent): Grease filters + carbon filter. Easier to service, but weaker suction by design.
Why it matters: On a ducted hood, you have three common choke points-grease filters, the fan wheel, and the duct/flap. On a recirculating hood, the main choke is the grease filters and a spent carbon filter. Start with filters every time.
Clear the clog: filters, fan, duct, and vent flap
This is the hands-on part. Go slow and keep parts in order. If a screw type or clip feels wrong, don’t force it-manufacturers love hidden tabs.
Tools and supplies
- Dish soap or degreaser (citrus-based or alkaline kitchen degreaser)
- Hot water, sink or tub
- Soft brush or old toothbrush, microfiber cloths
- Screwdrivers (Phillips and flat), possibly Torx (T15/T20)
- Masking tape and a marker (label ducts/clips as you go)
- Replacement carbon filter (if recirculating), replacement aluminum filter if damaged
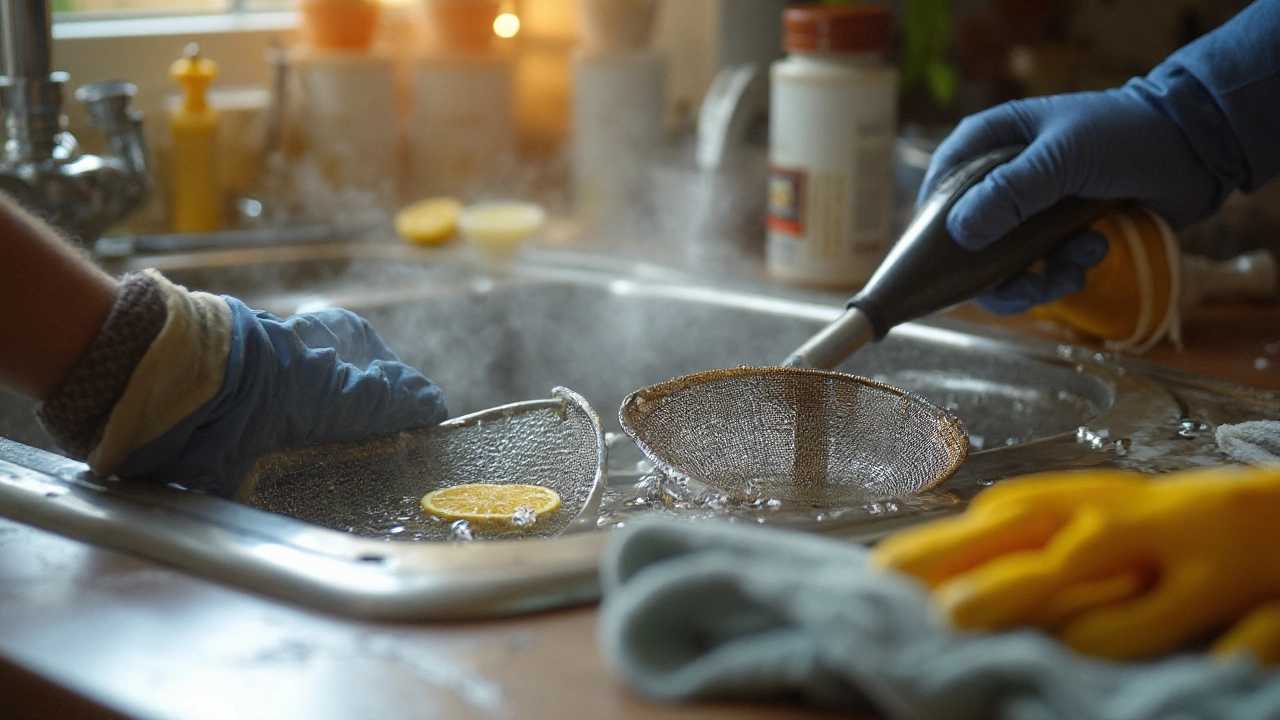
Step 1: Remove and clean grease filters (10-30 minutes)
- Pop the latches and drop the metal mesh filters. Some slide forward; others hinge down. If they resist, look for a second latch.
- Soak in hot, soapy water for 15 minutes. Add a splash of degreaser if they’re sticky.
- Scrub gently with a soft brush. Don’t bend the mesh. Rinse, then air-dry fully.
- If the mesh is warped or the frames are loose, replace them. Bent filters leak grease into the fan housing.
Most brands (Bosch, Neff, Whirlpool) say clean metal filters monthly if you cook often. That’s because clogged filters choke airflow and load the motor. It’s the number one fix for a “fan on but not sucking” complaint in my jobs.
Step 2: Replace carbon filters (recirculating only) (5-10 minutes)
- With filters off, you’ll see round or rectangular carbon cartridges or pads around the fan housing.
- Unclip and swap them. Don’t wash or reuse carbon; it loses adsorption capacity.
- Typical lifespan: 3-6 months with regular cooking; sooner if you fry often. Manufacturers publish this in the manual.
Step 3: Clean the impeller (fan wheel) (10-25 minutes)
- Kill power. Remove the cover over the fan housing (often a few screws). Take a photo before you start.
- Inspect the impeller blades. Look for thick grease clumps, foil tape debris, or broken plastic vanes.
- Wipe blades with a degreaser-damp cloth. Don’t flood the motor. Hold the impeller steady; don’t spin it like a windmill.
- If the wheel is loose on the shaft, tighten the set screw (usually a small hex or Torx) or replace the wheel.
Clogged blades kill airflow. I’ve pulled out wheels that looked like they’d been dipped in candle wax. After a careful wipe and filter clean, suction jumped from “can’t hold a tissue” to “pulls a tea towel.”
Step 4: Check the backdraft flap (5-10 minutes)
- Look for a plastic or metal flap near the outlet. It stops cold air blowing back.
- Grease can glue it shut. Move it by hand. If sticky, clean the hinge and edges.
- Replace cracked or warped flaps. A flap stuck half-open whistles and slaps.
Step 5: Inspect and clear the duct (20-45 minutes)
- Trace the duct path. You’re looking for crushed flexible hose, tight bends, or long runs.
- Disconnect the duct at the hood outlet (note the orientation; label with tape). Check for grease mats or foil tape fragments inside.
- Vacuum loose debris. Wipe reachable sections with a degreaser-damp cloth.
- Go outside. Remove the grille if possible. Clear lint, leaves, or nests. Refit with a pest guard if wildlife is a problem.
- Reassemble with proper foil tape (not cloth duct tape). Avoid screws protruding inside the duct-they catch grease and fluff.
What “good” looks like: Rigid, smooth duct (metal) at the largest outlet size the hood supports-often 150 mm (6 in). Short run, gentle bends, clean exit. This isn’t just preference; the Home Ventilating Institute advises using smooth-walled duct and minimizing elbows because every elbow and corrugation adds resistance and slashes airflow.
Step 6: Refit and test (5 minutes)
- Reinstall the fan cover, filters, and duct. Restore power.
- Run the fan on high. Do the tissue test again. You should feel a strong pull and hear a clean, steady hum.
- Check for rattles, whistle, or vibration. Small noises often mean a loose panel or a mis-seated filter.
Pro tips, examples, and when to call a professional
Here’s the stuff that saves hours and prevents repeat clogs.
Rules of thumb I use on service calls
- If suction improves a lot with filters removed, spend your time on filters and the impeller, not the duct.
- Grease + dust forms a felt-like blanket inside flexible duct. If the duct is older, replacing it with rigid metal can boost performance more than any cleaning.
- Every 90° elbow in the duct is like adding roughly 1.5 m (5 ft) of extra length in resistance. Two elbows on a long run will cripple a small motor.
- Match duct size to the hood outlet. Reducing from 150 mm to 100 mm can cut effective airflow by a third or more at the same fan speed.
- If you fry often, clean metal filters every 2-4 weeks. If you mainly boil and bake, 6-8 weeks is fine.
Real-world scenarios
- “My cooker hood isn’t sucking but the motor is loud.” The impeller is gummed up or the duct is pinched. Clean the wheel and check for a flattened section of flex hose behind the cabinet back.
- “It used to work great. Now it’s useless.” Nearly always filters + carbon (if fitted). Once in a while, a stuck flap at the exit, especially after storms.
- “It smells even after cleaning the filters.” Replace carbon filters. They’re consumables. Don’t try to wash them.
- “Rattle on high speed.” Loose fan wheel set screw, a loose filter, or flap slapping. Tighten the wheel and reseat the panels.
- “Water dripped from the hood.” Condensation in a cold, long duct. Add insulation to the duct in loft/attic runs and check for a sag where water pools.
When to call for help
- Burning smell, tripping breaker, or visible arcing-switch off and call a qualified tech.
- Motor shaft play, seized bearings, or a cracked impeller hub.
- Duct rerouting or upgrade to rigid metal through walls/ceilings.
- Exterior vent is high or hard to access safely.
A quick note on performance standards
UK Building Regulations Part F expects effective kitchen extraction-typically 30 l/s (when adjacent to the hob) or 60 l/s if venting from elsewhere in the kitchen for intermittent fans. That’s roughly 108-216 m³/h. Most cooker hoods exceed this on paper, but only if installed with correct duct size and minimal resistance. Manufacturers and bodies like the Home Ventilating Institute stress smooth, short duct runs for a reason: resistance kills real-world airflow.
| Symptom | Most likely cause | DIY fix | Time | Difficulty |
|---|---|---|---|---|
| Fan runs, barely any suction | Clogged metal filters; spent carbon filter | Deep-clean filters; replace carbon | 20-40 min | Easy |
| Loud hum, no airflow | Impeller stuck with grease; broken set screw | Clean impeller; tighten or replace wheel | 15-30 min | Easy-Medium |
| Good suction at hood, weak outside | Crushed or long duct; stuck exterior flap | Straighten/replace duct; free or replace flap | 30-90 min | Medium |
| Whistling on high | Undersized duct or tight bend; gap at panel | Upgrade to 150 mm duct; reseat panels | 45-120 min | Medium |
| Strong smell, okay airflow | Carbon filter saturated | Replace carbon filter | 5-10 min | Easy |
What to avoid (expensive mistakes)
- Don’t run the fan with filters removed for long. You’ll pull grease straight into the motor.
- Don’t use caustic oven cleaner on plastic or painted parts. It will haze or crack them.
- Don’t tape over gaps with cloth “duct tape.” Use aluminum foil HVAC tape.
- Don’t reduce a 150 mm outlet to 100 mm unless the manual allows it. You’ll lose extraction and add noise.
- Don’t push hard brushes into the motor housing. Wipe blades carefully; motors hate liquid.
Performance boost ideas (if you want more extraction)
- Switch to rigid metal duct and 150 mm diameter where possible.
- Limit elbows to two, and keep bends gentle (45° better than 90°).
- Install a smooth, low-resistance exterior grille (no insect screens that clog with grease).
- Use the boost setting only when needed-constant max speed just builds noise and grease faster.
Checklists, cheat sheets, and mini‑FAQ
Bookmark this section. It’s everything you need at a glance to unblock kitchen extractor fan quickly and keep it that way.
Quick unblock checklist (15-45 minutes)
- Power off at isolator/breaker
- Remove and soak metal filters
- Replace carbon filter (if fitted)
- Wipe impeller blades and housing
- Free and clean the backdraft flap
- Inspect duct for crushes/bends; clear exit grille
- Refit, tape joints properly, power on, tissue test
Maintenance schedule (evidence-based)
- Metal grease filters: clean every 1-2 months (most manufacturers recommend monthly if cooking daily).
- Carbon filters: replace every 3-6 months, sooner with heavy frying.
- Duct/exterior vent: inspect every 6-12 months, clean yearly.
Mini‑FAQ
- Can I wash carbon filters? No. They don’t regenerate reliably at home. Replace them.
- Is dishwasher cleaning okay for metal filters? Yes, if the manual allows. Use a hot cycle and no heavy-duty detergent that can dull aluminum. Hand washing is gentler.
- Why is there water in the hood? Condensation from warm air hitting cold ducting. Insulate the duct and remove sags where water collects.
- How strong should the airflow be? A tissue should stick firmly on high. For ducted systems, you should feel a clear blast at the exterior vent.
- My fan is noisy after cleaning-did I break it? Likely a loose panel or a filter not seated. Check all latches and screws. Also check the impeller set screw.
- Do I need a bigger hood? Maybe not. Fix the duct first. A large CFM rating won’t help if the duct is tiny or crushed.
Next steps
- If your suction improved: set a reminder to clean filters monthly and check the duct in six months.
- If there’s no change after cleaning: verify duct size (aim for 150 mm) and look for hidden kinks behind cabinets.
- If motor hums and stalls: replace the impeller if cracked; if the motor still struggles, plan a motor assembly replacement.
Troubleshooting by persona
- Busy renter: Focus on filters and carbon only. Ask the landlord before touching ducting.
- Homeowner DIYer: Upgrade to rigid duct, 150 mm, with two or fewer elbows. Insulate any cold-run sections.
- Small kitchen, no outside vent: Keep carbon fresh, fry with a lid when possible, and open a window slightly to reduce moisture.
If you follow the steps in order-filters, impeller, flap, duct-you’ll fix nine out of ten weak-extraction problems without buying a new hood. When you do need parts, they’re usually simple: new filters, a flap, or an impeller. And if you decide to upgrade ducting, keep it smooth, short, and full-size. That’s the difference between a fan that just makes noise and one that actually clears the air.