

How to Diagnose an Oven Problem: A Step-by-Step Troubleshooting Guide
 Jul, 5 2026
Oven Troubleshooting Diagnostic Tool
Step 1: Select Your Issue
Click on the scenario that best matches your oven's behavior.
Diagnostic Results
Select a problem scenario to begin.
Your oven is the heart of your kitchen, but when it stops working right, that heart feels like it’s skipping beats. Maybe your roast isn’t browning, or perhaps the temperature gauge reads 350°F while your cookies turn into charcoal bricks. Before you call a technician and face a hefty service fee, there is a good chance you can pinpoint-and even fix-the issue yourself.
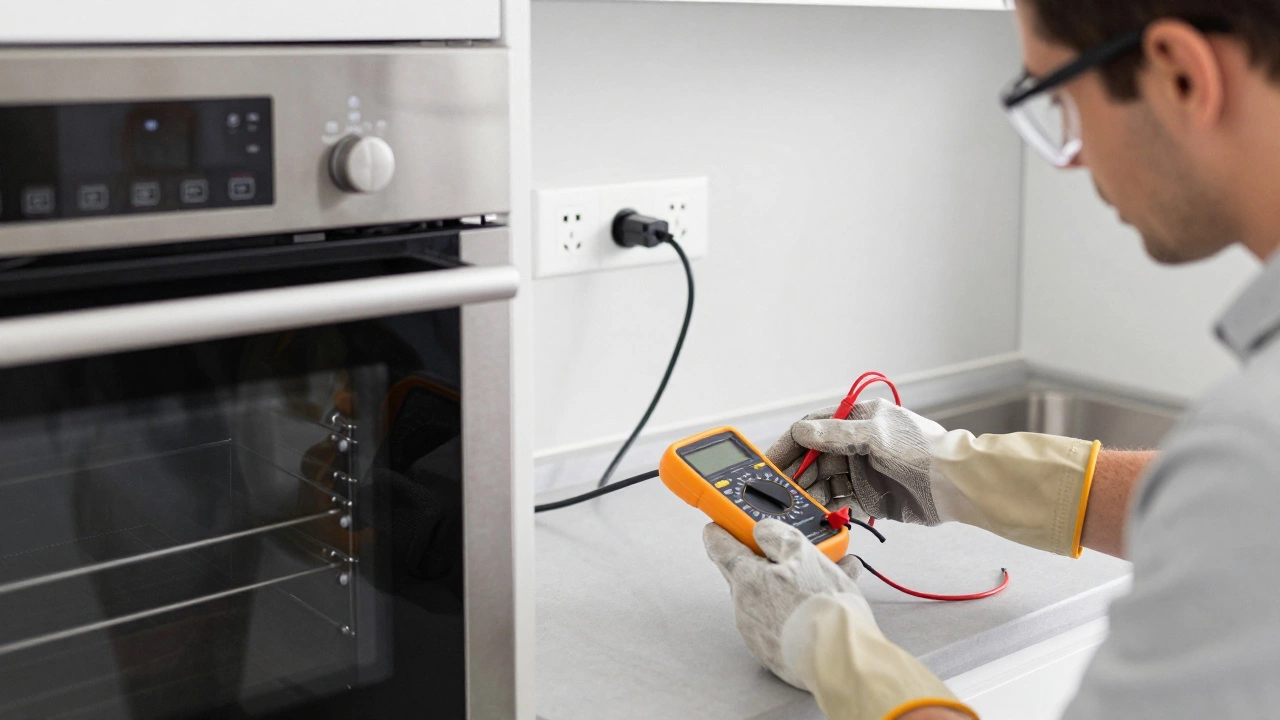
Diagnosing an oven problem is a systematic process of identifying electrical or mechanical failures in cooking appliances doesn't require a degree in engineering. It requires patience, safety awareness, and a multimeter. In this guide, we will walk you through how to isolate common faults in electric ovens, from simple thermostat drifts to broken heating elements. By the end, you’ll know exactly which part is failing so you can decide whether to swap it out yourself or hand over the keys to a pro.
Safety First: The Non-Negotiable Rules
Before you touch a single screw, you need to understand one thing: electricity kills. An oven operates on high voltage-usually 240 volts in North America. That is enough power to cause severe injury or death if mishandled. Never attempt to diagnose internal components while the oven is plugged in or connected to live circuits.
To work safely, follow these steps:
- Disconnect the power. Unplug the oven if it has a cord. If it is hardwired, go to your home’s main circuit breaker panel and flip the switch labeled "Range" or "Oven" to the OFF position. For extra security, use a non-contact voltage tester to confirm the wires are dead before touching them.
- Let it cool. If the oven was recently used, wait at least two hours for all components to reach room temperature. Touching a hot heating element or thermal fuse can cause instant burns.
- Wear protective gear. Safety glasses protect your eyes from falling dust or metal shards inside the oven cavity. Insulated gloves prevent accidental shocks if a capacitor discharges unexpectedly.
Ignoring these precautions turns a simple repair into an emergency room visit. Treat every wire as if it is live until proven otherwise.
Understanding the Anatomy of an Electric Oven
To find the problem, you first need to know what parts do what. Most modern electric ovens rely on four key systems. Knowing their functions helps you narrow down where the failure lies.
| Component | Function | Common Failure Signs |
|---|---|---|
| Bake Element | Heats the bottom of the oven for baking. | Oven won’t heat up; visible holes or blisters on the coil. |
| Broil Element | Heats the top of the oven for broiling/grilling. | Broiler function fails; element glows unevenly. |
| Thermostat / Sensor | Monitors internal temperature and signals the control board. | Food burns or undercooks; oven overshoots set temperature. |
| Control Board | The brain that sends power to elements based on sensor data. | Error codes on display; no response to button presses. |
Most issues stem from one of these four areas. By observing symptoms, you can often guess the culprit before you even open the back panel.
Scenario 1: The Oven Won’t Heat At All
If you set the temperature and nothing happens-no warmth, no glow from the elements-start with the simplest possibility: power delivery. Check your circuit breaker again. Sometimes a tripped breaker resets itself partially, leaving the outlet dead. Use a multimeter set to AC voltage to test the outlet or terminal block behind the oven. You should read approximately 240 volts between the two hot legs.
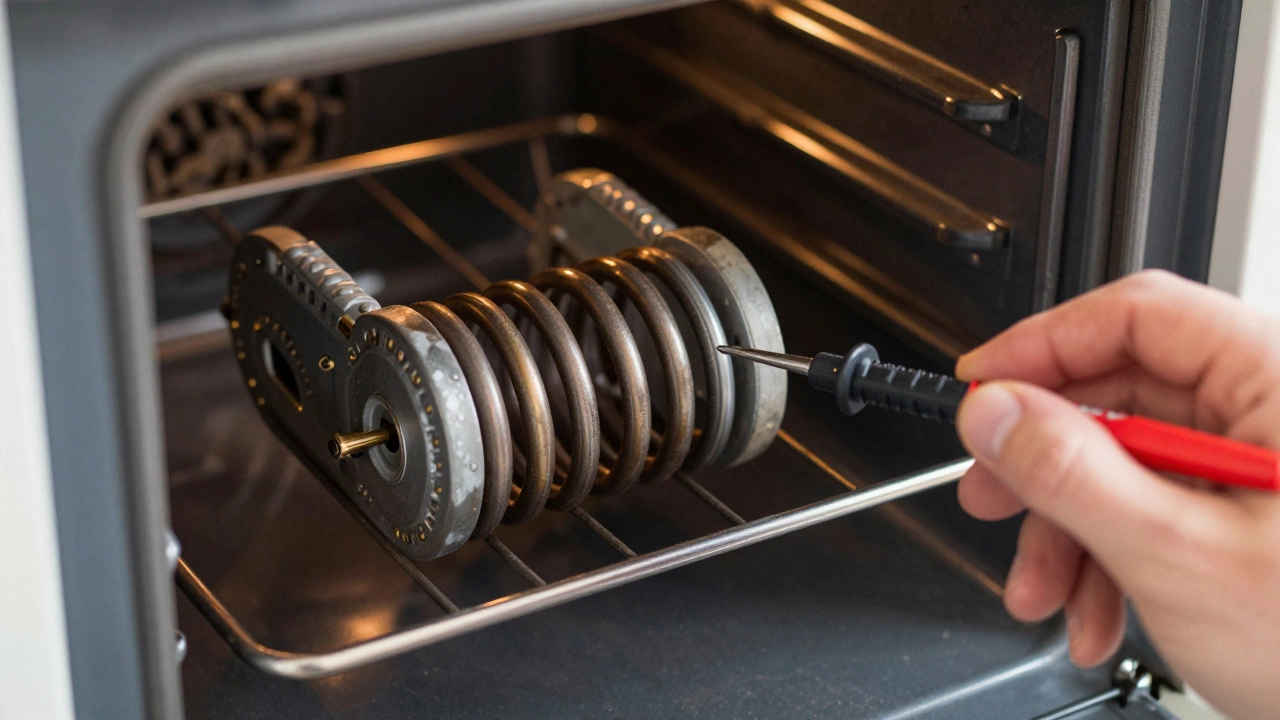
If power is present, move to the bake element. Visually inspect it. Look for breaks in the coil, blackened spots, or bubbling enamel. A damaged element usually fails completely. To confirm, disconnect the wires from the element terminals and measure resistance across the two posts using your multimeter’s ohms setting (Ω). A healthy bake element typically shows a resistance between 10 and 30 ohms. If the meter reads "OL" (open loop) or infinity, the element is broken and needs replacement.
If the element tests fine, check the thermal fuse. This small component acts as a safety cutoff. If the oven overheats due to a stuck relay, the fuse blows to prevent fire. Locate the fuse near the rear vent or on the side wall. Test it for continuity. If there is no continuity, the fuse has blown. Note that replacing a thermal fuse without fixing the underlying overheating cause will just blow it again.
Scenario 2: Uneven Heating or Wrong Temperatures
This is the most frustrating issue because it ruins food subtly. Your oven might say 350°F, but it could actually be running at 320°F or 380°F. This usually points to a faulty temperature sensor or a misaligned thermostat.
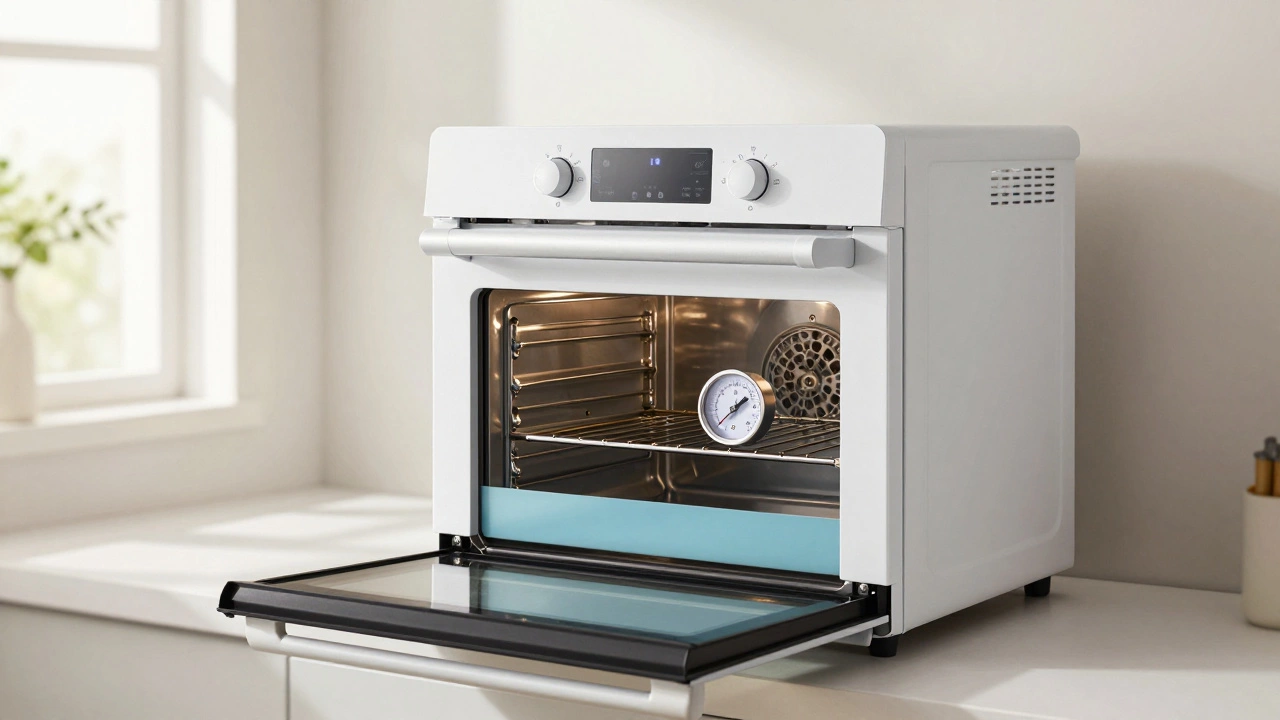
Start by calibrating the oven manually. Place an oven-safe thermometer inside and preheat the oven to 350°F. Once it stabilizes, compare the actual reading to the dial. If the difference is more than 25°F, calibration may help. Many ovens allow you to adjust the offset via the control panel settings. Consult your user manual for the specific code sequence.
If calibration doesn’t solve it, test the temperature sensor. This probe looks like a thin metal rod sticking out of the back wall of the oven cavity. Disconnect it and measure its resistance. At room temperature (around 70°F), a standard sensor should read between 100 and 110 ohms. As the oven heats, resistance increases predictably. If the reading is wildly off-for example, 0 ohms or infinite resistance-the sensor is defective. Replacing it is inexpensive and straightforward.
Another culprit here is the control board. If the board receives correct data from the sensor but still sends wrong signals to the element, the board itself is failing. Look for burnt marks or bulging capacitors on the board. If you see physical damage, the board needs replacement. However, always rule out the sensor and element first, as boards are significantly more expensive.
Scenario 3: Error Codes and Display Issues
Modern ovens communicate problems through error codes. Instead of guessing, let the machine tell you what’s wrong. Common codes include F96, F97, or E01, depending on the brand (GE, Whirlpool, Samsung, etc.). These codes almost always point to communication errors between the control board and the user interface, or a shorted keypad.
To troubleshoot a frozen display:
- Perform a hard reset. Turn off the circuit breaker for five minutes, then turn it back on. This clears temporary memory glitches.
- Check the membrane switch. If buttons feel sticky or unresponsive, moisture or grease may have seeped into the keypad. Cleaning with contact cleaner might restore function.
- Inspect ribbon cables. Inside the control panel, flat ribbon cables connect the front interface to the main board. Loose or pinched cables cause intermittent errors. Reseat them firmly.
If the error persists after resetting and reseating connections, the control board or the clock module is likely fried. In this case, professional diagnosis is recommended unless you are comfortable swapping complex electronics.
When to Call a Professional Technician
DIY repairs save money, but they aren’t always safe or practical. Call a certified appliance repair technician if:
- You suspect a gas leak (for gas ovens). Never attempt gas line repairs yourself.
- The problem involves the main power supply wiring inside the wall or junction box.
- You lack the tools, specifically a reliable multimeter.
- The oven is under warranty. Opening the casing often voids manufacturer coverage.
- You feel uncomfortable working with high-voltage components.
A professional brings specialized diagnostic software and insured liability. For complex board-level repairs or gas valve issues, their expertise prevents costly mistakes.
Preventive Maintenance Tips
Regular care extends the life of your oven and reduces unexpected breakdowns. Clean the door seals annually to ensure proper heat retention. Wipe down the interior after spills to prevent carbon buildup that can interfere with sensors. Avoid slamming the door, which can misalign hinges and affect the door switch mechanism. Finally, keep the area around the oven ventilated. Overheating vents force the thermal fuse to work harder, leading to premature failure.
How much does it cost to repair an oven?
Costs vary widely. Replacing a heating element costs $50-$150 including labor. Thermostat replacements run $100-$200. Control board repairs are the most expensive, ranging from $200 to $500 depending on the brand and complexity. Always get a quote before authorizing major work.
Can I replace an oven heating element myself?
Yes, replacing a bake or broil element is one of the easiest DIY oven repairs. It typically involves removing two screws and disconnecting two wires. Ensure the power is off and you have the exact model number match for the new part.
Why is my oven making a buzzing noise?
A buzzing sound often indicates a failing relay on the control board or a loose connection in the heating element terminals. It can also be caused by air circulating rapidly if the fan motor bearings are worn. Inspect the element mounts for tightness first.
Is it dangerous to use an oven with a cracked glass door?
Yes. Cracked glass compromises insulation, causing excessive heat loss and potential shattering during operation. It also exposes users to radiant heat. Replace the door glass immediately before using the oven again.
How do I know if my oven thermostat is bad?
Signs include significant temperature discrepancies compared to an independent thermometer, frequent cycling on and off, or the oven never reaching the set temperature. Testing the sensor’s resistance with a multimeter provides definitive proof.