Do I Need an Electrician for an Extractor Fan Replacement?
 Oct, 14 2025
Extractor Fan Replacement Decision Guide
Answer These Questions
Use this guide to determine if you need a licensed electrician for your extractor fan replacement.
1. Is the fan a plug-in model that plugs directly into an outlet?
2. Do you need to add, move, or repair any wiring?
3. Is the existing junction box in good condition (no cracks, rust, or damage)?
4. Can you turn off the correct breaker and verify zero voltage with a voltage tester?
5. Do you have a UL-listed wire nut set and voltage tester?
Your Recommendation
Answer all questions to see your recommendation.
Quick Takeaways
- Simple fan swaps are often doable yourself, but electrical work in Canada must follow the Ontario Electrical Safety Code.
- If the fan is hard‑wired, a licensed electrician is usually required; plug‑in units are DIY‑friendly.
- Key safety steps: turn off power at the breaker, verify no voltage, use proper tools, and keep wiring connections tight.
- Budget‑wise, DIY saves labor costs (~$150‑$300), but mistakes can cost more in repairs or penalties.
- Use the checklist at the end to decide whether you go solo or call a pro.
When a kitchen or bathroom fan sputters, rattles, or simply stops pulling air, the first thought is often “I’ll just swap it out.” Before you unscrew the old unit, you need to know if the job falls under a homeowner’s DIY scope or if the law forces you to hire a licensed electrician a tradesperson qualified to perform electrical installations and repairs. This guide walks you through the decision‑making process, the safety rules that apply in Toronto, a step‑by‑step replacement plan, and a quick cost comparison.
What Exactly Is an Extractor Fan?
Extractor fan a ventilation device that pulls moist or odorous air out of a room and pushes it through a duct to the outside comes in two basic flavors: plug‑in models that plug directly into a wall outlet, and hard‑wired models that connect straight to the home’s electrical circuit the pathway that delivers electricity from the breaker panel to appliances. The hard‑wired type is the one that usually triggers the “need a professional” flag because it involves modifying fixed wiring.
Legal and Safety Landscape in Ontario
Ontario follows the Canadian Electrical Code (CEC) with local enforcement by the Ontario Electrical Safety Authority (ESA) the body that issues permits and inspects electrical work in the province. The key rules that affect fan replacement are:
- Permit requirement: Any new wiring or alteration to an existing permanent circuit typically needs an ESA‑issued permit. Replacing a fan that’s already wired usually does not, as long as the existing wiring is left unchanged.
- Licensed work: If you need to add a new circuit, move the fan to a different location, or replace a damaged junction box, the work must be performed by a licensed electrician.
- Safety inspections: After a permit‑required job, the ESA must inspect the work before the power is restored.
In practice, if the fan you’re swapping is a simple plug‑in unit, you’re clear to DIY. If it’s a hard‑wired unit and you only need to disconnect the old fan and connect the new one, you can do it yourself **provided** the existing wiring is intact, the connections are made with approved connectors, and you shut off the breaker first. The moment you have to cut, splice, or add wires, call a pro.
When DIY Makes Sense
Below is a quick sanity check for a do‑it‑yourself approach:
- Is the fan a plug‑in unit that runs on a standard 120‑V outlet? If yes, you’re good to go.
- Is the existing wiring in good condition-no cracked insulation, no signs of overheating, and the junction box is securely mounted?
- Do you have the basic tools: screwdriver, wire stripper, voltage tester, and wire nuts rated for the fan’s amperage (usually 15A max)?
- Can you turn off the dedicated breaker and verify zero volts before touching any wire?
- Are you comfortable twisting wire nuts and securing the fan’s mounting brackets?
If you answered “yes” to all five, you can likely handle the replacement yourself and stay within the code.
Step‑by‑Step Guide to Replace a Hard‑Wired Extractor Fan
Remember, safety comes first. Wear insulated gloves and keep a fire extinguisher nearby.
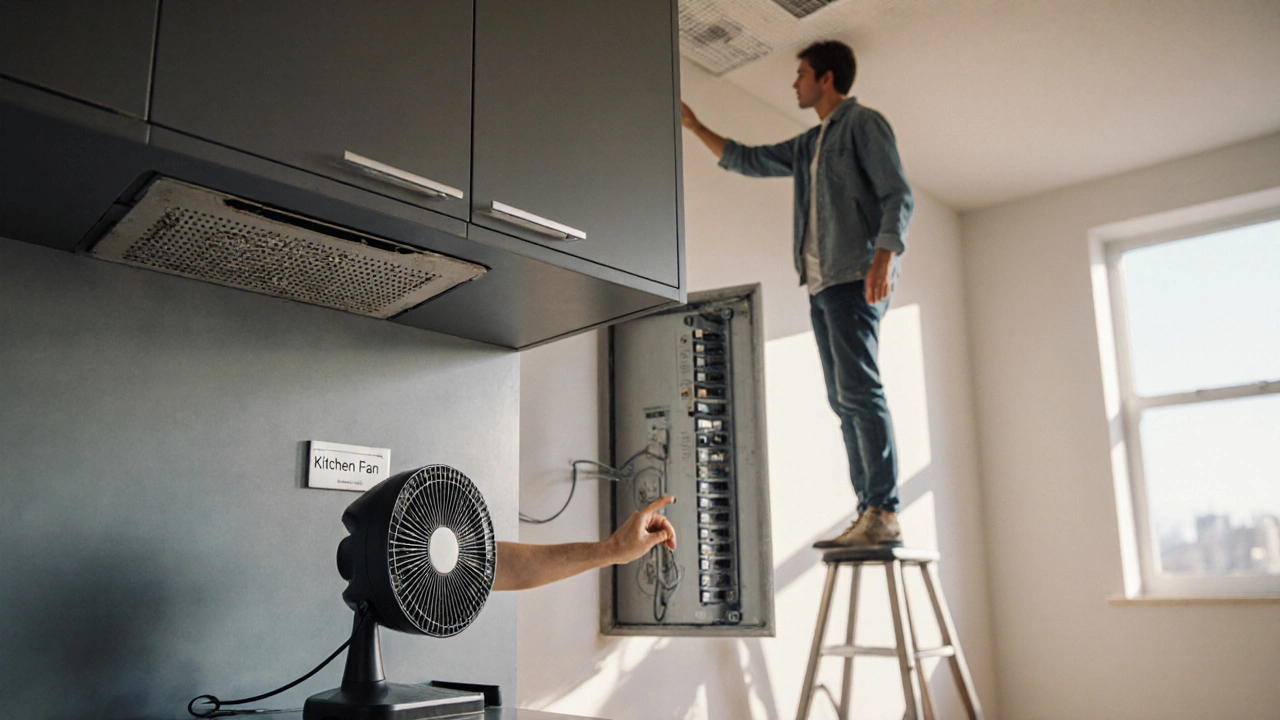
- Turn off power. Locate the breaker that powers the fan-usually a 15‑A or 20‑A single‑pole breaker labeled “Kitchen Fan” or similar. Flip it off and then verify the fan’s wires are dead with a non‑contact voltage tester.
- Remove the old fan. Unscrew the mounting brackets (usually three to four screws). Gently pull the fan away from the ceiling cavity to expose the wiring.
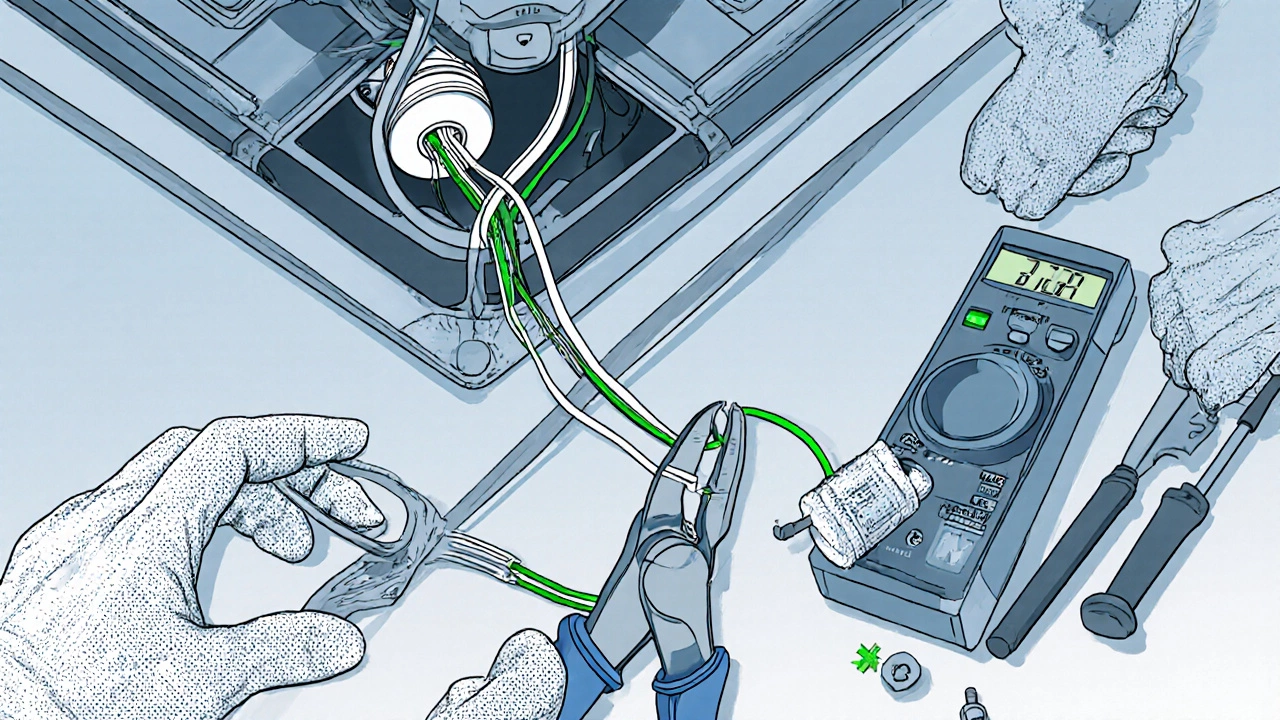
- Document the wiring. Before disconnecting, take a photo or label the existing wires: black (hot) carries 120V AC, white (neutral) completes the circuit back to the source, and green or bare (ground) provides a safety path for fault currents. If the fan has a separate “light” wire (often blue), note that too.
- Disconnect the old fan. Loosen the wire nuts and separate each conductor. Keep the wires tidy and avoid letting the stripped ends touch each other.
- Prepare the new fan. Most modern fans come with a pre‑wired harness. If not, strip about ½in of insulation from each wire and twist them into the appropriate colors.
- Make the connections. Using UL‑listed wire nuts, connect black to black, white to white, and ground to ground. For a fan‑light combo, connect the blue (light) wire to the corresponding blue wire on the fan. Give each nut a firm twist and then a light tug to confirm a solid grip.
- Secure the fan. Tuck the wires into the ceiling cavity, position the fan’s mounting frame, and fasten it with the supplied screws. Make sure the fan sits level to avoid vibration.
- Restore power and test. Turn the breaker back on. Switch the fan on and listen for a steady hum. Verify the light (if present) works and that airflow feels strong.
- Cleanup. Patch any nail holes left from the old mounting, discard old wire nuts, and store tools safely.
If any step feels shaky-especially the wire‑nut connections-stop and call an electrician. A loose connection can cause arcing, fire, or ESA fines.
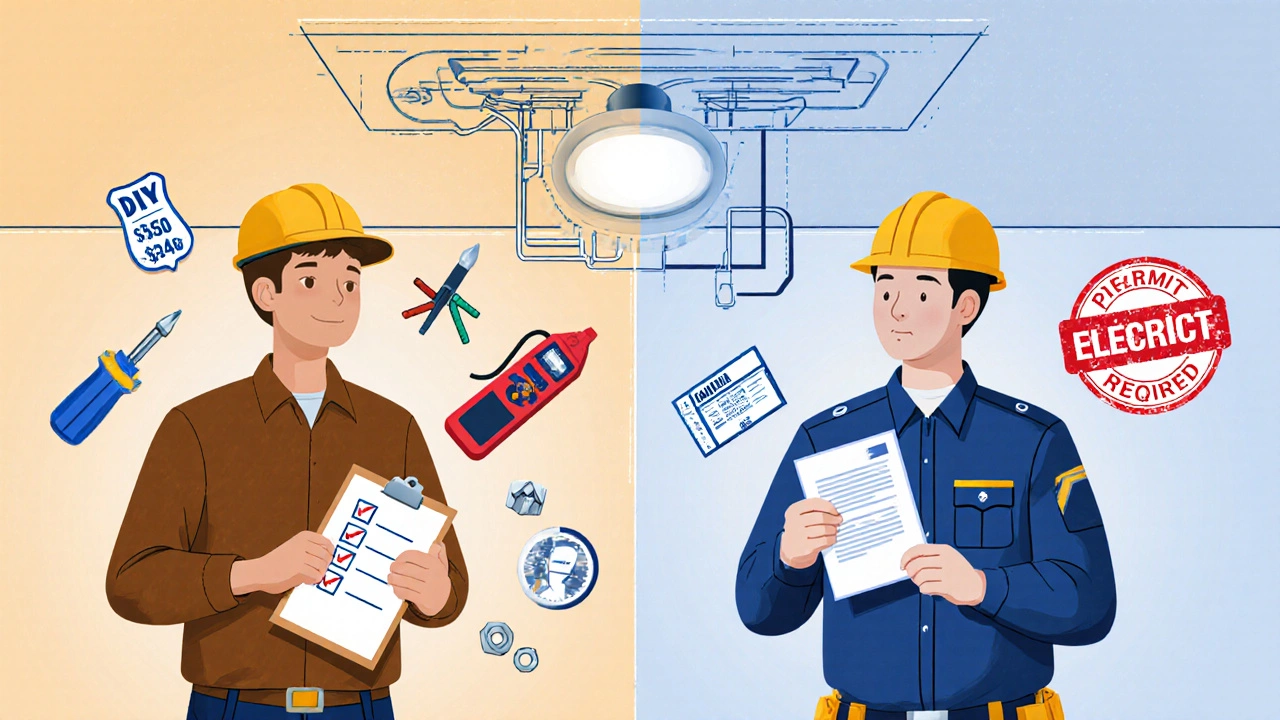
Cost Breakdown: DIY vs. Hiring an Electrician
| Item | DIY (average) | Professional (licensed electrician) |
|---|---|---|
| Extractor fan unit (mid‑range) | $120‑$180 | $120‑$180 |
| Tools (if not already owned) | $30‑$60 (wire stripper, voltage tester) | Included in labor |
| Labor | $0 | $150‑$300 (1‑2hrs @ $100‑$150/hr) |
| Permit (if new wiring required) | N/A | $65‑$120 (ESA filing fee) |
| Travel/Call-out fee | N/A | $50‑$80 |
| Total estimated cost | $150‑$240 | $385‑$560 |
These numbers assume a standard 120‑V kitchen fan. Bathroom fans with a built‑in GFCI or a higher‑amp motor can push labor a bit higher.
Common Pitfall&Pro Tips
- Pitfall: Forgetting to turn off the breaker. Tip: Use a voltage tester on each wire before you touch anything.
- Pitfall: Using the wrong size wire nut. Tip: Choose a nut rated for the combined wire gauge (usually 14‑AWG for fan circuits).
- Pitfall: Mounting the fan too loosely. Tip: Tighten all mounting screws and add a dab of silicone sealant to keep moisture out.
- Pitfall: Overlooking a damaged junction box. Tip: If the box is cracked or the metal clamps are rusted, replace the box-this is a job for an electrician.
- Pitfall: Ignoring local code that requires a dedicated circuit for bathroom fans. Tip: Check the fan’s amperage; if it exceeds 15A or shares a circuit with lighting, a dedicated breaker may be needed.
Decision Checklist - Do I Need an Electrician?
- Is the fan a plug‑in model? Yes → DIY. No → Continue.
- Do you need to add or relocate wiring? Yes → Call electrician.
- Is the existing junction box in good shape? No → Call electrician.
- Can you turn off the correct breaker and confirm zero voltage? No → Call electrician.
- Do you have a UL‑listed wire‑nut set and a voltage tester? No → Acquire tools or hire pro.
If you ticked “Yes” for any of the highlighted “Call electrician” items, it’s safest (and often legally required) to schedule a licensed professional.
Frequently Asked Questions
Can I replace a hard‑wired fan without a permit?
If you are only disconnecting the old unit and reconnecting a new one to the same existing wiring, a permit is not required in Ontario. A permit becomes necessary when you add new wiring, move the fan to a different location, or replace a damaged junction box.
What size wire should I expect for a typical kitchen fan?
Most residential kitchen fans operate on a 15‑amp circuit and use 14‑AWG copper wire. If the fan’s motor draws more than 15A, the installer must use 12‑AWG wire and a 20‑amp breaker.
Do I need a GFCI for a bathroom extractor fan?
Ontario Electrical Safety Code requires a GFCI protection for any outlet or fixture in a bathroom that is within 1.5m of a water source. Many bathroom fans are installed on a dedicated circuit that includes GFCI protection at the breaker.
How long should a professional take to replace a hard‑wired fan?
A qualified electrician usually finishes the job in 1 to 2hours, including time for inspection and cleanup. Complex installations-like moving the fan or upgrading the ductwork-can take longer.
What are the signs that my existing wiring is unsafe?
Look for cracked or brittle insulation, scorch marks around the junction box, a warm box to the touch, or a frequent “breaker trips” symptom. Any of those indicate you should call an electrician.