What to Do When Your Water Heater Stops Working
 Feb, 14 2025
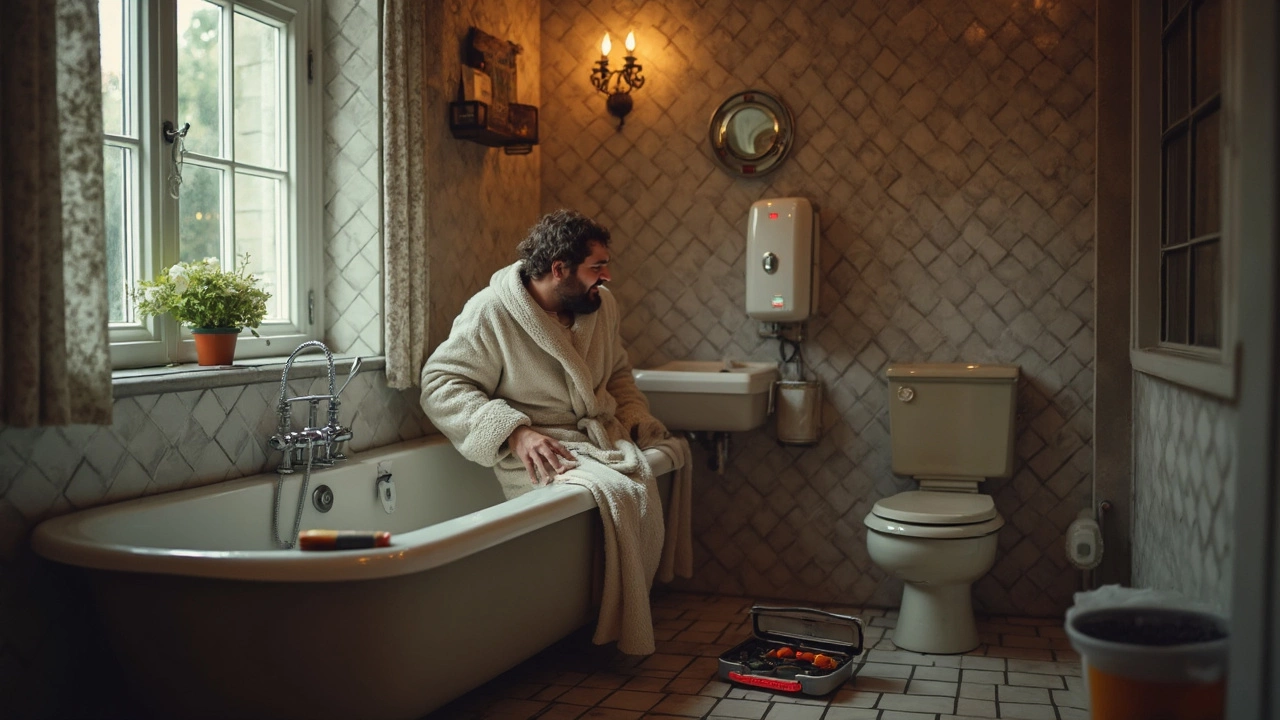
Dealing with a broken water heater can be frustrating, especially when you're craving a hot shower. But before you give in to panic, let's explore some practical steps you can take to diagnose and address the issue. The good news is that many common water heater problems have simple solutions you can manage yourself.
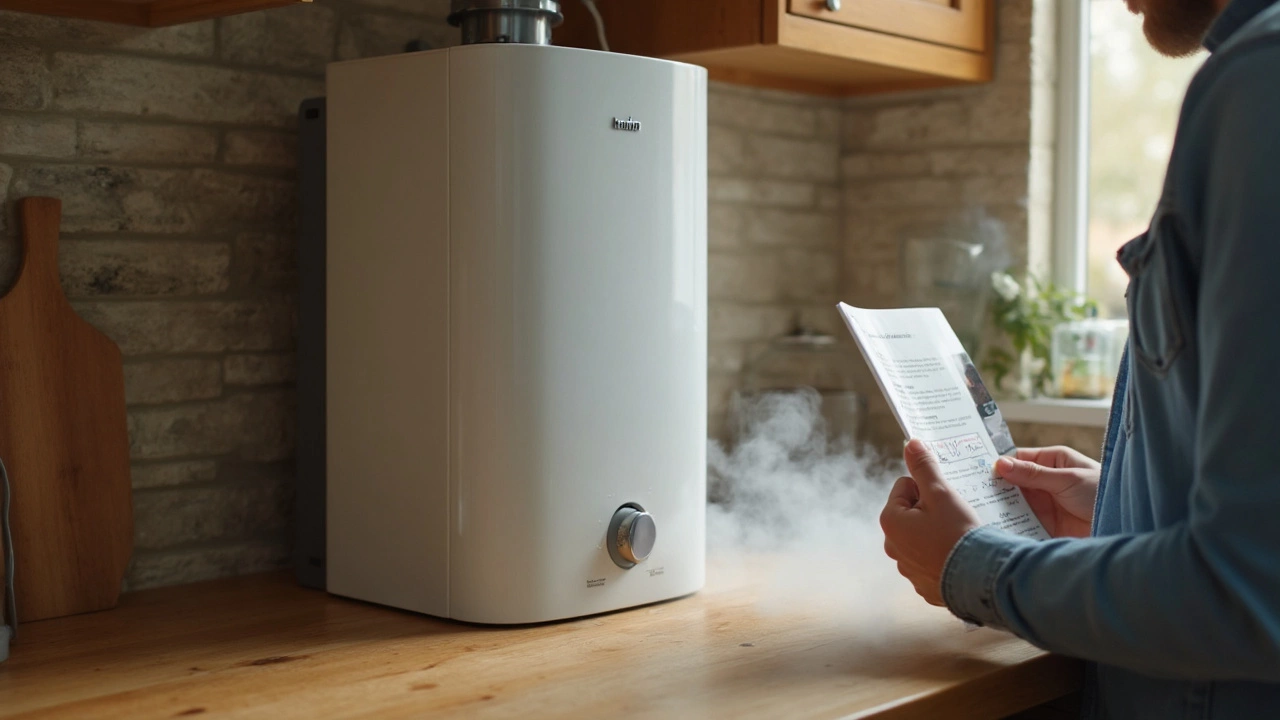
First things first, check your power supply. For electric heaters, ensure that the unit is plugged in and that the circuit breaker hasn’t tripped. Gas heaters might have pilot lights that need relighting. It's surprising how often the solution is just that straightforward!
If you’ve checked the power and the heater still isn’t working, it’s time to look at the thermostat settings. Someone might have accidentally adjusted them, or they might need a recalibration. Set the temperature to around 120°F and see if that solves the problem.
Troubleshooting Basics
When your water heater stops working, it doesn’t mean you’re headed for an expensive repair immediately. Before reaching for the phone to call in the pros, there are a few simple troubleshooting steps you can try yourself.
Check the Power Source
First, ensure the heater actually has power. If it's an electric heater, make sure it's plugged in and the circuit breaker hasn’t tripped. You’d be amazed at how many times it's just a matter of flipping a switch! For gas heaters, confirm that the pilot light is on. If it's not, you might need to relight it following your manufacturer’s guide. Remember, if you smell gas at any point, it’s essential to evacuate immediately and call a professional.
Inspect the Thermostat
Next, take a look at the thermostat settings. The ideal setting should be around 120°F for most households. If it’s set too low, you could end up with lukewarm or cold water. Additionally, if the thermostat isn’t holding the set temperature consistently, it might need recalibration or replacement.
Examine for Leaks or Sediment
Leaks are a red flag. Check the surrounding area at the base of the heater. Even small leaks can lead to significant water damage over time. Another thing to keep an eye out for is sediment build-up. If you hear a rumbling noise, that’s a classic sign of sediment buildup in the tank. Flushing your water heater annually can help prevent this issue.
Reset the System
If everything seems okay but the water heater still isn't producing hot water, try resetting it. Most heaters have a reset button, often referred to as the 'high limit switch.' It's usually red and located on the upper or lower thermostat. Push it firmly - this might do the trick!
Ultimately, by following these basic troubleshooting steps, you might just save yourself the trouble and cost of hiring a technician. But remember, if these troubleshooting steps don’t solve the problem or if you feel unsure, don’t hesitate to reach out for professional help.
Common Problems and Solutions
When your water heater is acting up, recognizing the issue can guide you to the fix. Let's look at some common problems and how to tackle them.
No Hot Water
This might be the most obvious and annoying issue. For electric water heaters, first, check the electrical panel and reset any tripped breakers. Inspect the thermostat and make sure it's set correctly. If it's still not working, the heating elements might be the culprit, and they could need replacement.
Strange Noises
If your heater is making popping or rumbling noises, it's probably due to sediment build-up at the bottom of the tank. This sediment can cause the tank to overheat, leading to damage. Solution? You need to flush the tank. Here's how:
- Turn off the power or gas and let the water cool.
- Attach a garden hose to the tank's drain valve and run it to a floor drain or outside.
- Open the drain valve and let the water flow until it's clear of sediment.
- Close the valve, detach the hose, refill the tank, and turn the heater back on.
Water Leaks
Leaks are annoying and can cause water damage. Check around the fittings for corrosion or loose connections. Tightening the fittings or replacing corroded parts can often stop the leaks. If the leak is from the tank itself, you might need a new water heater.
Bad Smell or Color
If your hot water smells funny or looks discolored, bacteria might be building up. Running several gallons of water through the hot tap can help. For stubborn odors, consider adding a cleaning solution like hydrogen peroxide into the tank following the flush method.
These steps should help with most water heater repair issues. Remember, if you're not comfortable doing these, or if issues persist, it's best to call in a professional.
Maintenance Tips
Keeping your water heater in tip-top shape doesn't have to be a chore. Regular maintenance can extend its life and keep it running efficiently. Here are some bite-sized tips to make sure your water heater stays in good condition.
Flushing the Tank
One of the simplest ways to maintain your water heater is by flushing the tank annually. Sediment builds up over time, affecting performance and potentially damaging the tank. It's an easy process that can save you both time and money in the long run.
- Turn off the water heater. This might mean switching off the power for electric models or setting the gas control to 'Pilot' for gas models.
- Connect a hose to the tank's drain valve and direct it to a suitable drainage area.
- Open the drain valve and let the water empty from the tank. Be mindful of the hot water!
- Once empty, close the drain valve, remove the hose, and refill the tank by turning the water supply back on.
- Turn the power back on or reset your gas control.
Inspecting the Anode Rod
The anode rod is a critical component in your water heater, preventing rust and corrosion. Inspect it every three years.
- Turn off the unit and drain a few gallons of water from the tank.
- Use a wrench to remove the rod. If it’s heavily corroded or less than half an inch thick, replace it.
Regular Temperature Checks
Keeping your water heater at the recommended 120°F not only saves energy but also helps prevent scalding and bacteria growth. A quick peek at your thermostat every few months is all it takes.
Quick Troubleshooting
Staying on top of small issues can prevent bigger problems. So it's good to be aware of the signs of trouble, such as noisy tanks or fluctuating temperatures, which might indicate sediment buildup or thermostat issues.
| Recommended Maintenance | Frequency |
|---|---|
| Flush the Tank | Annually |
| Inspect Anode Rod | Every 3 years |
| Check the Temperature | Bi-annually |
These simple maintenance tips can keep your water heater working smoothly for years. Regular attention can help avoid the hassle of unexpected breakdowns and cold showers!
When to Call a Professional
Sometimes no amount of troubleshooting can bring your water heater back to life. In these cases, it's wise to know when to throw in the towel and call a professional. Here's how to tell when it's time to bring in an expert.
Strange Noises
If your water heater is making popping, banging, or hissing sounds, it could be due to sediment build-up or even problems within the tank. While flushing the tank might be a short-term fix, a water heater repair pro can ensure it's cleaned properly and address any underlying issues.
Water Leaks
Any signs of leakage around your water heater can mean anything from loose connections to a corroded tank. Since you don't want water damage in your home, it's best not to wait. A professional can pinpoint the issue and help prevent future problems.
No Hot Water
Finding yourself stuck without hot water after trying the basics? A no hot water scenario might involve complex electrical or gas connections. Certified technicians are trained to deal with these hazards safely.
Age of Water Heater
If your water heater is over a decade old and giving you grief, it might be more cost-effective to replace it. A professional can evaluate whether a fix or replacement is your best option.
Insurance and Warranty Considerations
For systems still under warranty or covered by home insurance, a DIY fix might void your protection. Always check your policy or warranty conditions before attempting a repair. Professional records are vital in case of future claims.
Here's a quick glimpse at what a professional might check during a visit:
| Checklist Item | Description |
|---|---|
| Thermostat and Element Check | Ensures heating components are functioning correctly. |
| Pressure Relief Valve | Assesses valve operation to prevent tank explosions. |
| Gas Supply Inspection | Evaluates connections and flow for gas heaters. |
| Electrical Wiring | Checks for safe and correct wire connections. |
Making a call to a water heater expert doesn’t just solve your problem; it often saves you time, hassle, and potential further damage. You can then rest easy knowing someone with the know-how is on the case.