Extractor Fan Installation: Simple Steps for a Fresh Kitchen
Thinking of adding an extractor fan? You don’t need a full‑time plumber or a crazy budget. With a few tools and a bit of patience, you can have a working fan in a weekend. This guide walks you through everything you need – from choosing the right spot to safely wiring the unit.
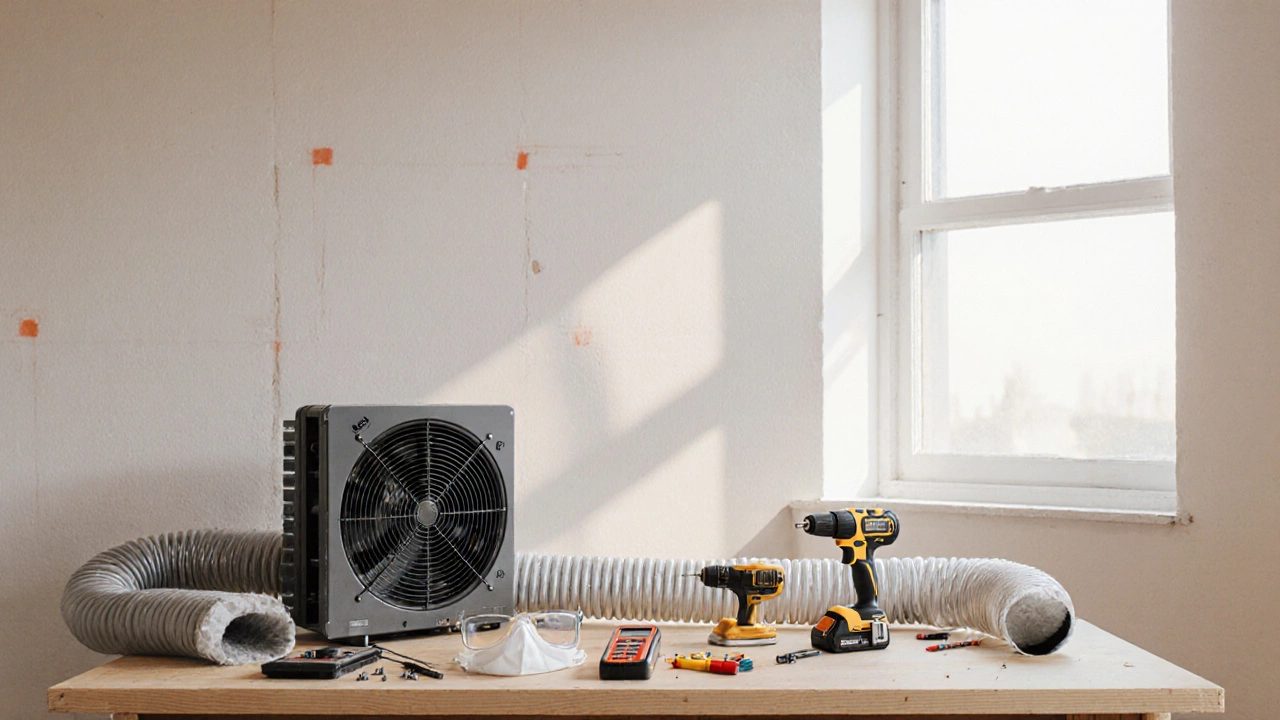
Tools and Prep
First, gather your gear. You’ll need a drill with the right bits, a screwdriver set, a voltage tester, silicone sealant, and a measuring tape. If the fan comes with a mounting bracket, keep those screws handy. A ladder or sturdy step stool is a must for reaching the ceiling or high wall. Before you start, turn off the electricity at the breaker – you don’t want a shock while you’re busy.
Next, check the location. The fan should be placed above the cooking area, ideally centered over the hob. Measure the distance from the hob to the nearest wall vent – you want a straight duct run with as few bends as possible. Too many turns reduce suction, making the fan work harder.
Step‑by‑Step Installation
1. Mark the cutout. Hold the fan’s canopy against the wall or ceiling and trace the outline. Use a level to keep it straight.
2. Cut the opening. Drill a pilot hole at a corner, then use a jigsaw or rotary cutter to follow your lines. Clean the edges so the canopy sits flush.
3. Fit the duct. Connect the flexible duct to the fan’s outlet and seal with foil tape. Run the duct to the external vent – make sure it points outward, not back into the kitchen.
4. Mount the fan. Slip the fan into the wall opening, then attach the mounting bracket with the supplied screws. Tighten securely but don’t over‑tighten, which could crack the housing.
5. Wire it up. Strip the ends of the live (brown) and neutral (blue) wires from the fan’s cable. Using the voltage tester, confirm the power is off. Connect live to live, neutral to neutral, and earth (green/yellow) to the earth wire in the junction box. Twist each connection, cap with a connector, and tuck them neatly into the box.
6. Seal and finish. Apply a bead of silicone around the canopy to block drafts and moisture. Let it dry for at least 30 minutes before turning the power back on.
7. Test the fan. Switch the unit on and feel the airflow. If it sounds weak, check the duct for kinks or blockages and make sure the filter (if any) is clean.
That’s it – you’ve got a functional extractor fan. Most DIYers finish in under two hours, but don’t rush the wiring step. If anything feels unsure, especially around the electrical connections, call a qualified electrician. It’s better to spend a little extra than risk a fire or damage.
When you’re done, keep a spare filter on hand and clean it every few weeks. A clean filter keeps the fan efficient and extends its life. Enjoy a smoke‑free kitchen and the peace of mind that comes with a job well done.
DIY Extractor Fan Installation: Step‑by‑Step Guide
Learn how to safely install an extractor fan yourself with step‑by‑step instructions, tool lists, wiring tips, code checks, and common pitfalls for a DIY home ventilation upgrade.

Expert Guide to Extractor Fan Installation and Repair
Installing and maintaining extractor fans is crucial for proper home ventilation. This article explores who is best suited to carry out these installations, offering insights into qualifications, skills, and essential tools. Learn about the importance of proper installation for efficiency, with practical tips for choosing professionals. Get familiar with the signs that indicate a need for repair to maintain optimal air quality in your living spaces.