DIY Extractor Fan Installation: Step‑by‑Step Guide
 Oct, 11 2025
Extractor Fan Sizing Calculator
✓ Power off: Always turn off the circuit breaker before wiring.
✓ Building code: Ontario requires 15 CFM per square foot for kitchens.
✓ Vent path: Must exit through exterior wall without crossing fire-rated walls.
✓ Sealing: Always seal all duct connections with silicone caulk.
Enter your room dimensions to calculate the required CFM.
Fan Type Recommendations
Wall-mounted - Best for small kitchens and bathrooms (cost: $80-$150) Ceiling-mounted - Ideal for large kitchens and open spaces (cost: $120-$250)
Wondering if you can fit an Extractor fan a small appliance that pulls moisture, odors, and heat out of a room and pushes them outdoors through a vent yourself? The short answer is yes-provided you follow a clear plan, have the right tools, and respect safety rules. This guide walks you through every decision, from picking the right model to wiring it safely, so you can avoid costly mistakes and enjoy fresh air without hiring a contractor.
Quick Takeaways
- Most residential extractor fans can be installed by a competent DIYer in 2‑4 hours.
- Key tools: drywall saw, drill, screwdriver set, voltage tester, and a vent duct flexible or rigid pipe that carries air from the fan to the outside wall.
- Check the local building code Ontario Building Code for ventilation requirements and electrical clearances before cutting any openings.
- Safe wiring means turning off the circuit breaker the safety switch in your electrical panel that isolates a circuit and using a proper switch a wall-mounted device that controls power to the fan.
- If the fan includes a built‑in humidity sensor a component that automatically turns the fan on when moisture levels rise, wire it according to the manufacturer’s diagram.
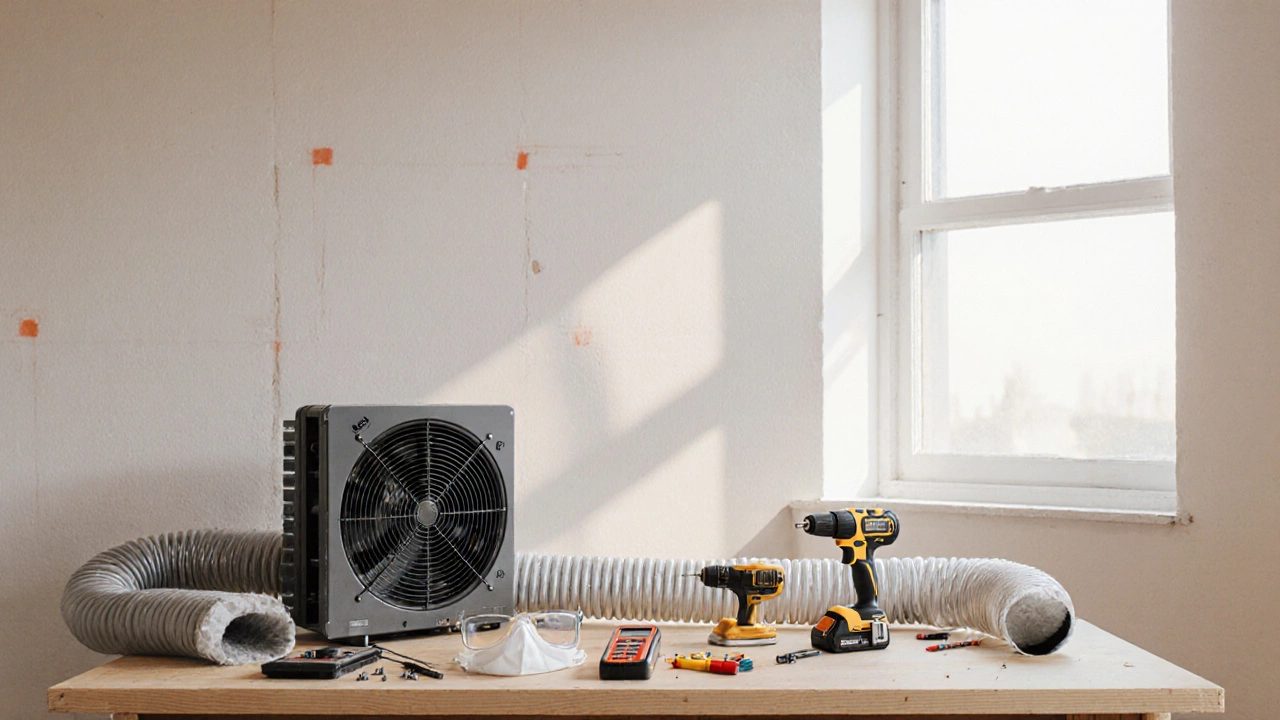
Tools & Materials You’ll Need
- Extractor fan (wall‑mounted or ceiling‑mounted)
- Appropriate vent duct (typically 4‑6inches in diameter)
- Drywall saw or keyhole cutter
- Drill with assorted bits
- Phillips and flat‑head screwdrivers
- Voltage tester or multimeter
- Wire nuts, electrical tape, and 12‑AWG copper wire
- Silicone caulk for sealing gaps
- Safety glasses and dust mask
Safety & Legal Checks Before You Start
Even if you’re comfortable with a drill, electricity is unforgiving. Follow these three safety checkpoints:
- Power off. Locate the circuit breaker that feeds the room you’ll be working in and flip it to the OFF position. Verify the fan’s power line is dead with a voltage tester before touching any wires.
- Know the code. The building code in Ontario mandates a minimum of 15CFM (cubic feet per minute) per square foot for kitchen ventilation. Check the fan’s CFM rating to ensure compliance; otherwise you may need a larger unit or an auxiliary vent.
- Plan the path. The vent duct must exit through an exterior wall or roof without crossing fire-rated walls. Use a stud finder to avoid joists, pipes, or HVAC ducts hidden behind the wall.
Step‑by‑Step Installation
1. Pick the Right Spot
For kitchens, place the fan above the stove or cooking surface; for bathrooms, install it near the shower or tub. Measure the fan’s mounting frame, then mark a rectangle on the wall that’s at least 2inches larger on all sides to allow for shims.
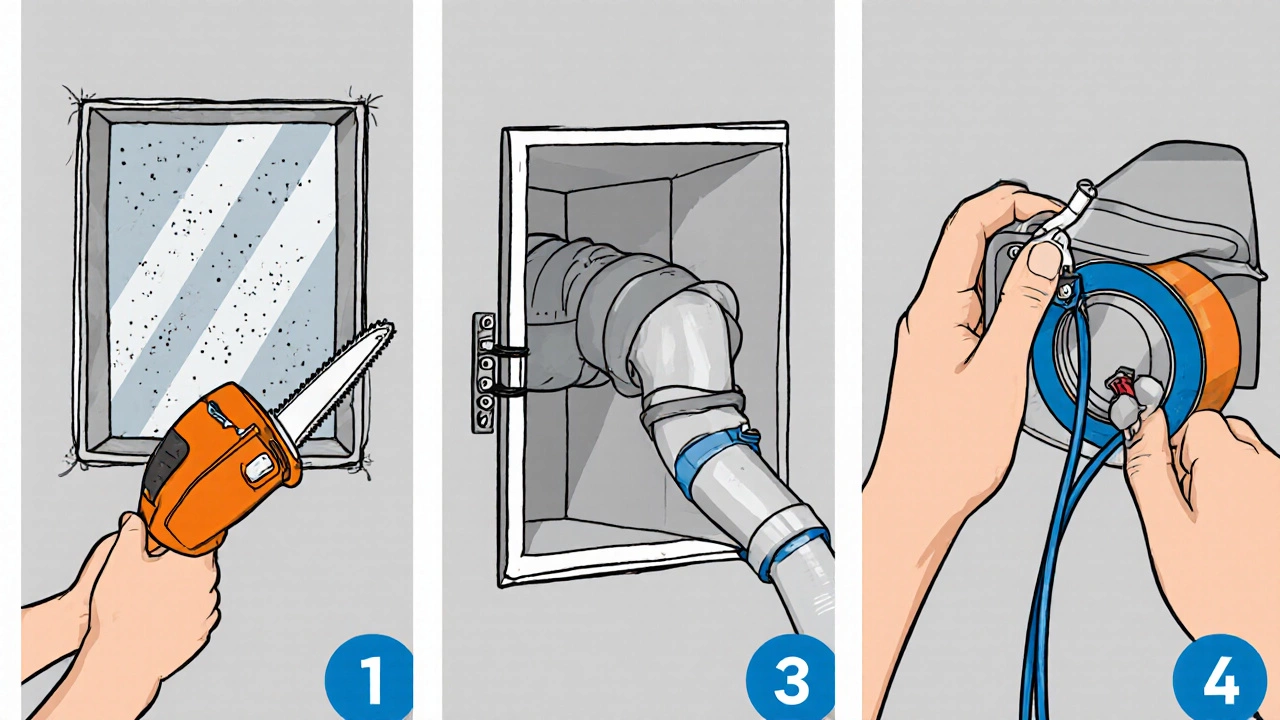
2. Cut the Opening
Wear safety glasses and a dust mask. Using a drywall saw, cut the marked rectangle. Remove the cut piece and clean the edges. If you’re installing a ceiling‑mounted model, you’ll need to cut a circular hole in the drywall using a hole‑saw matching the fan’s housing diameter.
3. Install the vent duct
Slide the duct through the opening and secure it to the fan’s outlet with the provided clamps. Run the duct straight to the exterior opening; avoid sharp bends that reduce airflow. Seal the interior connection with silicone caulk to prevent leaks.
4. Wire the Fan
Inside the wall cavity, pull a short length of 12‑AWG wire from the nearest power source (usually a junction box). Strip the ends and connect them to the fan’s wiring according to the instruction sheet: black (hot) to hot, white (neutral) to neutral, and green or bare copper (ground) to the fan’s ground screw. If the fan includes a humidity sensor, connect its dedicated wires as labeled.
Fit wire nuts over each splice, wrap with electrical tape, and tuck the wires neatly into the cavity. Attach the fan’s mounting brackets to the back of the housing.
5. Mount the Fan
Lift the fan into the opening, aligning the brackets with the pre‑drilled screw holes in the wall or ceiling. Secure with the supplied screws, making sure the unit sits flush with the surface. Double‑check that the vent duct remains sealed and that no wires are pinched.
6. Connect the Switch
If you plan to control the fan with a wall switch, run a power cable from the junction box to the switch location. Follow the same color‑coding rules: black to the switch’s hot terminal, white to the neutral side, and ground to the metal box. Once wired, install the switch plate.
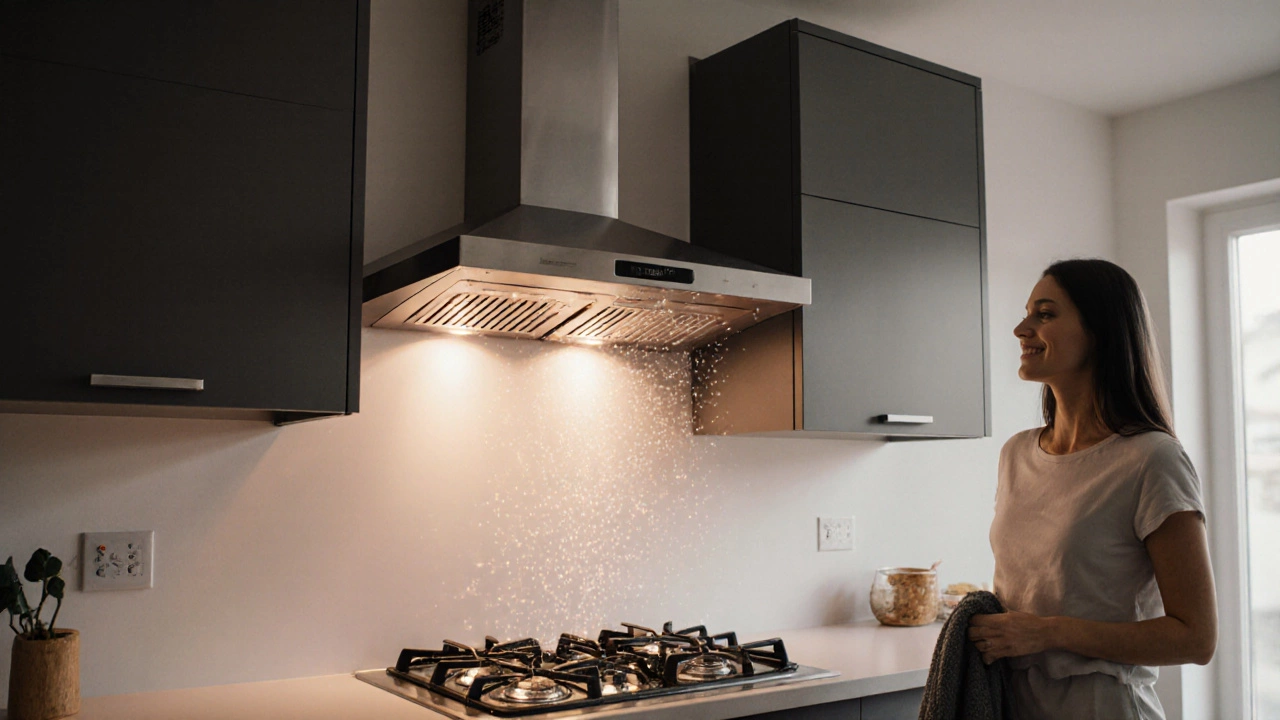
7. Test the System
Turn the circuit breaker back on. Flip the switch and listen for the fan humming. Use a piece of tissue near the vent to feel the airflow-if you get at least 15CFM, you’ve met code. Test the humidity sensor (if present) by spraying a light mist near the fan; it should kick on automatically.
Common Pitfalls and Pro Tips
- Poor duct routing. Long, twisted ducts cut airflow. Keep the path under 6feet and use rigid metal duct when possible.
- Skipping the seal. Even a tiny gap lets moist air seep back into the room. Apply a bead of silicone around every joint.
- Undersized fan. A 50CFM fan in a large kitchen will never clear smoke. Match the fan’s CFM to the room’s square footage (multiply by 15CFM per sqft for kitchens).
- Incorrect wiring. Double‑check that the fan’s ground wire is attached to the metal box; a floating ground creates a shock hazard.
- Forgetting the switch. Installing a fan without a dedicated switch often leads to it being left on all day, wasting energy.
When to Call a Professional
If any of these situations apply, pause the DIY and call an electrician or a licensed ventilation contractor:
- You lack a nearby power source or need to add a new circuit to the panel.
- The wall you’re cutting contains asbestos‑containing plaster (common in older Toronto homes).
- The vent must pass through a fire‑rated wall or a roof with complex flashing.
- You feel uncomfortable handling live wires even after de‑energizing the circuit.
Ongoing Maintenance
Even the best‑installed fan needs care. Clean the blade and grill every 3‑6months with a mild detergent; replace the filter (if the model uses one) yearly. Check the duct for condensation buildup-especially in bathrooms-and wipe it dry to prevent mold.
Wall‑Mounted vs. Ceiling‑Mounted Fans
| Feature | Wall‑Mounted | Ceiling‑Mounted |
|---|---|---|
| Typical Use | Kitchen backsplashes, small bathrooms | Large kitchens, open‑plan spaces |
| Installation Height | 12‑18inches above countertop | 12‑24inches below ceiling |
| Airflow Path | d>Short, direct to wall ventLonger, may need angled duct | |
| Noise Level | Generally quieter due to proximity to work surface | Can be louder; consider insulated housing |
| Cost | Usually $80‑$150 | Typically $120‑$250 |
Frequently Asked Questions
Do I need a permit to install an extractor fan in Toronto?
Most residential installations that only involve cutting a wall opening and adding a vent do not require a building permit. However, if you’re adding new electrical wiring or altering a fire‑rated wall, the City of Toronto may ask for a permit. Always check the latest local regulations before you start.
Can I use the same vent duct for both a kitchen and a bathroom fan?
No. Each fan must have its own dedicated duct to prevent cross‑contamination of odors and moisture. Shared ducts also violate most building codes.
What CFM rating is enough for a 200‑sq‑ft kitchen?
Multiply the area (200sqft) by the minimum 15CFM per sqft required for kitchens. You’ll need at least 3,000CFM, so choose a fan rated 3,000CFM or higher. Most residential fans top out around 600CFM, so you may need a commercial‑grade unit or multiple fans.
Is it safe to install the fan near a gas stove?
Yes, as long as the vent exhaust discharges to the outside and you maintain at least 12inches of clearance from the flame edge. This reduces the risk of grease buildup igniting.
How often should I clean the fan?
Clean the grill and blades every 3‑6months. If you notice reduced airflow or a foul smell, clean it sooner.