Is It Hard to Replace an Extractor Fan? A Simple Step-by-Step Guide
 Jan, 12 2026
Extractor Fan Size Calculator
Enter Room Details
Results & Recommendations
Recommended CFM:
Recommended Fan Size:
Noise Level:
DIY Cost: $50-$150
Professional Cost: $150-$300
Potential Savings:
Replacing an extractor fan doesn’t have to be a nightmare. If you’ve ever stared up at a noisy, rattling fan in your bathroom or kitchen wondering if you need to call a pro, the good news is: most people can do it themselves in under two hours. You don’t need to be a licensed electrician or own a toolbox full of fancy tools. Just a few basic items, some patience, and a clear understanding of what you’re doing will get the job done safely and correctly.
Why Replace an Extractor Fan at All?
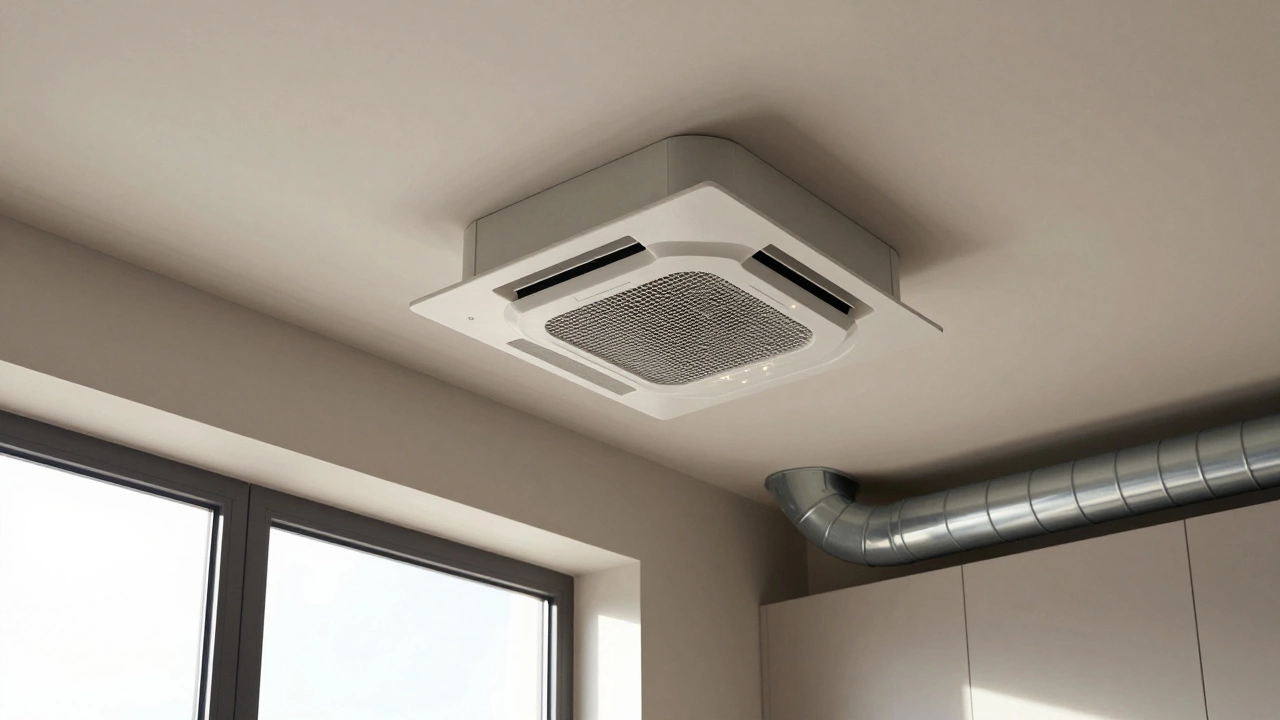
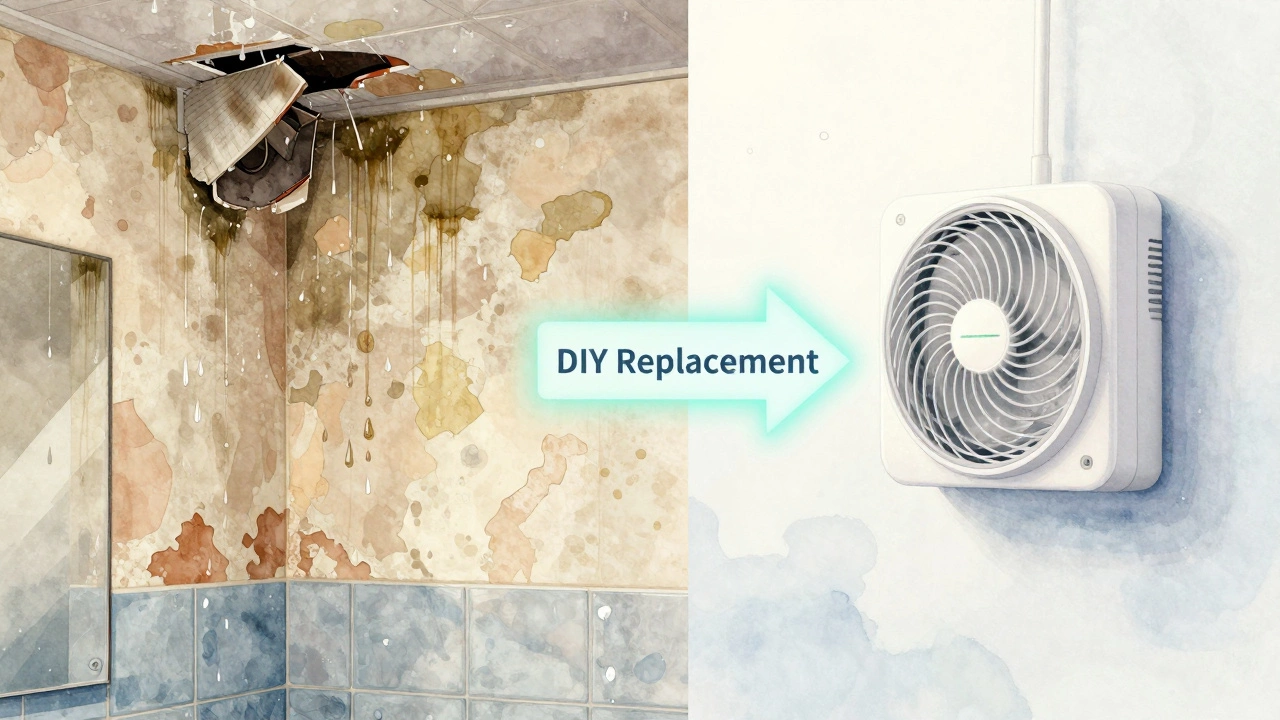
Extractor fans aren’t just for comfort-they’re essential for your home’s health. In bathrooms, they pull out moisture that causes mold and peeling paint. In kitchens, they remove grease, smoke, and cooking odors. A failing fan means damp walls, sticky windows, and that persistent musty smell no air freshener can fix.
Signs it’s time to replace yours: loud grinding or buzzing, no airflow even when turned on, visible rust or cracks, or if it’s over 10 years old. Older models are often less efficient and noisier than today’s energy-rated units. Replacing it isn’t just about convenience-it’s about protecting your home’s structure.
What Tools and Parts Do You Need?
You don’t need to buy a whole new toolkit. Here’s what you’ll actually use:
- New extractor fan (make sure it matches your existing size and voltage-usually 120V in North America)
- Screwdriver (Phillips and flathead)
- Wire strippers or electrician’s pliers
- Wire nuts (usually included with new fan)
- Stud finder (optional, but helpful if mounting to a ceiling)
- Masking tape and a marker
- Work gloves and safety glasses
- Voltage tester (non-contact, under $15 at hardware stores)
Don’t skip the voltage tester. Even if you turned off the light switch, the fan might be wired to a different circuit. Always test before touching wires.
Step-by-Step: How to Remove the Old Fan
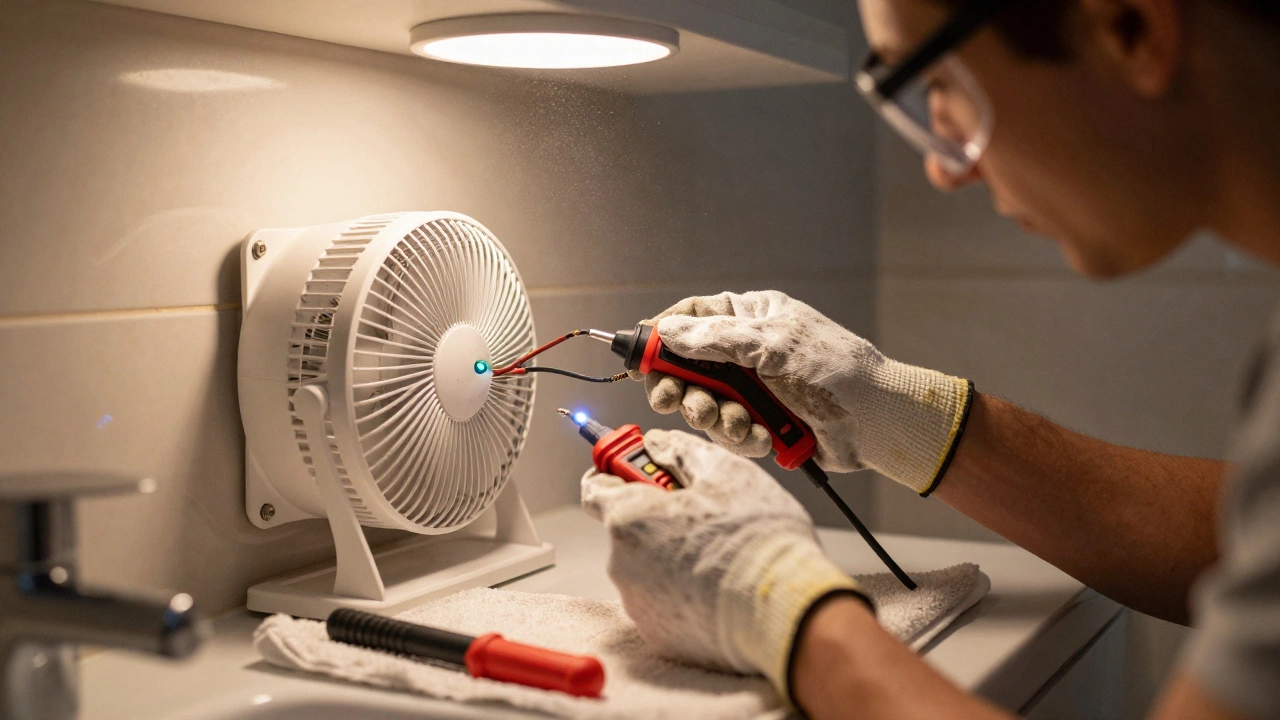
Start by turning off power at the breaker. Don’t rely on the wall switch. Find the right circuit in your panel and flip it off. Double-check with your voltage tester at the fan’s wiring box.
Remove the cover or grille. Most are held by clips or two to four screws. Set them aside. You’ll see the fan unit mounted inside the ceiling or wall. It’s usually attached with spring clips or screws into a mounting frame.
Disconnect the wires. Take a photo with your phone before you touch anything. This helps you remember which wire goes where. Typical setup: black to black (hot), white to white (neutral), green or bare copper to ground. Unscrew the wire nuts, pull the wires apart, and gently set them aside.
Now remove the fan unit. If it’s held by screws, unscrew them. If it’s clipped in, gently wiggle it free. You might need to disconnect the duct if it’s rigid metal. Flexible ducting just pulls off. Keep the duct intact if you’re replacing with the same size fan.
Installing the New Extractor Fan
Most new fans come with a mounting bracket. If your old one was screwed into joists, use the same holes. If it was clipped into a plasterboard frame, the new unit will likely have spring-loaded arms that expand behind the drywall. Align the bracket with the opening, press it in, and let the clips snap into place.
Connect the wires. Match the colors: black to black, white to white, ground to ground. Twist the wires together with pliers, then screw on the wire nuts. Tuck them neatly into the junction box. Don’t let any bare copper stick out.
Attach the fan housing to the bracket. Most units snap or screw in. Then install the grille or cover. Some have magnetic edges, others use screws. Make sure it’s flush and secure.
Turn the power back on. Test the fan. It should spin quietly and pull air strongly. If it hums but doesn’t turn, the capacitor might be faulty-return it and get a replacement. If it’s noisy, check that the duct isn’t kinked or blocked.
Common Mistakes to Avoid
People mess this up more often than you’d think. Here’s what to watch out for:
- Skipping the power shut-off-this is how people get shocked. Always use the breaker, not the switch.
- Using the wrong fan size-if your old fan was 6 inches, don’t install a 4-inch one. It won’t move enough air, and the motor will overwork.
- Forgetting to seal the duct-if you’re connecting to an existing duct, use aluminum foil tape (not regular duct tape) to seal joints. Air leaks reduce efficiency.
- Installing without a timer or humidity sensor-modern fans come with these. They turn off automatically after 10-20 minutes. Worth the extra $20.
- Not checking building codes-in Ontario, extractor fans in bathrooms must vent directly outside, not into the attic. Make sure your new unit does this.
When to Call a Pro
You can handle most replacements yourself-but not all. Call an electrician if:
- The wiring looks frayed, melted, or outdated (knob-and-tube or aluminum wiring)
- You’re replacing a fan that’s wired into a GFCI circuit and you’re unsure how to reconnect it
- The fan is in a ceiling with no access panel and you’d need to cut into drywall
- You’re replacing a fan with a built-in heater or light
Also, if you’re uncomfortable working with electricity-even a little-call someone. There’s no shame in it. Safety comes first.
What to Look for When Buying a New Fan
Not all extractor fans are created equal. Here’s what to check:
- CFM rating-for bathrooms, aim for 1 CFM per square foot (e.g., a 50 sq ft bathroom needs at least 50 CFM). For kitchens, 100-150 CFM is better.
- Noise level-look for sones. Under 1.0 sone is whisper-quiet. 1.5-2.0 is acceptable. Anything over 3.0 will be annoying.
- Energy Star rating-certified models use 20-30% less power.
- Humidity sensor-turns on automatically when moisture rises. Great for bathrooms.
- Timer-keeps running after you leave the room. Prevents mold.
Brands like Broan, Panasonic, and Vent-Axia are reliable and widely available in Canada. Avoid no-name brands from big-box stores-they often fail within a year.
How Long Does It Take?
If you’ve got the right tools and a clear workspace, you can replace a standard extractor fan in 60 to 90 minutes. First-timers might take two hours. The hardest part is usually getting the old unit out without damaging the surrounding drywall. Take your time. Rushing leads to mistakes.
Cost Comparison: DIY vs Professional
A new extractor fan costs $50-$150 depending on features. A professional service call in Toronto runs $150-$300, including labor. That’s a big difference. Most people save $100-$250 by doing it themselves.
And if you do it right, your new fan will last 10-15 years. That’s more than a decade of quieter showers, drier walls, and no more mold spots behind the mirror.
Final Thoughts
Replacing an extractor fan isn’t hard. It’s not glamorous, but it’s one of those home repairs that makes a real difference in your daily life. You’ll notice the difference the first time you take a shower and the mirror stays clear. You’ll feel better knowing your home is protected from moisture damage.
Take the step. Turn off the power. Follow the steps. You’ve got this.
Can I replace an extractor fan without turning off the power?
No. Never work on electrical fixtures without turning off the power at the breaker. Even if the light switch is off, the fan might be wired to a different circuit. A non-contact voltage tester is cheap and essential-use it before touching any wires.
Do I need to replace the duct when replacing the fan?
Not always. If the duct is in good condition-no kinks, no mold, no holes-you can reuse it. But if it’s old, crushed, or made of flexible plastic, replace it with rigid metal ducting. Metal lasts longer, resists mold, and moves air more efficiently.
Can I install a fan in a bathroom without a window?
Yes, and you should. In fact, building codes in Ontario require extractor fans in all bathrooms without windows. The fan must vent directly outside, not into the attic or another room. Make sure your new unit is rated for this type of installation.
Why is my new fan so loud?
Loudness usually comes from improper installation. Check that the fan is mounted securely and not vibrating against the ceiling. Also, make sure the duct isn’t pinched or bent. A kinked duct forces the motor to work harder, creating noise. If everything’s aligned and it’s still loud, the unit might be defective-contact the manufacturer.
How do I know what size fan to buy?
Measure the opening where the old fan was. Most standard bathroom fans are 6 inches or 8 inches in diameter. For airflow, multiply the bathroom’s square footage by 1 to get the minimum CFM needed. For example, a 70 sq ft bathroom needs at least a 70 CFM fan. Kitchens need more-aim for 100-150 CFM.
Can I use a smart extractor fan?
Yes, and they’re a smart upgrade. Smart fans can connect to Wi-Fi, turn on via voice command, or activate with a humidity sensor. Brands like Panasonic and Broan offer models that work with Alexa and Google Home. They cost more upfront but save energy and reduce mold risk automatically.