

How to Tell If Your Microwave Is Going Bad: Signs and Fixes
 Nov, 15 2026
Microwave Health Diagnostic Tool
Run a quick diagnostic to determine if your microwave needs repair, cleaning, or replacement.
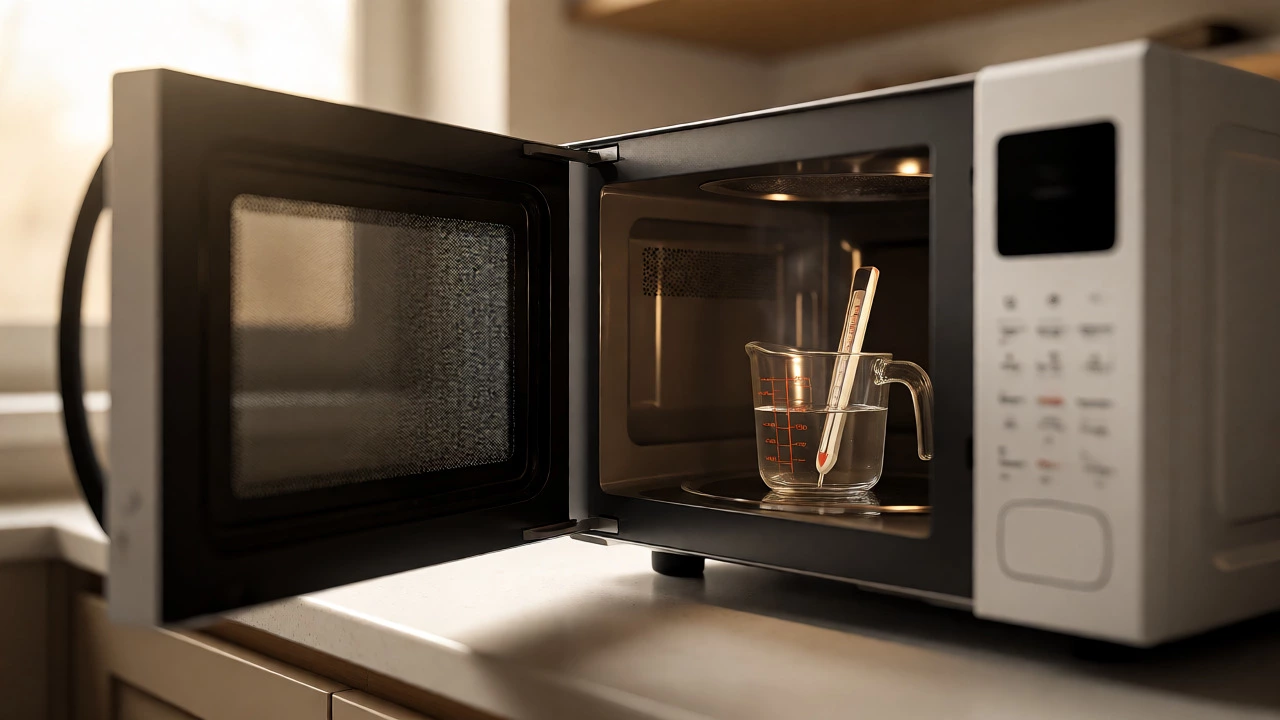
Place 1 cup of room-temp water in the center. Run on High for 2 minutes. Measure temp immediately.
You’re standing in your kitchen, waiting for your leftover pasta to heat up. The microwave hums its familiar tune, but something feels off. Maybe it’s louder than usual, or the food comes out lukewarm despite a full two-minute cycle. We’ve all been there-ignoring the weird noises until one day, the door won’t latch, or worse, sparks fly.
Here’s the hard truth: most microwaves don’t die with a dramatic explosion. They fade away slowly. A failing unit can waste your electricity, ruin your meals, and even pose a safety risk if you ignore the warning signs. But how do you know when it’s time to call a technician versus tossing it in the recycling bin? This guide breaks down exactly what to look for, listen for, and smell for before making that decision.
The Warm-Up Test: When Heating Power Drops
The most obvious sign of trouble is inconsistent heating. If your coffee stays cold while your neighbor’s gets hot, your microwave isn’t pulling its weight. But before you blame the power grid, run a simple diagnostic. Fill a glass measuring cup with exactly one cup (8 ounces) of water at room temperature. Place it in the center of the turntable and run the microwave on high for two minutes.
Use an instant-read thermometer to check the temperature immediately after stopping. In a healthy unit, the water should reach between 190°F and 205°F (88°C-96°C). If it’s barely warm, say under 150°F, your magnetron is likely failing. The magnetron is the heart of the microwave; it generates the electromagnetic waves that agitate water molecules in your food. When it starts to degrade, efficiency plummets. You’ll notice you’re running cycles twice as long just to get a decent meal, which spikes your energy bill without delivering results.
| Water Temp After 2 Min | Status | Likely Cause |
|---|---|---|
| 190°F - 205°F | Healthy | N/A |
| 170°F - 189°F | Weak | Aging Magnetron or Low Voltage |
| < 170°F | Failing | Magnetron Failure or Diode Issue |
Noise Analysis: What Your Microwave Is Trying to Say
Silence is golden, but some noise is normal. A standard hum is expected. However, new sounds are red flags. Listen closely for these specific variations:
- Loud Buzzing: This often points to a failing high-voltage diode or capacitor. These components step up the voltage to power the magnetron. If they struggle, the buzz gets louder and more erratic.
- Grinding or Rattling: Check the turntable motor first. If the ring or roller guides are worn, the plate wobbles, causing friction. Replaceable parts usually fix this cheaply. If the noise persists without the plate, the motor itself might be seizing.
- Clicking Sounds: A rapid clicking during operation suggests the relay switch is sticking. It’s trying to engage the magnetron but failing to hold the connection. This interrupts heating and stresses other components.
If you hear a deep, resonant drone that wasn’t there last month, stop using the appliance. That’s often the sound of a magnetron overheating due to lack of ventilation or internal arcing. Continuing to run it risks burning out the component entirely.
Sparks and Arcing: The Danger Zone
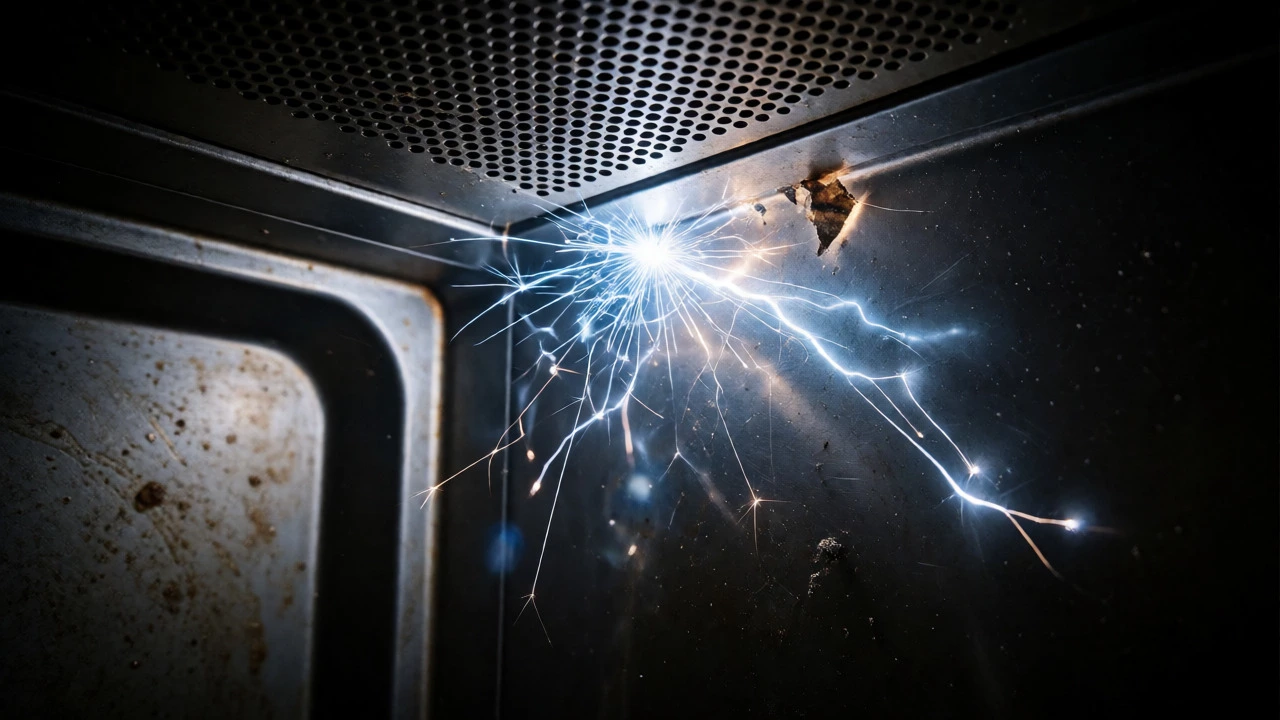
Seeing flashes inside the cavity? That’s called arcing. While occasional tiny sparks from metal foil are user error, spontaneous arcing from the walls or ceiling of the microwave indicates a hardware issue. The interior is lined with a waveguide cover, usually made of mica. Over time, grease and moisture corrode this material. Once it breaks down, electricity jumps across the gap, creating blue-white sparks.
You can sometimes replace a mica sheet yourself-it’s a cheap part-but if the arcing has scorched the paint underneath or damaged the antenna cap, the damage is structural. Repeated arcing destroys the magnetron. If you see black burn marks around the waveguide opening, your microwave is nearing the end of its life unless you catch it early. Ignoring this leads to electrical shorts that can trip your home’s breaker.
The Door Seal and Switches: Safety First
Microwaves rely on interlock switches to ensure they don’t emit radiation when the door is open. There are typically three switches: primary, secondary, and monitor. If the door doesn’t close firmly, or if you have to push it extra hard to start the cycle, the latches are worn. A loose seal lets microwave energy leak out, reducing efficiency and potentially exposing you to low-level radiation (though modern units are heavily shielded).
Test the switches by gently wiggling the door handle while the microwave runs. If it cuts out intermittently, the microswitches are failing. This is a common wear-and-tear item. If the screen goes blank when you press buttons, but the lights still work, the control panel membrane might be damaged by steam ingress. This is frequent in older models where the protective film peels away over time.
Age and Economics: Repair vs. Replace
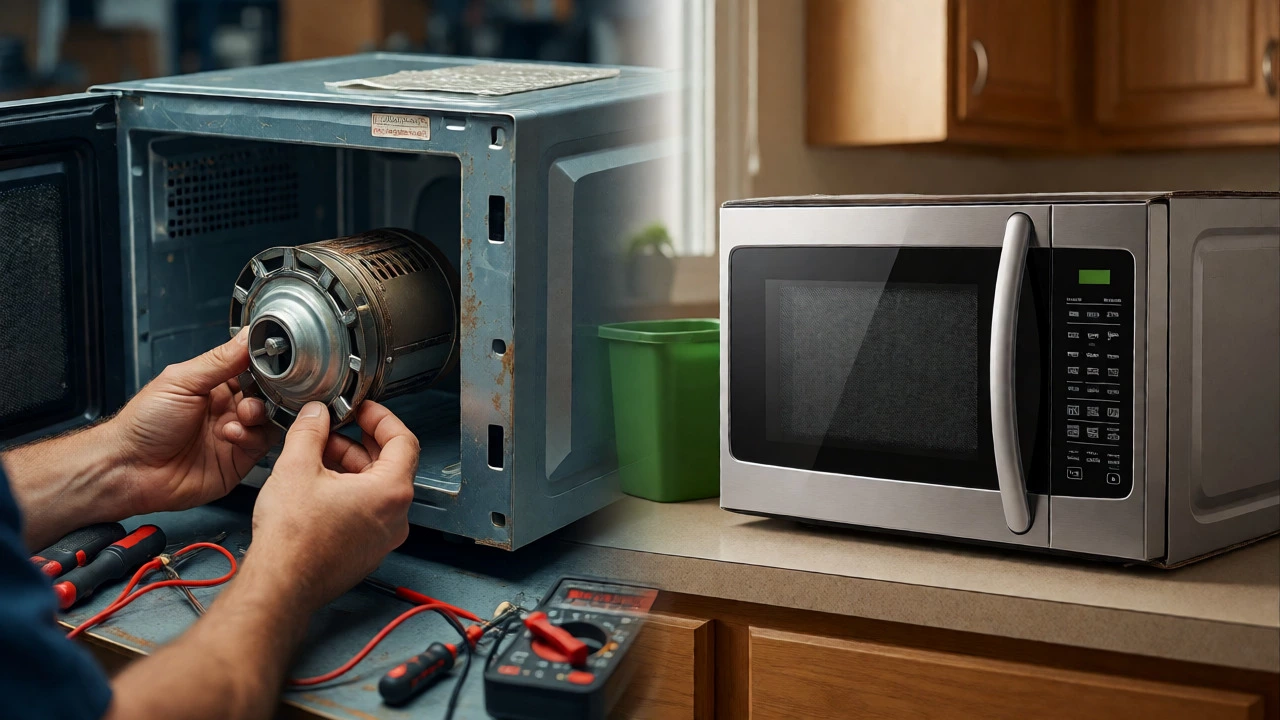
So, you’ve identified the problem. Now, does it make sense to fix it? Most countertop microwaves have a lifespan of 7 to 10 years. Built-in models last longer, up to 15 years, because they’re better insulated and often higher quality.
Here’s a quick rule of thumb for Toronto homeowners: If the repair cost exceeds 50% of the price of a new unit, buy a new one. Labor rates for appliance repair in Ontario average $80-$120 per hour plus parts. A new basic model costs $100-$150. Unless you have a high-end built-in unit worth $500+, replacing is usually cheaper and faster. However, if the issue is a simple $15 door switch or a $20 fuse, repair is absolutely worth it.
Troubleshooting Checklist Before Calling a Pro
Before you dial a technician, run through this checklist to save money on service calls:
- Check the Outlet: Plug another device into the same outlet. If it doesn’t work, reset your GFCI outlet (common in kitchens) or check the breaker box.
- Clean the Waveguide Cover: Remove the mica sheet near the antenna. Clean off grease buildup. Sometimes arcing is just dirt acting as a conductor.
- Inspect the Turntable Ring: Wash the plastic ring and the bottom support. Debris here causes grinding noises.
- Reset the Unit: Unplug the microwave for five minutes. This clears electronic glitches in the control board. Plug it back in and try again.
If none of these steps resolve the issue, you’re dealing with internal electrical failure. At that point, professional diagnosis is necessary to confirm whether the magnetron, capacitor, or diode is at fault.
Is it safe to use a microwave that sparks?
No. Occasional small sparks from food debris can be cleaned, but persistent arcing from the walls or roof indicates a failing waveguide cover or magnetron. Continued use can cause electrical fires or permanently destroy the magnetron, turning a minor repair into a total loss.
Why does my microwave make a loud buzzing noise?
A loud buzz usually signals a problem with the high-voltage system, specifically the diode or capacitor. It can also indicate that the magnetron is struggling to generate waves due to low voltage. If the buzz is accompanied by poor heating, the magnetron is likely failing.
How long should a microwave last?
Countertop microwaves typically last 7-10 years. Built-in or over-the-range models can last 10-15 years with proper maintenance. Heavy daily use shortens this lifespan significantly.
Can I replace the mica sheet myself?
Yes, replacing the mica waveguide cover is a simple DIY task. You can buy pre-cut sheets online for under $15. Just ensure you unplug the microwave first and remove any burnt edges carefully to avoid sharp shards.
What does it mean if the display works but it won't heat?
If the lights and timer work but no heat is produced, the issue is almost always in the high-voltage circuit: the magnetron, high-voltage diode, or capacitor. Since these components store dangerous charge, professional repair is recommended unless you are experienced with electronics.