

How to Fix a Fan That Suddenly Stopped Working: A Step-by-Step Guide
 Jul, 27 2026
Extractor Fan Troubleshooter
Diagnostic Steps
Power Check
Is the breaker tripped? Does a lamp work in a nearby outlet?
Sound & Behavior
When you switch it on, what happens?
Visual Inspection
Check filters and blades (power off!). Are they dirty?
Manual Spin Test
With power OFF, does the impeller spin freely by hand?
Diagnosis Result
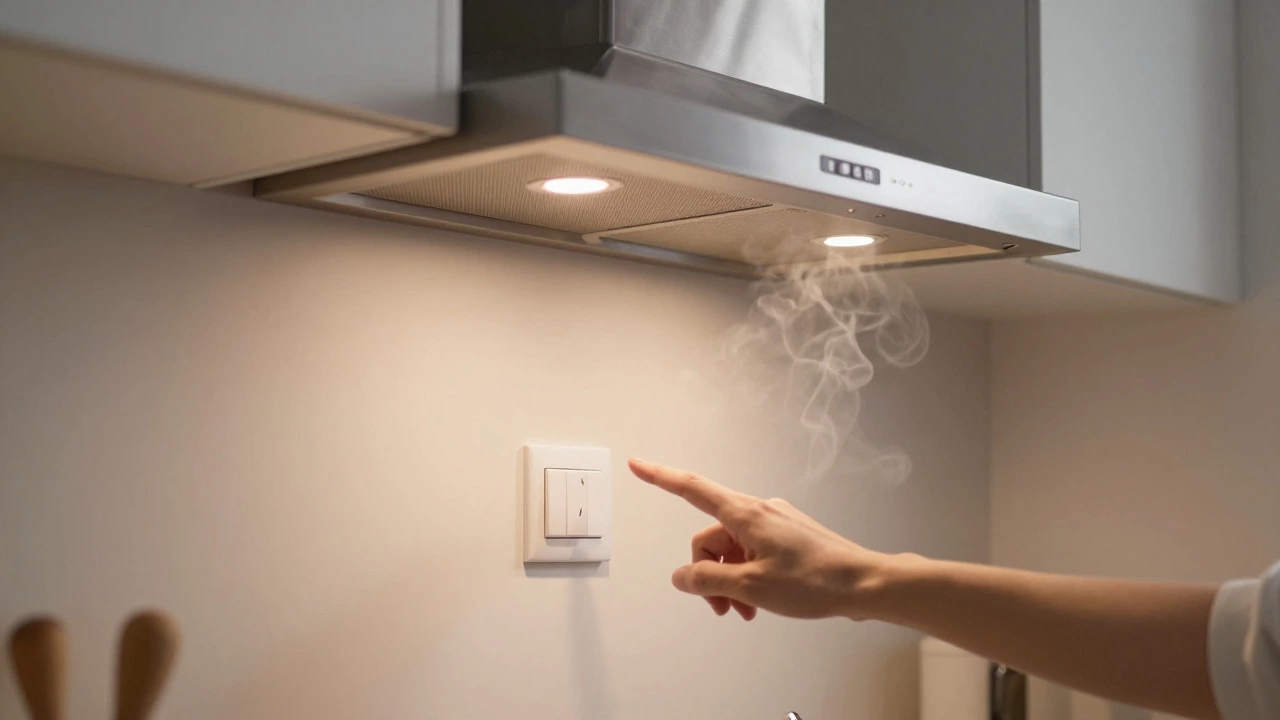
Your kitchen fills with steam, the smell of burnt garlic lingers for hours, or your bathroom mirror fogs up completely after a shower. You reach for the switch, click it on, and hear... nothing. Just silence. It’s frustrating, especially when you know that extractor fan was working perfectly yesterday. Before you call a technician or buy a replacement unit, take a breath. Most sudden failures aren’t catastrophic motor burns; they are simple blockages, tripped safety switches, or loose connections.
I’ve spent years fixing these units in Toronto homes, from older brick buildings with tight ductwork to modern condos with sleek integrated hoods. The good news? About 70% of "dead" fans can be revived with basic tools and some patience. Let’s walk through exactly how to diagnose and fix the issue yourself, saving you time and money.
Quick Summary / Key Takeaways
- Check power first: Ensure the circuit breaker hasn’t tripped and the wall switch is functional.
- Clean the filters: Grease-clogged grease filters or moldy air filters are the #1 cause of reduced airflow or motor strain.
- Inspect the blades: Build-up on the impeller can make it too heavy to spin, causing the motor to overheat and shut down.
- Listen for hums: A humming sound without spinning usually indicates a seized bearing or a bad capacitor.
- Test the wiring: Loose wires behind the panel or at the junction box can interrupt power flow.
Step 1: Rule Out Power Issues
Before taking apart any screws, let’s verify electricity is actually reaching the device. It sounds obvious, but we often overlook the simplest explanations. First, check your home’s main electrical panel. Look for a breaker that might have flipped to the "off" or middle position. If you find one, flip it off, then back on firmly. If it trips again immediately, stop-this indicates a short circuit inside the fan or wiring, and you should call an electrician.
Next, test the wall switch. Try plugging a lamp into an outlet near the fan. If the lamp works, the circuit has power. If not, the issue might be upstream. Some extractor fans are hardwired directly into the house wiring rather than plugged in. In this case, turn off the power at the breaker before touching anything. Use a non-contact voltage tester to ensure no live current is present at the fan’s connection point. If there’s no voltage at the wire nuts or terminal block, the problem is in the house wiring, not the fan itself.
Step 2: Clean the Filters (The Most Common Culprit)
If power is confirmed, the next suspect is airflow restriction. An extractor fan relies on free-moving air to cool its motor and maintain pressure. When filters get clogged, the motor works harder, heats up, and eventually triggers a thermal overload protector-a safety feature that cuts power to prevent fire. This makes the fan appear "dead," even though the motor is fine.
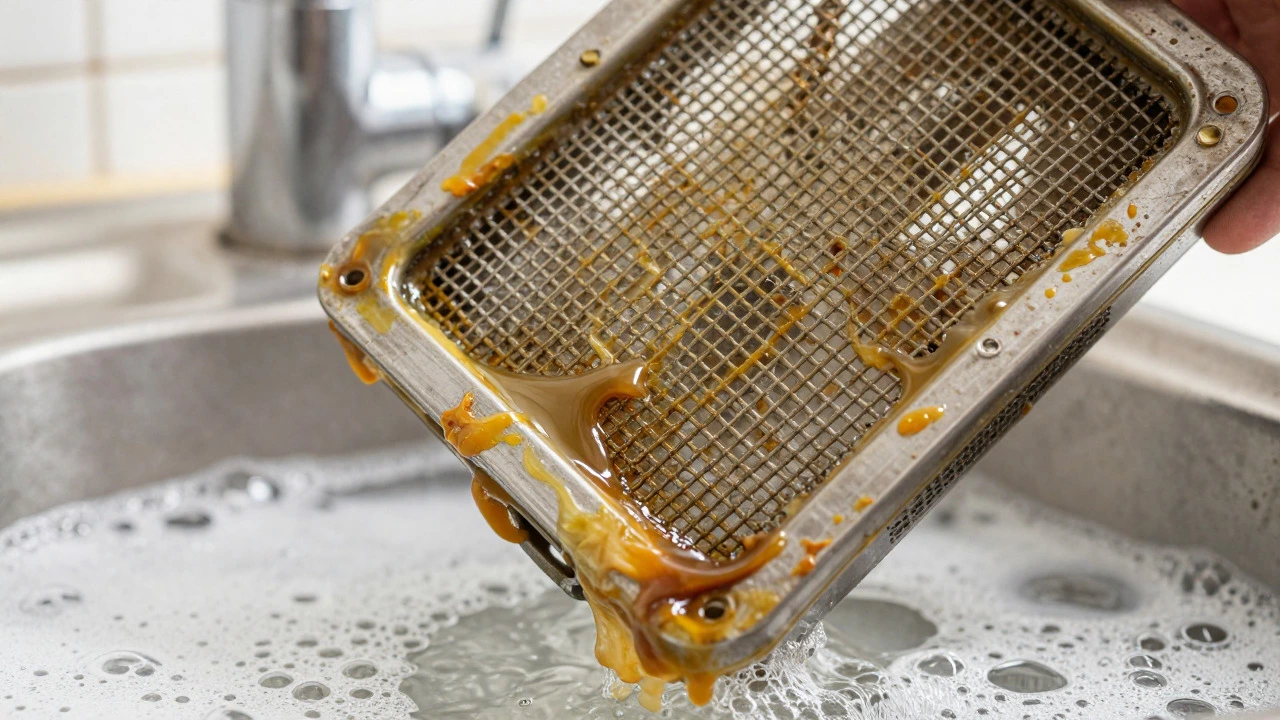
For Kitchen Hoods: Remove the metal mesh grease filters. Soak them in hot water mixed with dish soap and baking soda for 30 minutes. Scrub away the thick, yellowish grease buildup with a sponge. Rinse thoroughly and let them dry completely. Reinstall only when bone-dry; wet filters add weight and reduce efficiency.
For Bathroom Fans: These don’t have removable filters like kitchens do. Instead, they rely on a grille cover. Unscrew the cover and inspect the internal filter screen (if present). Clean it with a vacuum brush attachment. More importantly, check the exterior vent cap outside your house. Is it blocked by bird nests, leaves, or ice? In Toronto winters, ice dams can seal vents shut. Clear any debris from the outdoor flap.
Step 3: Inspect the Impeller and Blades
Once the filters are clean, look deeper. The impeller (the spinning part) acts as the heart of the system. Over time, grease and dust accumulate on the blades, making them unbalanced and heavy. Imagine trying to spin a ceiling fan covered in sticky syrup-it won’t start easily. If the motor struggles to overcome this inertia, it may stall.
To access the impeller, you’ll need to remove the fan housing. This varies by model:
- Turn off power at the breaker.
- Remove the front panel or hood underside plate (usually held by clips or screws).
- Unplug the motor connector if accessible.
- Unscrew the central nut holding the impeller in place. Note: Some models require you to push the impeller inward while turning the nut counter-clockwise.
Take the impeller out and wash it in warm soapy water. Use an old toothbrush to scrub between the blades. Dry it completely. While you’re there, wipe down the interior of the fan housing. Any residual grease here will just re-coat the blades quickly. Reassemble everything carefully, ensuring the impeller spins freely by hand before restoring power.
Step 4: Check for Mechanical Seizure
If cleaning didn’t work, try manually spinning the impeller with your finger (power off!). Does it move smoothly? Or does it feel gritty, stiff, or stuck?
A stiff rotation suggests seized bearings. Bearings allow the shaft to spin with minimal friction. When they fail, metal grinds against metal, generating heat and noise. You might hear a grinding or screeching sound right before it stops. Unfortunately, most residential extractor fans don’t have replaceable bearings. The cost of labor to disassemble and replace them often exceeds the price of a new fan. However, if it’s slightly stiff, applying a drop of silicone-based lubricant (not WD-40, which attracts dust) to the shaft ends might temporarily restore movement.
If the impeller spins freely by hand but doesn’t run when powered, the issue is likely electrical within the motor assembly.
Step 5: Test the Capacitor and Motor Windings
Many single-speed fans use a run capacitor to provide the initial torque needed to start the motor. If this capacitor fails, the motor might hum but not spin. Locate the small cylindrical component (usually black or silver) connected to the motor wires. Visually inspect it for bulging, leaking fluid, or burn marks. If you see damage, replace it. Capacitors are cheap ($5-$15) and easy to swap if you match the microfarad (µF) rating printed on the side.
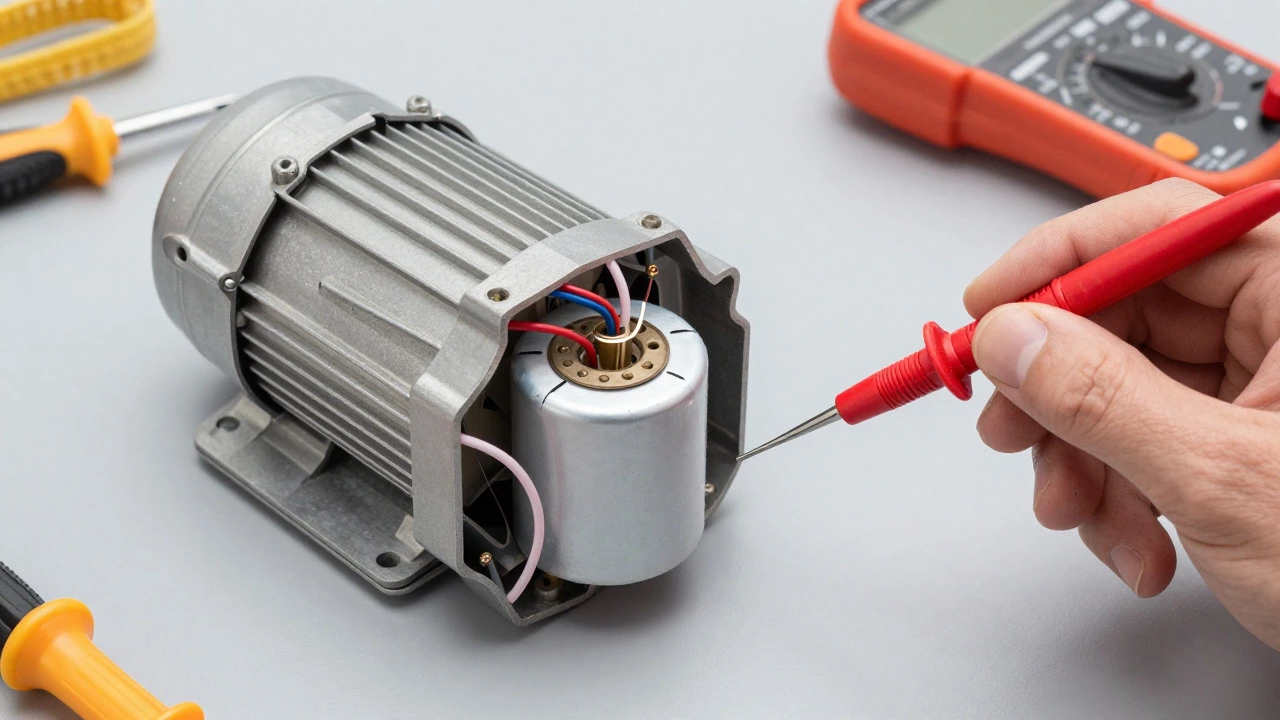
For a more advanced check, use a multimeter set to resistance (ohms). Disconnect power and probe the motor terminals. You should see a low resistance reading (typically 10-100 ohms). If you read infinite resistance (open circuit), the motor windings are burned out. This means the motor is dead and needs replacement. Since motors are often sold as complete assemblies, consider replacing the entire fan unit unless it’s a high-end commercial-grade model.
Comparison Table: Common Symptoms & Solutions
| Symptom | Likely Cause | Solution |
|---|---|---|
| No power, no sound | Tripped breaker, loose wire, faulty switch | Reset breaker, check wiring, test switch |
| Humming but not spinning | Bad capacitor, seized bearing, clogged filter | Clean filters, replace capacitor, lubricate shaft |
| Weak airflow | Clogged duct, dirty impeller, wrong size fan | Clean ductwork, wash impeller, upgrade fan CFM |
| Burning smell | Overheated motor, grease fire risk | Turn off immediately, clean thoroughly, inspect wiring |
| Loud rattling noise | Loose screws, broken blade, foreign object | Tighten hardware, replace impeller, clear obstruction |
When to Call a Professional
While DIY fixes handle most issues, some scenarios demand expert help. Call a licensed electrician or HVAC technician if:
- The breaker trips repeatedly after resetting.
- You smell burning plastic or see scorch marks on wires.
- The fan is hardwired into a complex junction box you’re uncomfortable opening.
- The ductwork runs through walls or ceilings and requires specialized tools to clean.
In Toronto, building codes require proper ventilation standards for bathrooms and kitchens. If your fan is undersized for the room volume, no amount of repair will fix poor performance. Calculate your required CFM (Cubic Feet per Minute): For bathrooms, divide square footage by 80. For kitchens, aim for 100 CFM per linear foot of cooktop width. Upgrading to a correctly sized unit is often the best long-term investment.
Preventing Future Failures
Maintenance is cheaper than replacement. Here’s a simple routine:
- Monthly: Wipe down the exterior and check the outdoor vent flap for debris.
- Quarterly: Clean grease filters in kitchen hoods. Vacuum bathroom fan grilles.
- Annually: Deep clean the impeller and housing. Inspect wiring for fraying.
Using the fan wisely also helps. Run it for 15-20 minutes after cooking or showering to clear moisture and odors, then turn it off. Leaving it running constantly wears out the motor unnecessarily. Consider installing a timer switch or humidity sensor to automate this process.
Why does my extractor fan hum but not spin?
A humming sound without spinning usually points to a failed run capacitor or seized bearings. The capacitor provides the extra jolt of energy needed to start the motor. If it’s weak, the motor vibrates but doesn’t turn. Alternatively, if the impeller is clogged with grease or the bearings are rusted, physical resistance prevents rotation. Start by cleaning the fan thoroughly. If that fails, replace the capacitor. If the motor still won’t spin, the bearings may be shot, requiring a full motor or fan replacement.
How often should I clean my kitchen extractor fan filters?
For average home cooks, cleaning metal mesh filters every 1-3 months is ideal. Heavy users who fry or grill frequently should clean them monthly. Clogged filters restrict airflow, forcing the motor to work harder, which leads to overheating and premature failure. Signs you need to clean sooner include reduced suction power, visible grease buildup, or unusual noises during operation.
Can I replace just the motor in my extractor fan?
It depends on the model. Many budget-friendly fans have integrated motor-housing units where the motor isn’t designed to be swapped separately. In these cases, replacing the entire fan is more cost-effective. Higher-end or commercial-grade models often offer modular components. Check the manufacturer’s manual or website for part numbers. If you do replace the motor, ensure the new one matches the voltage, wattage, and mounting dimensions of the original.
Is it safe to clean the fan while it’s plugged in?
Never clean an electrical appliance while it’s powered. Always turn off the circuit breaker supplying the fan before removing panels or touching internal parts. Even if the switch is off, residual charge or accidental contact with live wires can cause shock. Use a non-contact voltage tester to confirm zero energy before proceeding. Safety first saves lives.
What causes an extractor fan to stop working suddenly?
Sudden failure is typically caused by thermal overload protection triggering due to restricted airflow (clogged filters/ducts), a tripped circuit breaker from a surge, or a blown fuse. Less commonly, it could be a loose wire connection that vibrated loose, or a burnt-out motor winding. Start diagnostics with the easiest fixes: check power sources and clean filters before assuming the motor is dead.