How Much Does It Cost to Replace an Electric Oven Element? (2026 Guide)
 May, 14 2026
Oven Element Repair Cost Estimator
Your electric oven isn’t heating evenly, or maybe it’s not heating at all. You suspect the heating element is the metal coil inside your oven responsible for generating heat during baking and roasting cycles. The big question on your mind is simple: how much will fixing this actually cost you? Is it a quick $50 fix, or are you looking at spending hundreds?
The short answer is that replacing an electric oven element typically costs between $150 and $400 if you hire a professional. If you do it yourself, the part alone usually runs between $30 and $100, depending on your oven brand. But before you grab a screwdriver or call a technician, you need to understand what drives these prices up or down. A broken element is annoying, but misdiagnosing the problem can lead to wasted money.
Breakdown of Costs: Parts vs. Labor
To get a clear picture of the expense, we need to split the bill into two parts: the component itself and the labor required to install it. These two factors vary wildly based on where you live and who you hire.
| Cost Component | DIY Estimate | Professional Service Estimate |
|---|---|---|
| Heating Element Part | $30 - $100 | $50 - $150 (includes markup) |
| Labor / Service Call Fee | $0 | $80 - $200 |
| Total Estimated Cost | $30 - $100 | $150 - $400+ |
The part itself is rarely expensive unless you own a high-end built-in unit from brands like Wolf, Miele, or Sub-Zero. For standard models from GE, Whirlpool, or Samsung, replacement elements are mass-produced and widely available. However, technicians often charge a service call fee just to show up at your door. In cities like Toronto or New York, this diagnostic fee can range from $80 to $120 alone. If they find the issue is indeed the element, that fee might be applied toward the repair, but always ask upfront.
Identifying Which Element Has Failed
Most electric ovens have two distinct heating elements: the bake element located at the bottom of the oven cavity, and the broil element located at the top. Knowing which one is failing helps you narrow down the symptoms and potentially save money if only one needs replacing.
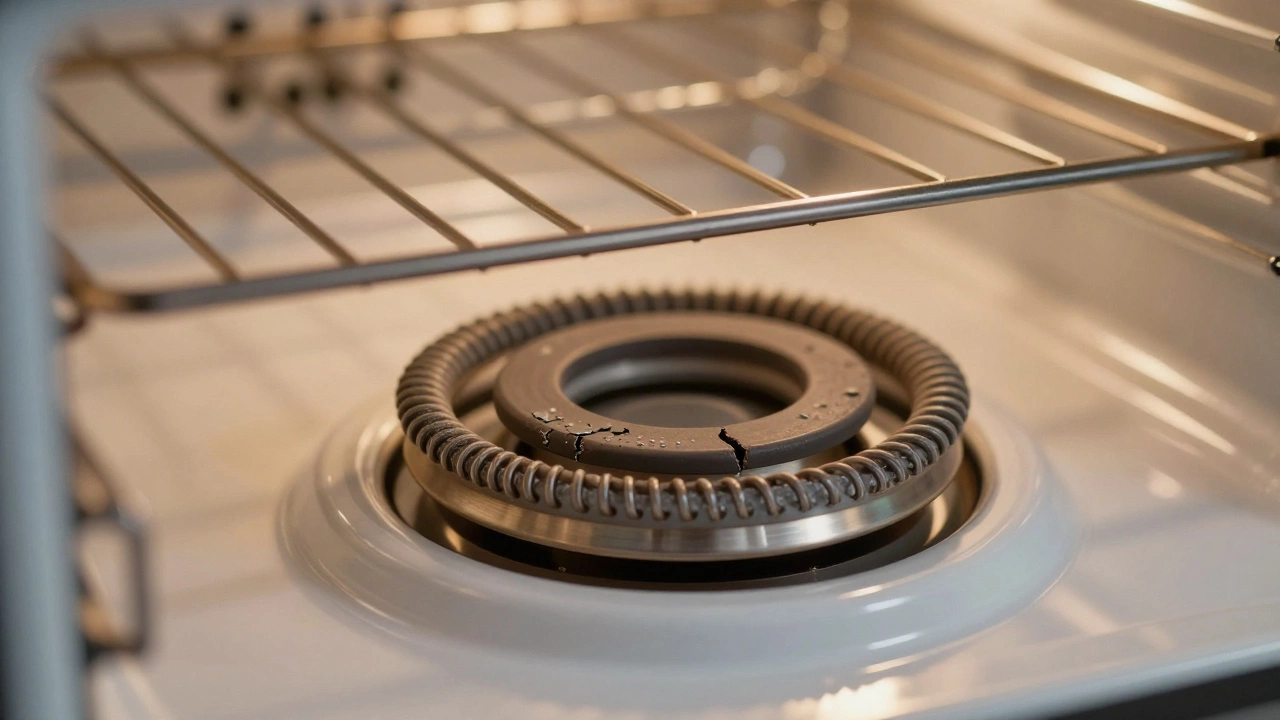
- Bake Element Failure: If your oven takes forever to preheat, never reaches the set temperature, or food comes out undercooked despite long cooking times, the bottom bake element is likely the culprit. You might also see visible cracks, blisters, or glowing spots that shouldn't be there when the oven is off.
- Broil Element Failure: If your broiler doesn’t turn on, or if it glows orange but doesn’t get hot enough to char food, the top element is dead. This is less common than bake element failure because the broil element is used less frequently.
Sometimes, both elements fail simultaneously due to age or power surges. In rare cases, the issue isn’t the element at all but the oven control board or the thermostat. Replacing a control board can cost significantly more-often upwards of $500-so accurate diagnosis is crucial before buying parts.
Can You Replace It Yourself? (The DIY Route)
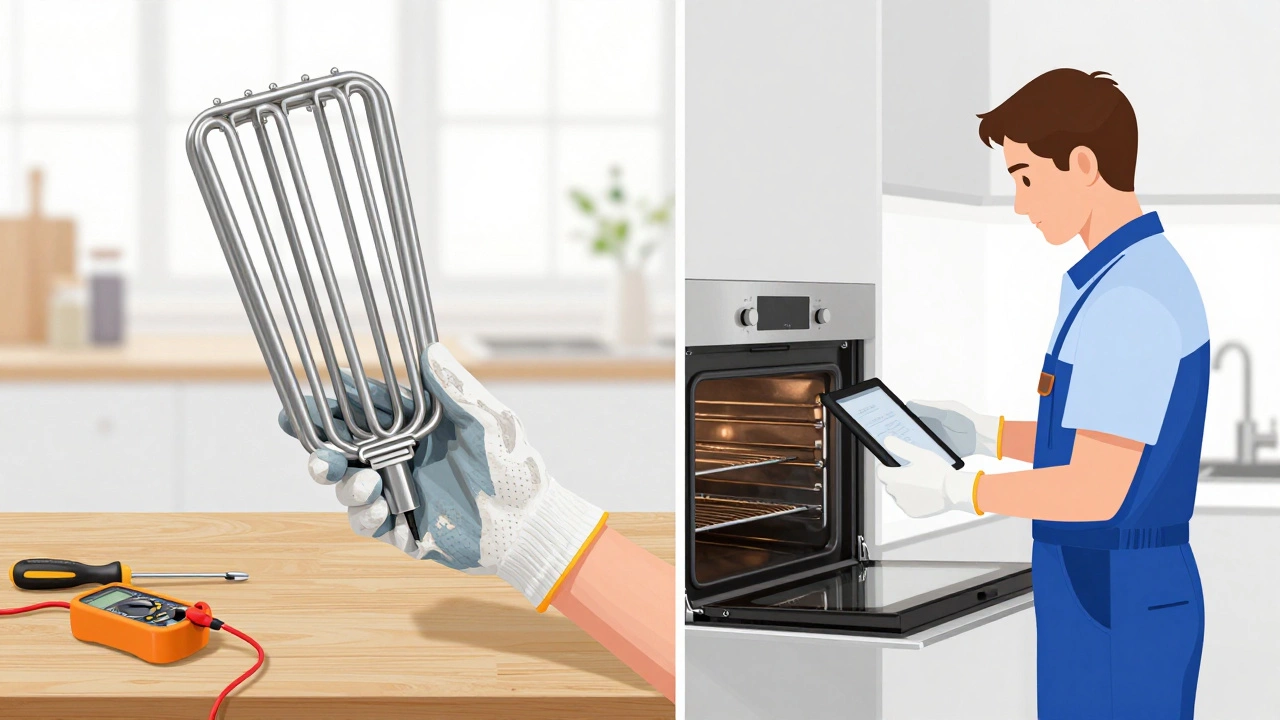
If you’re comfortable using basic hand tools and following safety protocols, replacing an oven element is one of the easier appliance repairs you can tackle. It generally involves removing the old element, disconnecting two wires, and screwing in the new one. No special skills are required beyond patience and caution.
Here is the step-by-step process most homeowners follow:
- Disconnect Power: This is non-negotiable. Turn off the circuit breaker that supplies power to your oven. Do not rely on the oven’s internal switch. Verify the power is off with a multimeter if you have one.
- Access the Element: Open the oven door. Most elements are held in place by two screws at the back of the oven cavity. Some slide into brackets; others are bolted directly to the wall.
- Remove Wires: Carefully pull the element forward slightly to expose the terminals. Disconnect the wires. Take a photo with your phone first so you remember exactly which wire goes where.
- Install New Element: Connect the wires to the new element’s terminals. Push the element back into place and secure it with the screws or brackets.
- Restore Power: Close the door and turn the circuit breaker back on. Test the oven by setting it to bake and checking if the element glows red within a few minutes.
The biggest risk here is electrical shock if you skip the power-off step, or damaging the wiring harness if you pull too hard. Also, ensure you buy the exact model number match. Using a generic element with different wattage or resistance can cause the oven to overheat or trip your home’s breakers.
When to Call a Professional
While DIY saves money, it isn’t always the best route. You should consider hiring a certified appliance repair technician in the following scenarios:
- Warranty Coverage: If your oven is less than five years old, it might still be under warranty. Opening the panel or tampering with internal components can void this coverage. A pro can often replace the part for free or at a reduced cost.
- Built-In Units: If your oven is installed inside a cabinet or wall, accessing the rear connections can be difficult. You may need to remove the entire oven from the frame, which requires specialized tools and knowledge to avoid damaging your kitchen cabinetry.
- Complex Wiring Issues: If the element tests fine with a multimeter but the oven still doesn’t heat, the problem could be deeper-like a faulty relay on the control board or a broken thermal fuse. Diagnosing these issues requires experience.
- Safety Concerns: If you see signs of burning, melting plastic, or smell smoke, stop immediately. These indicate a potential fire hazard that needs professional assessment.
In Toronto and other major Canadian cities, labor rates for appliance repair have risen. Expect to pay around $90-$120 per hour for skilled technicians. While this seems steep compared to a $40 part, the value lies in their ability to diagnose correctly the first time and guarantee their work.
Factors That Influence the Final Price
Several variables can push your repair bill higher or lower. Understanding these helps you budget accurately.
Oven Brand and Model: Premium brands use proprietary parts that are harder to source and more expensive. A replacement element for a standard GE oven might cost $35, while the same function for a Viking oven could cost $150 or more. Always check your model number (usually found on a sticker inside the door frame) before ordering.
Urgency and Timing: Need it fixed today? Emergency or weekend service calls often carry a premium fee. Scheduling a repair during regular business hours on a weekday is usually cheaper.
Additional Repairs: Technicians sometimes find secondary issues. For example, if the oven door seal is worn, heat escapes, causing the element to work overtime and burn out faster. Fixing the seal adds to the cost but prevents future failures.
Preventing Future Element Failures
Heating elements don’t last forever. They expand and contract with every use, eventually leading to metal fatigue and breakage. Average lifespan is 7-10 years. However, you can extend this life with simple habits.
- Avoid Spills: Sugar and acidic foods can corrode the element surface. Clean spills immediately once the oven cools.
- Don’t Use Harsh Cleaners: Avoid abrasive pads or harsh chemical cleaners directly on the element. Let self-cleaning cycles handle heavy grime.
- Check Door Seals: A tight seal keeps heat in, reducing the workload on the element.
- Use Proper Cookware: Metal pans can scratch the element coating. Use glass or ceramic when possible, or ensure metal pans don’t touch the coils.
Regular maintenance keeps your oven efficient and extends the life of its components. If you notice the element glowing unevenly or taking longer to heat, address it early before it fails completely.
How do I know if my oven element is bad?
Look for visible damage like cracks, blisters, or breaks in the coil. If the oven doesn’t heat, takes excessively long to preheat, or the element doesn’t glow red when turned on, it’s likely failed. You can also test continuity with a multimeter; a reading of infinity means the element is open and needs replacement.
Is it cheaper to replace the element myself or hire a pro?
DIY is significantly cheaper, costing only $30-$100 for the part. Hiring a pro costs $150-$400+ including labor. However, if you’re unsure about electrical safety or have a built-in oven, the cost of a mistake or voided warranty might make professional help worth the extra expense.
Can I use a universal oven element?
It’s risky. Universal elements may have different wattage or resistance ratings, which can cause overheating, tripping breakers, or inaccurate cooking temperatures. Always try to find an OEM (Original Equipment Manufacturer) part or a verified cross-reference match for your specific model number.
Why does my oven element keep breaking?
Frequent failures can be caused by power surges, poor ventilation, a faulty thermostat causing the element to stay on too long, or physical damage from cookware. If replacements fail quickly, have a technician check the oven’s electrical system and control board.
How long does it take to replace an oven element?
For a DIYer, it usually takes 15-30 minutes. A professional technician can complete the job in 20-45 minutes, depending on access. Built-in ovens may take longer due to removal and reinstallation requirements.