Electric Oven Stops Working: Common Causes & Fixes
 Oct, 25 2025
When your Electric Oven is a kitchen appliance that uses electricity to generate heat for baking, roasting, and broiling that suddenly refuses to heat, it feels like an instant dinner disaster. Most homeowners don’t know where to start because the oven is a sealed box of wires, switches, and heating elements. This guide walks you through the most frequent reasons an electric oven stops working, shows how to diagnose each problem safely, and lets you decide when a DIY fix is enough or when you should call a professional.
Typical Symptoms and What They Usually Mean
- No heat at any temperature setting.
- Heat on one side only or uneven baking.
- Oven displays error codes or flickers.
- Clicking or buzzing noises when you turn the knob.
- Odor of burnt wiring or plastic.
These clues narrow down the culprit. For example, a complete lack of heat points to power‑related issues, while heat on one side often means a faulty Heating Element or a broken connection.
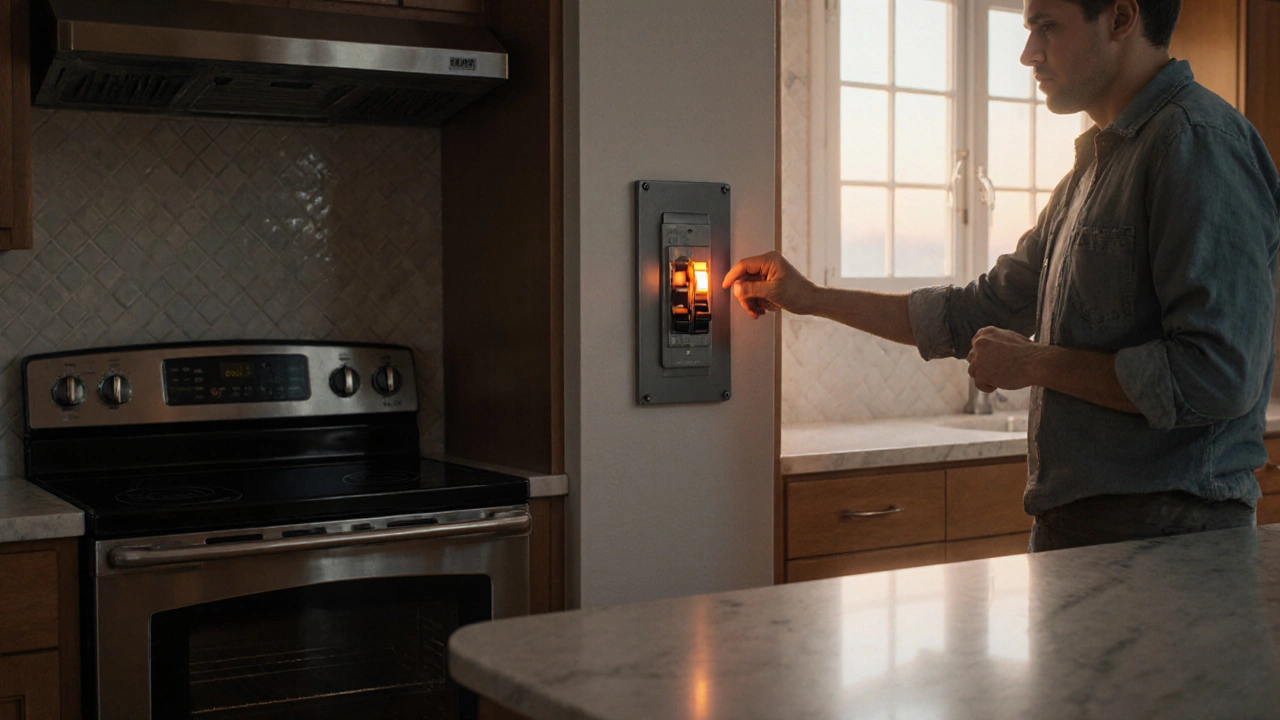
Step 1: Verify the Power Supply
- Check the circuit breaker. A tripped breaker will cut power to the oven entirely. Reset it and see if the oven powers up.
- Inspect the wall outlet with a multimeter. It should read around 240 V in the U.S. (or the local mains voltage). If the reading is low, the issue may lie in the house wiring.
- Ensure the oven’s power cord is securely plugged and shows no signs of wear or damage.
If the oven still won’t turn on after these checks, the problem likely moves deeper into the appliance.
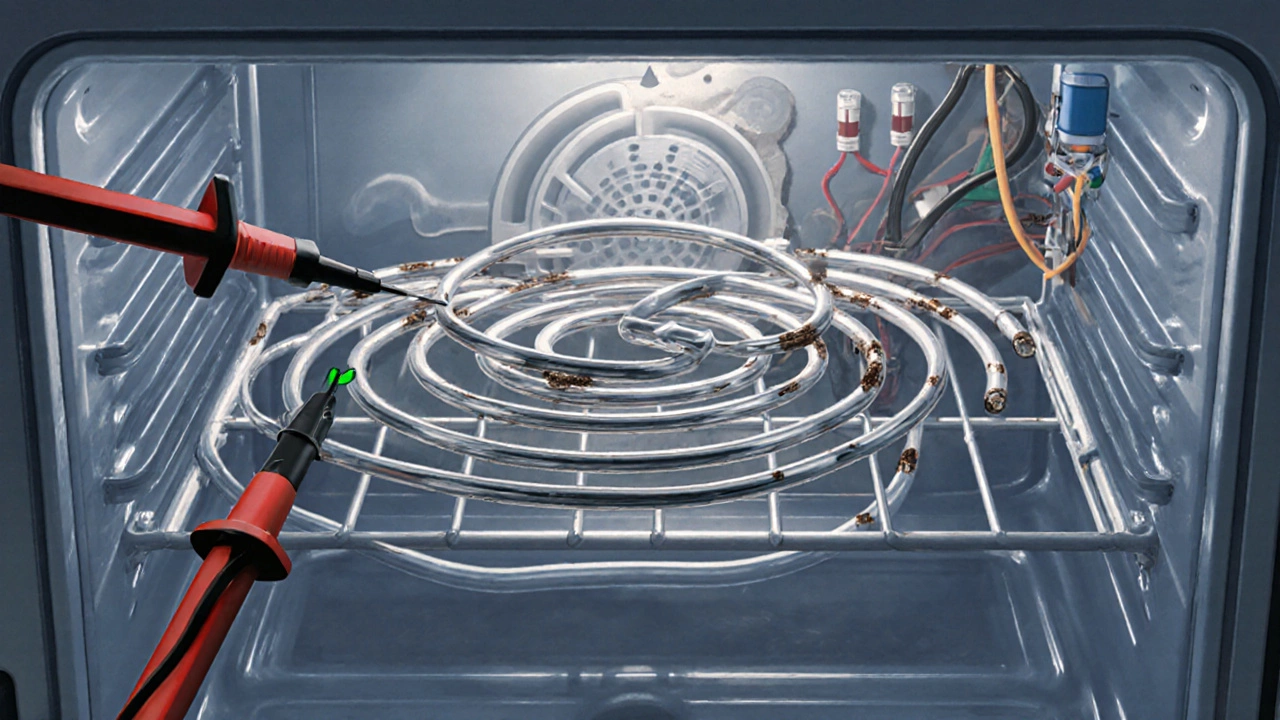
Step 2: Examine the Heating Elements
The bake and broil Heating Elements are the heart of any electric oven. Over time, they can crack, burn out, or get coated with food residue that hinders heating.
- Open the oven door and locate the element at the bottom (bake) and the top (broil).
- Visually inspect for any breaks, dark spots, or blistered areas.
- Use a multimeter set to continuity mode. Touch the probes to the element’s terminals - a continuous beep means the element is still conductive.
Replace any element that fails the continuity test. Most manufacturers sell exact replacements for under $30, and the swap usually takes under 15 minutes.
Step 3: Test the Thermostat and Temperature Sensor
The Thermostat (or temperature sensor in newer models) tells the oven when to stop heating. A faulty sensor will keep the oven from reaching the set temperature or shut it off prematurely.
- Locate the sensor - it’s a thin metal rod inside the oven cavity, often near the back wall.
- Measure resistance at room temperature; most sensors read around 1,100 Ω at 70 °F (21 °C). Compare the reading to the manufacturer’s spec sheet.
- If the resistance is out of range, replace the sensor.
Some ovens use a mechanical thermostat with a dial and a separate switch. Listen for a click when you set a temperature; no click often signals a dead thermostat.
Step 4: Look at the Oven Door Switch
Most electric ovens won’t heat unless the door is properly closed - a safety feature to prevent burns. The door switch can wear out or get stuck.
- Open the door and press the switch manually (you’ll hear a click). If it feels loose or doesn’t click, it may need cleaning or replacement.
- Test continuity with a multimeter; a good switch shows continuity when pressed.
Replacing a door switch is inexpensive and usually involves unscrewing a few panels.
Step 5: Check the Thermal Fuse and Circuit Board
If the oven shuts down after a short burst of heat, the Thermal Fuse may be blowing to protect against overheating. Similarly, a faulty Control Board can prevent power from reaching the heating elements.
- Locate the thermal fuse - it’s often a small, silver cylinder near the oven’s back panel.
- Test it for continuity; a broken fuse shows no continuity.
- If the fuse is good, inspect the control board for burnt spots, bulging capacitors, or loose connections.
Thermal fuses are cheap (around $10) and can be replaced without soldering. Control board replacement is more complex and may be a sign you should call a service technician.
Step 6: Review the Oven’s Internal Wiring
Loose wires, corroded connectors, or exposed solder joints can cause intermittent operation. While most homeowners can visually inspect for obvious damage, any deep wiring work should be left to a licensed electrician.
- Unplug the oven and remove the back panel.
- Look for any wires that are frayed, burnt, or disconnected.
- Secure loose connections with appropriate connectors; replace any damaged wires.
Remember: always verify the oven is unplugged before touching any internal components.
When to Call a Professional
Even with the best DIY mindset, certain signs mean you should call in an expert:
- Repeated tripping of the circuit breaker.
- Smelling burnt insulation or seeing smoke when the oven is on.
- Control board failures or complex electrical diagnostics.
- Loss of warranty coverage after self‑repair.
A qualified appliance repair technician can safely test high‑voltage components, identify hidden failures, and ensure the oven meets local electrical codes.
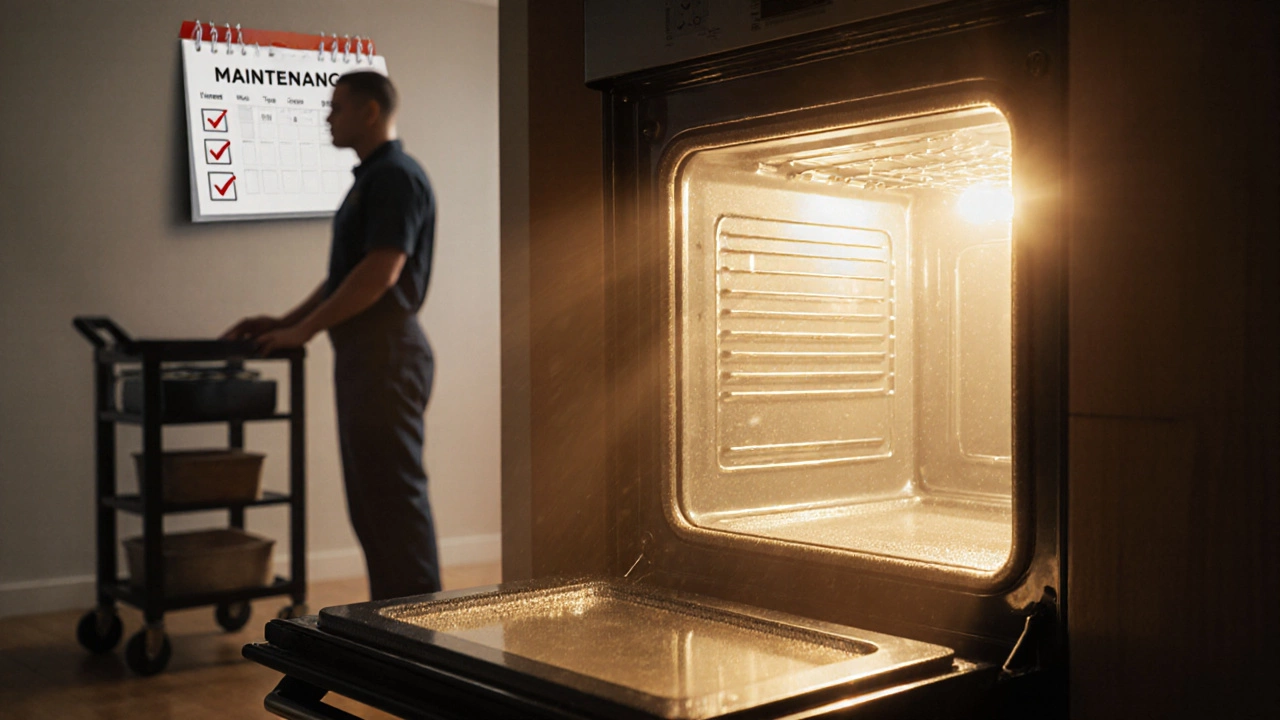
Preventive Maintenance Tips
- Clean the oven regularly. Food splatter can induce overheating and damage the heating elements.
- Check the door seal for wear; a poor seal forces the oven to work harder.
- Run a self‑diagnostic cycle if your model supports it - many ovens display error codes that pinpoint issues.
- Inspect the power cord annually for cracks or exposed wires.
- Schedule a professional tune‑up every 3‑5 years, especially for older units.
Quick Troubleshooting Checklist
| Symptom | Likely Cause | First Action |
|---|---|---|
| No heat at any setting | Tripped breaker, faulty cord, or dead control board | Reset breaker, test outlet, inspect control board |
| Heat only on bottom or top | Burned bake/broil element | Test element continuity; replace if needed |
| Oven won’t reach set temperature | Bad thermostat or sensor | Measure sensor resistance; replace |
| Oven shuts off after a few minutes | Thermal fuse or overheating door switch | Test fuse continuity; check door latch |
| Erratic display or error codes | Control board glitch | Run self‑diagnostic; consider board replacement |
Final Thoughts
Understanding how an electric oven not working breaks down into power, heating, sensing, and safety components makes troubleshooting far less intimidating. By methodically checking each area - from the circuit breaker to the thermal fuse - you can often fix the problem yourself and save a service call. But never hesitate to call a professional when you encounter high‑voltage components, persistent safety hazards, or a lost warranty. With a little preventive care, your oven will keep delivering perfectly baked meals for years to come.
Why does my oven make a clicking sound but never heats?
A clicking noise usually means the oven is trying to send power to the heating element, but the element either failed the continuity test or the thermal fuse has opened. Check the element with a multimeter and verify the fuse for continuity. Replace whichever part is faulty.
My oven powers on, shows a temperature, but stays cold. What’s going on?
When the display works but there’s no heat, the most common culprits are a burnt heating element or a broken thermostat/sensor. Test both with a multimeter. If the thermostat is mechanical, listen for a click; if it’s electronic, check resistance at room temperature.
Can a tripped GFCI outlet stop my oven from heating?
Yes. Many kitchens protect high‑current appliances with a GFCI. If it trips, the oven loses power entirely. Reset the GFCI or replace it if it continues to trip.
Is it safe to replace an oven’s heating element myself?
Yes, as long as you unplug the oven, remove the rear panel, and follow the manufacturer’s instructions. Elements are designed for DIY swaps and usually require only a screwdriver and a new part.
Why does my oven shut off after about 5 minutes of baking?
A shutting‑off oven often indicates an open thermal fuse or a failing door latch switch. The oven detects an unsafe temperature rise and cuts power to protect itself. Test the fuse and door switch for continuity and replace any component that fails.