

Can You Replace an Extractor Fan Yourself? A DIY Guide
 Sep, 20 2026
DIY Extractor Fan Readiness & Sizing Tool
Answer these questions to see if a like-for-like replacement is safe for you.
Calculate the minimum airflow (CFM) needed to properly ventilate your bathroom.
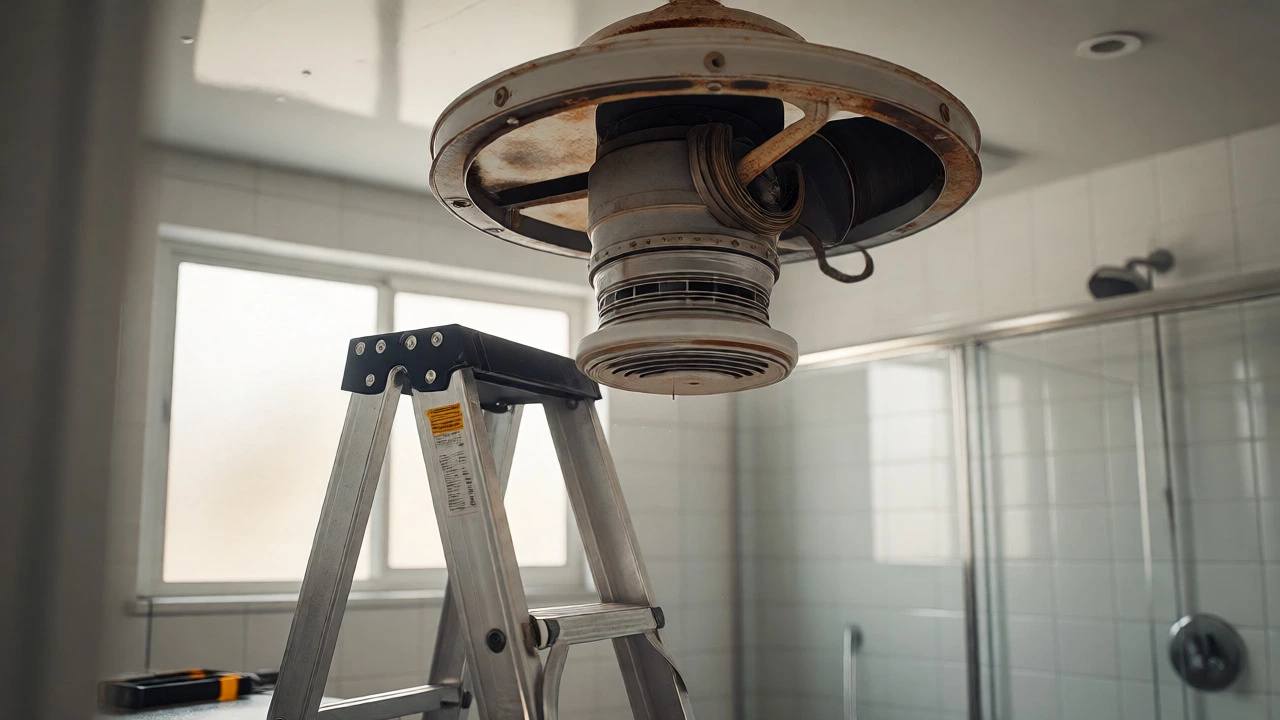
You’re standing in your bathroom, staring at a ceiling vent that hasn’t moved air since the Obama administration. It’s loud, it’s rusty, and frankly, it’s doing absolutely nothing to stop your mirror from fogging up. The first thought is usually panic: "Do I need to call a handyman? Do I need an electrician? Is this going to cost me hundreds of dollars just to swap one piece of plastic?"
Here is the short answer: Yes, you can replace an extractor fan yourself. For most standard residential setups, especially if you are swapping like-for-like (replacing an old unit with a new one using the same hole and wiring), it is a weekend project that requires basic tools and about two hours of time. But there is a catch. Electricity doesn’t care about your confidence level, and building codes vary by region. If you live in Toronto or anywhere else in Ontario, specific electrical regulations apply. This guide breaks down exactly when you should grab your screwdriver and when you should put it down and pick up the phone instead.
When DIY Makes Sense (And When It Doesn’t)
Before you buy anything, assess the situation. Not all extractor fans are created equal, and not all homes have accessible ceilings. You are a good candidate for DIY replacement if:
- The wiring is simple: You have a standard single-pole switch controlling the fan, and the existing wiring is in good condition (no frayed wires, no aluminum wiring issues).
- The housing fits: You are replacing an inline ducted fan with another inline ducted fan of similar dimensions, or a surface-mounted unit with another surface-mounted unit.
- You have access: You can safely reach the unit from a ladder without needing to cut into drywall or navigate tight attic spaces where you might step through insulation onto the floor below.
You should hire a professional if:
- You are changing the location: Moving the fan requires cutting new holes in the ceiling and walls, which involves carpentry, drywall repair, and potentially extending ductwork.
- There is no dedicated circuit: Older homes sometimes share circuits between lights and fans in ways that violate current code if modified incorrectly.
- You see signs of water damage or mold: If the area around the old fan is blackened or crumbling, the problem isn’t just the fan; it’s the moisture barrier. Fixing the root cause often requires more than a swap.
- You are uncomfortable with electricity: There is no shame in hiring help. One mistake with live wires can be fatal.
Gathering Your Tools and Parts
Success here is 90% preparation. You don’t want to be halfway through removing the old motor only to realize you’re missing a wire nut. Here is what you need on your bench before you climb the ladder.
| Item | Purpose | Pro Tip |
|---|---|---|
| Voltage Tester | To confirm power is off. | Use a non-contact tester for safety, but verify with a multimeter if possible. |
| Screwdrivers | Removing covers and mounting brackets. | Have both Phillips and Flathead sets ready. |
| Wire Strippers/Cutters | Trimming damaged wire ends. | Ensure they match the gauge of your home wiring (usually 14 or 12 AWG). |
| Wire Nuts & Connectors | Joining new wires to old. | Buy high-quality twist-on connectors; cheap ones loosen over time. |
| Duct Tape & Sealant | Sealing the duct connection. | Use foil tape or mastic sealant, not fabric duct tape which degrades. |
| Ladder | Accessing the ceiling. | A sturdy step ladder is safer than balancing on a chair. |
Regarding the fan itself, measure your existing opening carefully. Most standard bathroom fans fit into a 6x6 inch or 8x8 inch housing. If you buy a unit that doesn’t fit the hole, you’ll either have to patch the drywall (annoying) or enlarge the hole (risky). Also, check the CFM rating. A small powder room needs about 50-80 CFM (Cubic Feet per Minute), while a large master bath with a tub and shower might need 110+ CFM. Undersizing the fan means it won’t remove humidity effectively, leading to mold later.
Step-by-Step Replacement Process
Once you have your parts and tools, follow these steps methodically. Rushing is how people get shocked or strip screws.
1. Kill the Power
This is non-negotiable. Go to your breaker panel and turn off the circuit that controls the bathroom light and fan. Don’t just flip the wall switch. Use your voltage tester on the wires inside the fan housing to double-check that no current is flowing. Test your tester on a known live outlet first to make sure the batteries aren’t dead.
2. Remove the Old Unit
Most modern fans have a cover that snaps off or unscrews. Once the cover is off, you’ll see the motor assembly. In many models, the entire motor and fan blade assembly drops down after releasing a few spring clips or screws. Disconnect the duct hose from the back of the unit. You might find it secured with a clamp or just slipped over a collar. Loosen it carefully.
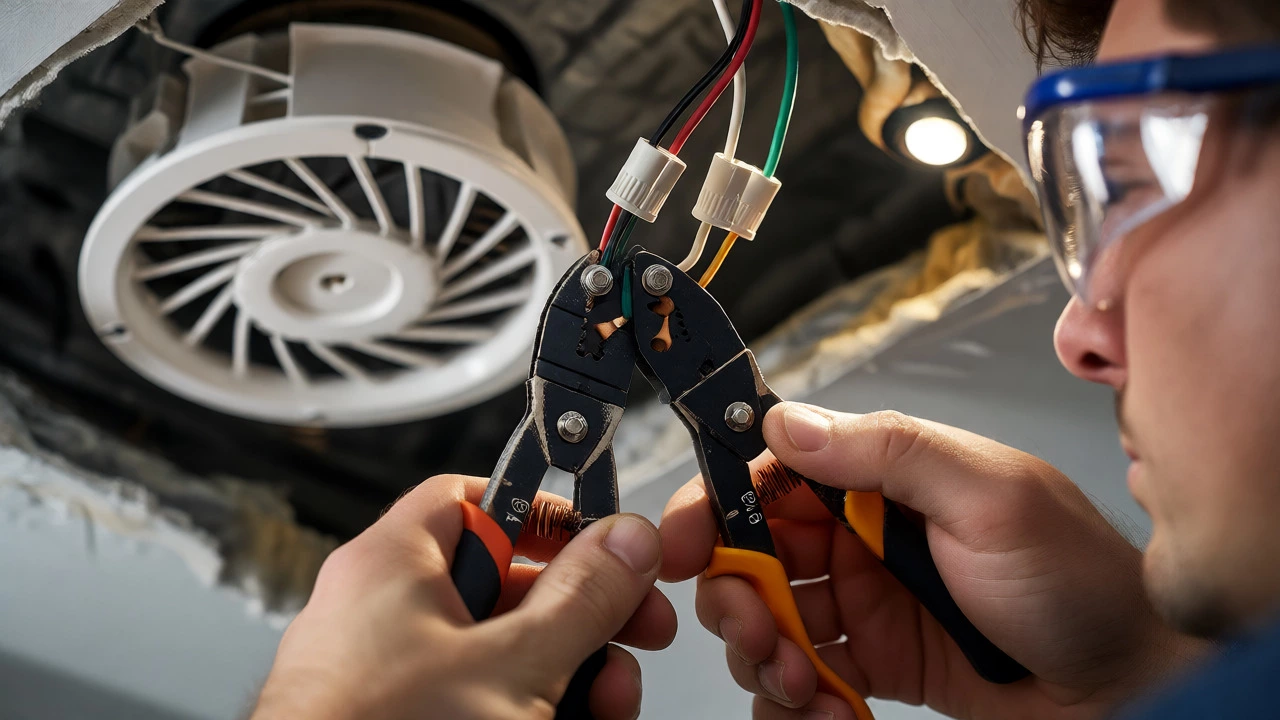
Next, disconnect the wiring. Take a photo of the original connections before you touch anything. Usually, you’ll see three wires: Black (Hot), White (Neutral), and Green or Bare Copper (Ground). Unscrew the wire nuts connecting them to the house wiring. Label the house wires with tape if necessary so you know which is which.
3. Install the New Housing or Motor
If you are keeping the existing housing (the box in the ceiling) and just replacing the motor kit, insert the new motor according to the manufacturer’s instructions. These kits are designed to snap into place. Ensure the gasket sits flat against the ceiling to prevent air leaks.
If you are replacing the entire housing, you’ll need to detach the old box from the joists. Slide the new housing into the opening and secure it with the provided screws or spring bars. Make sure it is level. An unlevel fan will vibrate and rattle loudly when running.
4. Reconnect Wiring
Connect the new fan’s wires to the house wires. Match colors: Black to Black, White to White, Ground to Ground. Twist the wires together clockwise, then screw on a wire nut until it is tight. Give each connection a gentle tug to ensure they won’t fall out. Tuck the wires neatly into the junction box behind the fan. Never leave loose wires dangling where they could touch the metal housing.
5. Attach Duct and Cover
Reattach the flexible duct hose to the exhaust port of the new fan. Secure it with a metal clamp or foil tape. Ensure there are no kinks in the duct; airflow restriction kills efficiency. Snap the decorative cover back into place. If your new fan has a light, install the bulb now.
6. Test It
Turn the breaker back on. Flip the switch. Listen for smooth operation. Put your hand near the vent outside your house to feel strong airflow. If it’s weak, check for blockages in the duct or a disconnected hose. If it hums loudly, check that the housing is tight and the blades aren’t touching the casing.
Common Pitfalls to Avoid
Even experienced DIYers make mistakes with ventilation. Here are the big ones.
Ignoring the damper: Many fans have a flapper damper that opens when the fan runs and closes when it stops to keep cold air out. If you forget to align this properly, your bathroom will be freezing in winter. Some dampers stick shut due to paint or rust; clean them or replace the damper flap.
Using the wrong fasteners: Drywall anchors are fine for light fixtures, but fans create vibration. Over time, weak anchors pull out, causing the fan to sag or crash down. Always anchor the housing directly into a wooden joist if possible, or use heavy-duty toggle bolts rated for dynamic loads.
Forgetting the exterior vent cap: While you have the system open, go outside and check the vent hood. Is it clogged with lint or bird nests? Is the flap moving freely? Cleaning this takes five minutes and ensures your new fan actually works.
Cost Analysis: DIY vs. Professional
Let’s talk numbers. As of 2026, prices in Canada have stabilized somewhat, but labor remains expensive.
| Expense Category | DIY Cost (CAD) | Professional Cost (CAD) |
|---|---|---|
| Fan Unit | $50 - $150 | $50 - $150 (often marked up) |
| Materials (Wire nuts, tape) | $10 | Included in labor |
| Labor/Service Fee | $0 | $150 - $300+ |
| Total Estimated | $60 - $160 | $200 - $450+ |
Doing it yourself saves you roughly $150 to $300. However, if you mess up the wiring and burn out the new motor, you lose money. If you fail to seal the duct properly and get moisture in your attic, you might face thousands in mold remediation later. Weigh the risk against the savings. For a straightforward swap, DIY is hard to beat.
Final Checks Before You Call It Done
You’ve installed the fan, turned the power back on, and it’s spinning. Are you done? Almost. Spend ten minutes verifying performance.
- Sound Check: It should whisper, not roar. If it rattles, tighten the mounting screws.
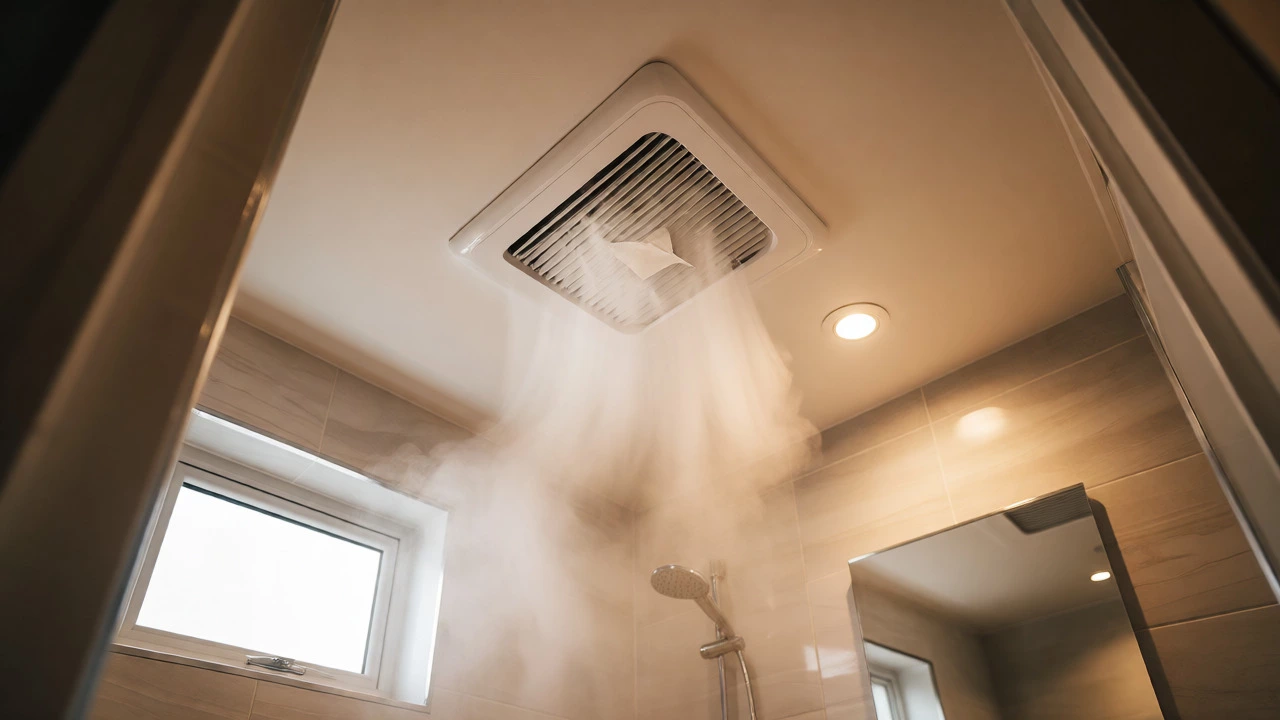
- Airflow Test: Hold a tissue paper square near the intake. It should stick firmly. If it barely moves, your duct is too long, too narrow, or blocked.
- Temperature Check: Run the fan for 15 minutes during a hot shower. Does the mirror clear? If not, you may need a higher CFM fan or better insulation.
Replacing an extractor fan is one of the most satisfying minor home improvements because the results are immediate. You walk into a fresher-smelling, less humid bathroom every day. With careful planning and respect for electrical safety, you can handle this task confidently.
Do I need a permit to replace an extractor fan?
In most Canadian municipalities, including Toronto, replacing an existing fixture with a similar one does not require a permit. However, if you are adding new wiring, relocating the fan, or installing a new circuit, a permit is usually required. Always check with your local building department, as rules can change.
How long does it take to replace an extractor fan?
For a straightforward like-for-like replacement, expect to spend 1 to 2 hours. This includes gathering tools, removing the old unit, installing the new one, and testing. If you encounter rusted screws, damaged wiring, or need to modify the ductwork, add another hour or two.
What size extractor fan do I need for my bathroom?
Calculate your bathroom's cubic feet (Length x Width x Height) and divide by 7.5 to find the minimum CFM (Cubic Feet per Minute) required. For example, a 5x8 foot bathroom with an 8-foot ceiling is 320 cubic feet. Divided by 7.5, you need a fan with at least 43 CFM. Round up to the nearest standard size, typically 50 or 80 CFM.
Can I reuse the old wiring?
Yes, if the wiring is in good condition. Inspect the copper strands for corrosion or brittleness. If the insulation is cracked or the copper is green/black, cut back to fresh wire and splice in new segments. Aluminum wiring, common in older homes, requires special anti-oxidant paste and compatible connectors to prevent fire hazards.
Why is my new fan still noisy?
Noise usually comes from vibration or airflow restriction. Check that the housing is tightly secured to the joists. Ensure the duct hose is not crushed or bent sharply. If the fan is mounted in a hollow ceiling cavity, sound can echo; consider adding acoustic insulation around the housing to dampen noise.