

Can I Fix My Dryer Myself? A DIY Guide to Tumble Dryer Repairs
 Aug, 27 2026
Dryer Repair Decision Tool
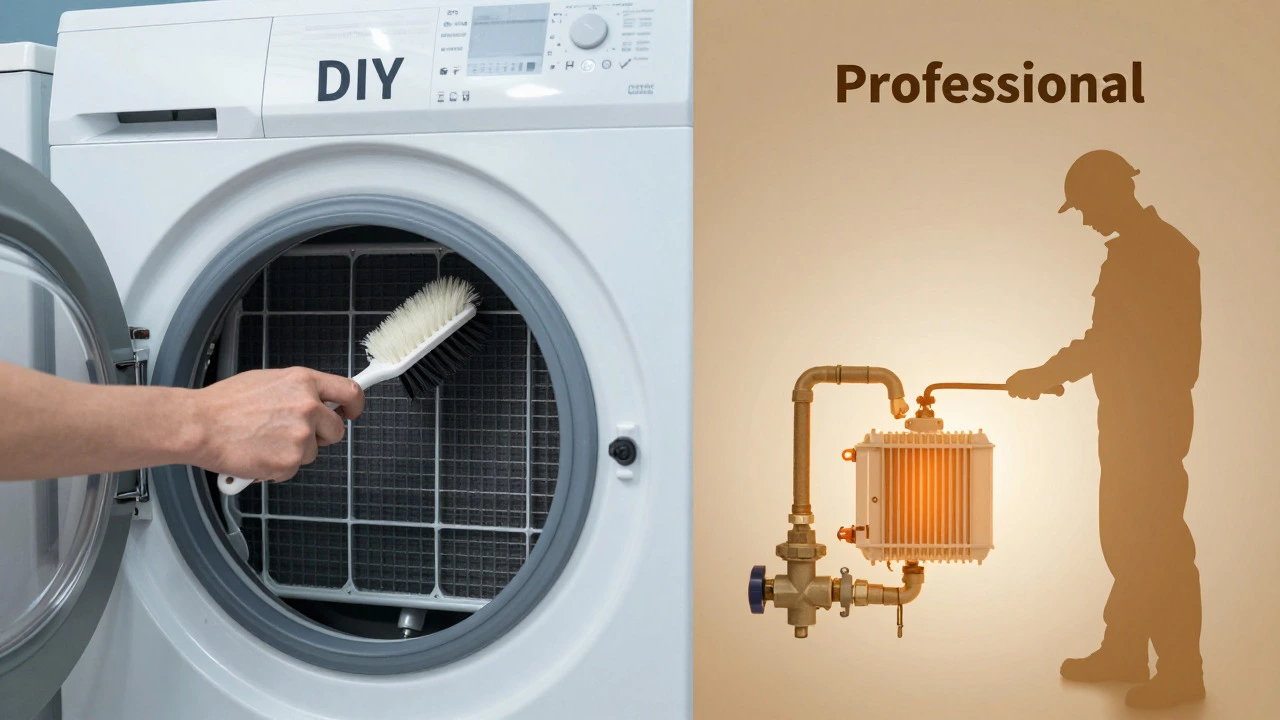
Based on the selected issue, here is the estimated cost difference between DIY and Professional repair.
Check off the items you have ready before starting any repair.
Your clothes are still damp after a full cycle, or the drum has stopped spinning entirely. It’s frustrating, and your first thought is probably: "Should I call a technician or try to fix it myself?" The answer isn't always black and white. For many common tumble dryer repair issues, you can save money by handling the job yourself with basic tools and a bit of patience. But for others, attempting a DIY fix can lead to bigger problems or safety hazards.
This guide breaks down exactly what you can handle on your own, what should be left to the pros, and how to troubleshoot safely so you don’t end up with a broken appliance that costs more to fix than it’s worth.
Quick Summary: What You Can and Cannot Fix
- You CAN fix: Clogged lint filters, blocked condensers, worn-out door seals, jammed drums, and tripped thermal fuses (if you have basic electrical knowledge).
- You SHOULD CALL A PRO: Faulty heating elements (gas models), complex PCB board failures, motor replacements, and any issue involving gas lines.
- Safety First: Always unplug the dryer before opening any panels. Gas dryers require extra caution due to combustion risks.
Start With the Basics: Troubleshooting Before You Open Anything
Before grabbing a screwdriver, rule out the simple stuff. Most dryer malfunctions aren’t mechanical failures; they’re maintenance oversights. Here’s where to start:
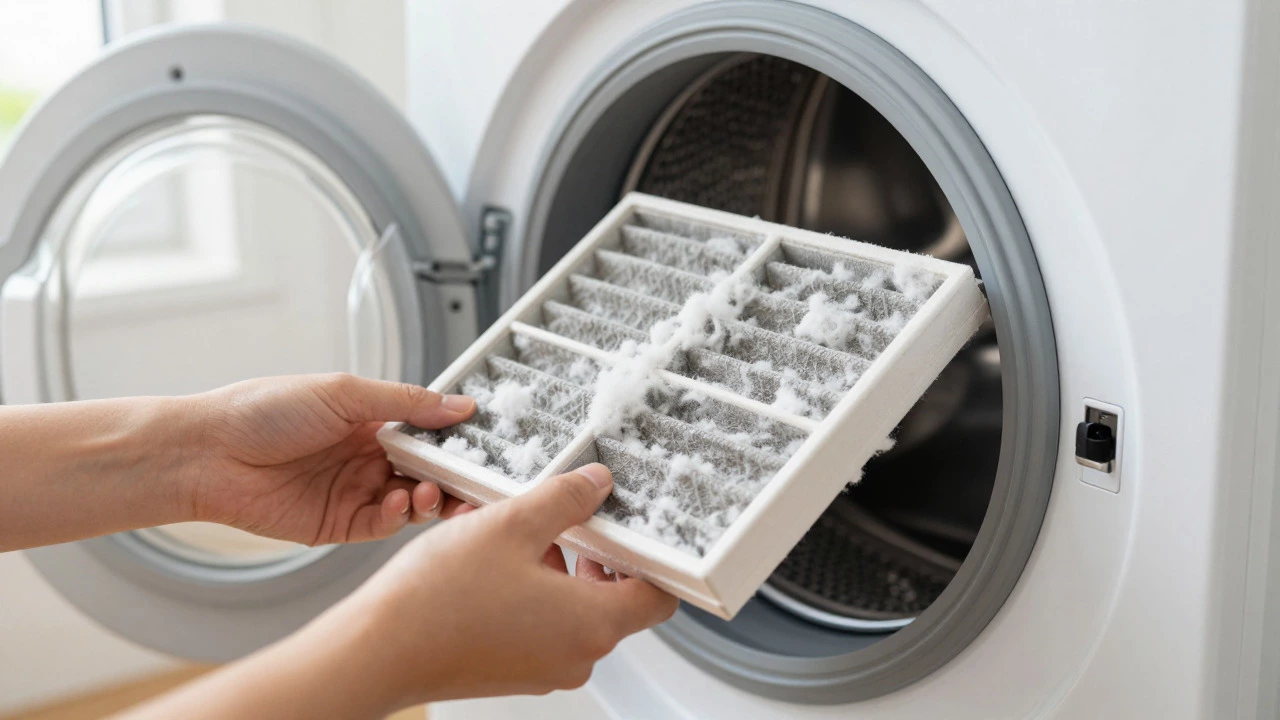
- Check the Lint Filter: This is the #1 cause of poor drying performance. If it’s clogged, air can’t circulate properly. Clean it after every load, but if you haven’t in a while, give it a thorough scrub with warm water and mild soap.
- Inspect the Power Supply: Is the outlet working? Plug in a lamp to test. If you have a 240V dryer, make sure both breakers in your panel are on. One breaker might trip while the other stays on, causing the drum to spin but no heat.
- Listen for Sounds: Does the drum spin but not heat? That points to an electrical or heating element issue. Does it not spin at all? Could be a belt, motor, or lid switch problem.
- Check the Door Switch: Many dryers won’t start if the door isn’t fully closed. Press the latch firmly while turning the power on. If it starts, the switch may be loose or faulty.
If none of these work, it’s time to look deeper.
Common DIY Fixes: What’s Safe to Handle Yourself
These repairs are low-risk and typically take under an hour. You’ll need a Phillips-head screwdriver, a flathead screwdriver, and maybe a pair of pliers.
1. Cleaning the Condenser (Condensing Dryers)
If you have a condensing dryer, the condenser coil can get clogged with lint over time, reducing efficiency. Access varies by model, but most have a panel behind the front kick plate or inside the top casing. Remove the panel, gently brush off lint with a soft-bristle brush, and rinse with lukewarm water if needed. Let it dry completely before reassembling.
2. Replacing a Worn Door Seal
A cracked or torn rubber seal lets hot air escape, making drying times longer. To replace it:
- Unplug the dryer.
- Open the door and inspect the seal around the edges.
- Use a flathead screwdriver to carefully pry out the old seal from its groove.
- Press the new seal into place, ensuring it sits evenly without gaps.
3. Clearing a Jammed Drum
If the drum won’t turn by hand, something might be stuck-like a sock or button caught between the drum and the housing. Unplug the dryer, remove the front panel (usually held by two screws at the top corners), and inspect the drum area. Gently pull out any debris. Check the drive belt for wear while you’re in there-if it’s snapped or frayed, it’s time to replace it.
4. Replacing the Thermal Fuse
The thermal fuse is a safety device that cuts power to the heater if temperatures get too high. If your dryer spins but doesn’t heat, this could be the culprit. Locate the fuse (usually near the exhaust duct or blower assembly). Use a multimeter set to continuity mode: if there’s no beep, the fuse is blown. Replace it with an exact match. Note: replacing the fuse without fixing the underlying overheating issue (like a clogged vent) will just blow it again.
When to Call a Professional: High-Risk Repairs
Not every repair is suitable for DIY. Here’s where expert help saves you money and prevents accidents.
Heating Element Failures (Electric Models)
While electric heating elements seem straightforward, they’re often wrapped in insulation and connected to high-voltage wiring. If you’re not comfortable working with 240V circuits, leave this to a pro. A bad connection can cause arcing, which is a fire risk.
Gas Dryer Issues
If you have a gas dryer, avoid touching anything related to the burner, igniter, or gas valve unless you’re certified. Gas leaks are dangerous, and improper ignition can lead to explosions. Even if the igniter glows but doesn’t light the flame, let a technician diagnose whether it’s the valve, pressure regulator, or gas supply.
Motor and Control Board Problems
Replacing a motor requires disassembling much of the dryer, aligning pulleys, and reconnecting multiple wires. The control board (PCB) is even trickier-diagnosing which component failed often requires specialized testing equipment. If your dryer makes unusual noises, stops mid-cycle, or shows error codes, a pro can pinpoint the issue faster than trial-and-error.
Safety Tips Before You Start Any Repair
Even simple fixes carry risks if you skip safety steps. Follow these rules:
- Always unplug the dryer before opening any panels. For gas dryers, also shut off the gas valve at the wall.
- Use insulated tools if you’re working near electrical components.
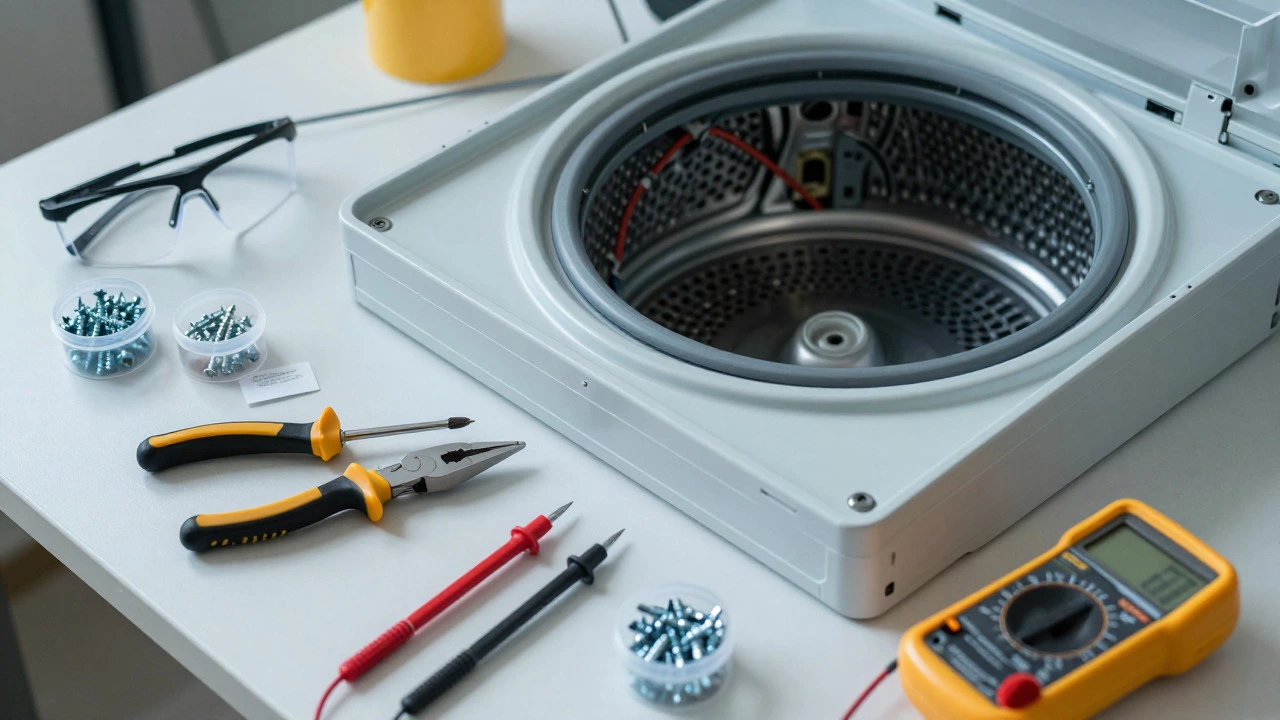
- Wear safety glasses when removing panels or brushing out lint to prevent eye irritation.
- Keep track of screws and parts in labeled containers. Dryers have dozens of small fasteners, and losing one can make reassembly painful.
- Check your warranty before doing any DIY work. Some manufacturers void warranties if non-certified technicians open the unit.
Comparison: DIY vs. Professional Repair Costs
| Repair Type | DIY Cost (Parts Only) | Professional Cost (Parts + Labor) | Time Required | Risk Level |
|---|---|---|---|---|
| Clean Lint Filter/Condenser | $0 | $80-$120 | 15-30 mins | Low |
| Replace Door Seal | $15-$30 | $100-$150 | 30-45 mins | Low |
| Replace Drive Belt | $20-$40 | $150-$250 | 1-2 hours | Medium |
| Replace Heating Element | $40-$70 | $200-$350 | 2-3 hours | High |
| Control Board Replacement | $80-$150 | $300-$500 | 3+ hours | Very High |
As you can see, DIY saves money on labor, but only if you have the right skills. For complex electrical or gas work, the higher professional cost is worth the peace of mind.
Tools You’ll Need for Basic Dryer Repairs
You don’t need a full workshop to tackle minor dryer issues. Here’s a starter kit:
- Phillips-head and flathead screwdrivers
- Nut driver set (for hex bolts)
- Pliers (needle-nose and slip-joint)
- Multimeter (for testing fuses, thermostats, and heating elements)
- Soft-bristle brush (for cleaning condensers and vents)
- Work gloves and safety glasses
Preventive Maintenance: Avoid Future Breakdowns
The best way to avoid costly repairs is to keep your dryer maintained. Here’s a simple routine:
- Clean the lint filter after every load.
- Inspect the vent hose quarterly for kinks or blockages. Ensure outdoor vents open freely.
- Check the door seal monthly for cracks or tears.
- Run an empty cycle with a cup of vinegar to deodorize and clean internal components.
- Listen for changes in noise or vibration. Early signs of bearing wear or motor issues can be caught before they become major failures.
Regular maintenance extends the life of your dryer and keeps energy bills lower by ensuring efficient operation.
Frequently Asked Questions
Is it safe to fix a dryer without experience?
Yes, for basic tasks like cleaning filters, replacing door seals, or clearing jams. Always unplug the dryer first. Avoid touching electrical components or gas lines unless you’re confident in your skills.
How much does it cost to repair a tumble dryer professionally?
Most professional repairs range from $100 to $350, depending on the part and labor complexity. Simple fixes like condenser cleaning cost less, while control board or motor replacements can exceed $500.
What tools do I need to fix a dryer myself?
A basic toolkit includes screwdrivers, pliers, a nut driver, and a multimeter for electrical tests. Safety glasses and work gloves are also recommended.
Should I fix a gas dryer myself?
Only for non-gas-related issues like cleaning filters or replacing belts. Gas components (burner, valve, igniter) should be handled by certified technicians to avoid leaks or explosion risks.
How long does a typical dryer repair take?
Simple fixes take 15-30 minutes. Complex repairs like motor or control board replacements can take 2-4 hours, depending on your experience and part availability.
Will DIY repairs void my dryer’s warranty?
It depends on the manufacturer. Some void warranties if non-certified technicians open the unit. Check your warranty terms before starting any repair. Minor maintenance like cleaning filters usually doesn’t affect coverage.