

Are Bathroom Extractor Fans Easy to Replace? A DIY Guide
 Aug, 24 2026
Bathroom Fan Replacement Difficulty Assessor
Rule of thumb: 50 CFM per 100 sq ft.
Select your options and click "Check Difficulty" to see if you can handle this DIY project.
- Have a sturdy step ladder
- Screwdrivers & Wire Strippers ready
- Know where the circuit breaker is
- Will take photo of old wiring
- Verified ground wire exists
Is your bathroom mirror fogging up for twenty minutes after a hot shower? Or maybe the air just feels stale and heavy. If you are wondering bathroom extractor fan replacement, you might be hoping it is a simple weekend project. The short answer is: it depends on what you are dealing with.
For many homeowners, swapping out a failed ceiling-mounted unit is a straightforward task that takes an afternoon. But if your old fan is wired directly into the light fixture or tucked behind a complex duct system, things get trickier. Before you grab your screwdriver, let’s break down exactly what makes this job easy or hard, so you can decide if you should tackle it yourself or call a pro.
Why You Might Need to Replace Your Fan
Most people don't think about their exhaust fans until they stop working. But a failing fan usually gives you warning signs before it dies completely. Here is what typically goes wrong:
- Noise changes: A healthy fan hums quietly. If yours starts grinding, rattling, or whining, the motor bearings are likely wearing out.
- Reduced airflow: You turn it on, but the window doesn't open or the steam lingers. This often means the blades are clogged with dust or the motor is losing power.
- Condensation issues: If mold appears in corners or on tiles despite running the fan, the extraction rate has dropped below what's needed for your bathroom size.
In most cases, repairing these specific issues isn't worth the cost of parts and labor. Replacing the whole unit is cheaper and more reliable. New units from brands like Broan or Vent-Aire often come with better energy efficiency and quieter operation than models from ten years ago.
Assessing the Difficulty Level
Not all bathrooms are created equal. To gauge how easy your replacement will be, look at three factors: location, wiring, and ducting.
1. Location: Ceiling vs. Wall
Ceiling-mounted fans are generally easier to access if you have a sturdy step ladder. Wall-mounted fans near a window are also manageable, provided there is enough space to work around the frame. However, if your fan is recessed deep into a tiled wall or hidden behind a decorative cover plate, you’ll need more patience and potentially some tiling tools.
2. Wiring Complexity
This is where most DIYers get stuck. Ask yourself: Is the fan controlled by its own switch, or does it run when the lights turn on?
- Separate Switch (Easier): The fan has its own dedicated wire pair. You simply disconnect the black (hot), white (neutral), and green (ground) wires and connect them to the new fan. It’s plug-and-play.
- Tied to Light Fixture (Harder): The fan shares power with the vanity light. To replace the fan, you might need to splice wires inside the electrical box or use a junction box. If you aren’t comfortable splicing wires, this is where you should consider hiring an electrician.
3. Ducting Access
Does the fan blow air outside through a roof vent, or does it push air into the attic? If it vents to the attic, you’re in luck-no exterior work required. If it goes through the roof or side wall, you need to ensure the new fan fits the existing duct diameter. Most standard residential fans use 4-inch or 6-inch ducts. If your old setup uses a rare size, you may need adapters.
Tools and Materials You Will Need
If you’ve decided to go ahead, here is your shopping list. Keep these handy before you start tearing anything down.
- New Extractor Fan: Match the CFM (Cubic Feet per Minute) rating to your bathroom size. As a rule of thumb, you need 50 CFM for every 100 square feet of floor space.
- Screwdrivers: Phillips and flathead sizes #1 and #2.
- Wire Strippers/Cutters: For cleaning up old wire ends.
- Wire Nuts: Assorted sizes for connecting wires securely.
- Electrical Tape: For extra insulation on connections.
- Step Ladder: Sturdy enough to hold your weight while working overhead.
- Duct Adapter: Only if your new fan’s duct size differs from the old one.
| Installation Type | Difficulty Level | Key Challenge | Estimated Time |
|---|---|---|---|
| Ceiling Mount (Separate Switch) | Easy | Accessing the ceiling cavity | 1-2 hours |
| Wall Mount (Window Adjacent) | Moderate | Working in tight spaces | 2-3 hours |
| Ceiling Mount (Tied to Lights) | Hard | Wiring splices and junction boxes | 3-5 hours |
| Recessed Tile Wall | Very Hard | Tiling repairs and waterproofing | 4-6 hours |
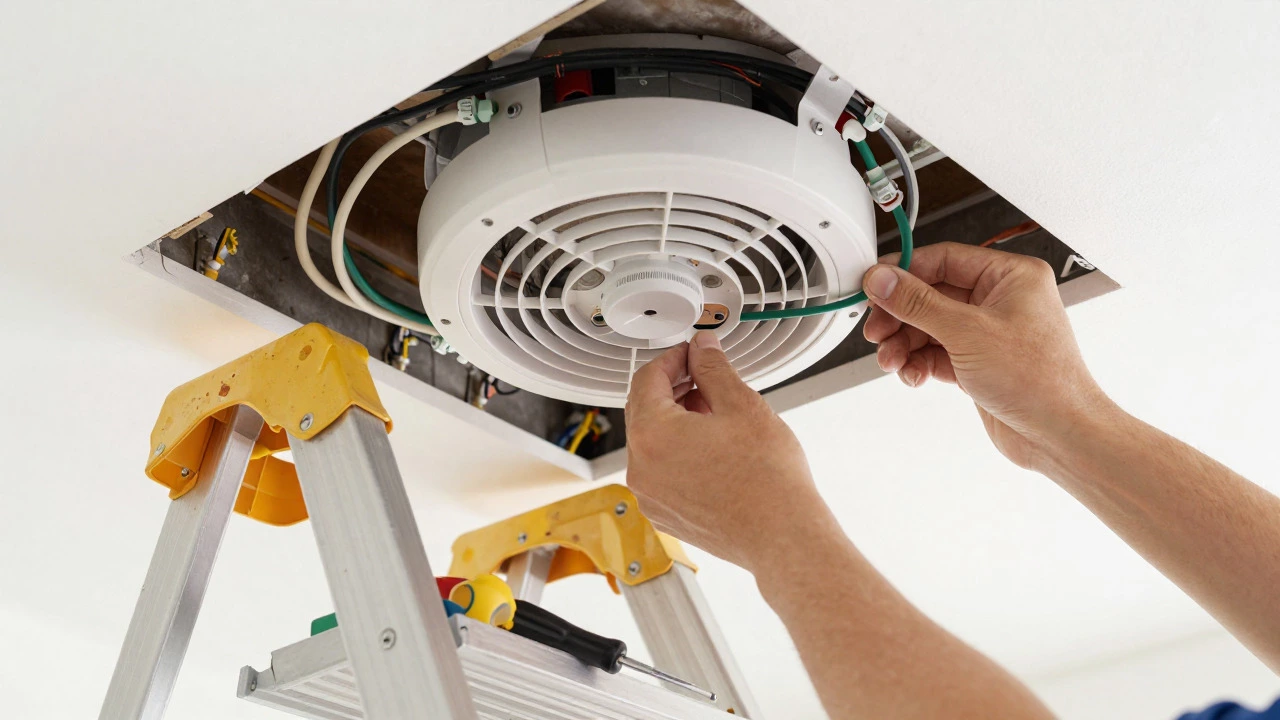
Step-by-Step Replacement Process
Ready to start? Follow these steps carefully. Safety first: always kill the power at the circuit breaker before touching any wires.
- Remove the Old Fan Cover: Unscrew the faceplate or grille. If it’s stuck, gently pry it off with a flathead screwdriver, being careful not to scratch your paint or tiles.
- Disconnect the Wires: Once the cover is off, you’ll see the electrical connections. Take a photo of the wiring layout before you touch anything. Then, unscrew the wire nuts and separate the wires. Label them with tape if you’re unsure which is which.
- Unfasten the Motor Housing: The fan unit is usually held in place by two screws or a mounting bracket. Remove these and lower the unit out of the ceiling or wall cavity.
- Prepare the New Fan: Compare the new unit to the old one. If the mounting brackets differ, transfer the necessary hardware. Check the duct connection-if the new fan has a different collar size, attach the adapter now.
- Install the New Unit: Lift the new fan into position. Secure it to the joists or studs using the included screws. Make sure it sits flush against the opening.
- Connect the Wiring: Match the colors: Black to Black (Hot), White to White (Neutral), Green/Bare to Green/Bare (Ground). Use wire nuts to secure each connection and wrap with electrical tape for safety.
- Attach the Faceplate: Snap or screw the new grille onto the housing. Ensure it clicks firmly into place.
- Test the Fan: Turn the breaker back on. Flip the switch. Listen for smooth operation. If it hums loudly or vibrates, double-check that the unit is secured tightly and the blades aren’t hitting the housing.
Common Pitfalls to Avoid
Even experienced DIYers make mistakes. Here are the top three errors to watch out for:
- Ignoring Backdraft Flaps: If your fan vents outside, check the external flap. If it’s broken or missing, cold air will draft into your house in winter. Replace the entire vent assembly if the flap is damaged.
- Wrong CFM Rating: Buying a fan that’s too weak won’t solve your moisture problems. Conversely, a fan that’s too strong can create negative pressure in your home, pulling drafts from other rooms. Stick to the manufacturer’s recommendation for your square footage.
- Skipping the Ground Wire: In older homes, the ground wire might be missing or loose. Always ensure the new fan is properly grounded to prevent shock hazards.
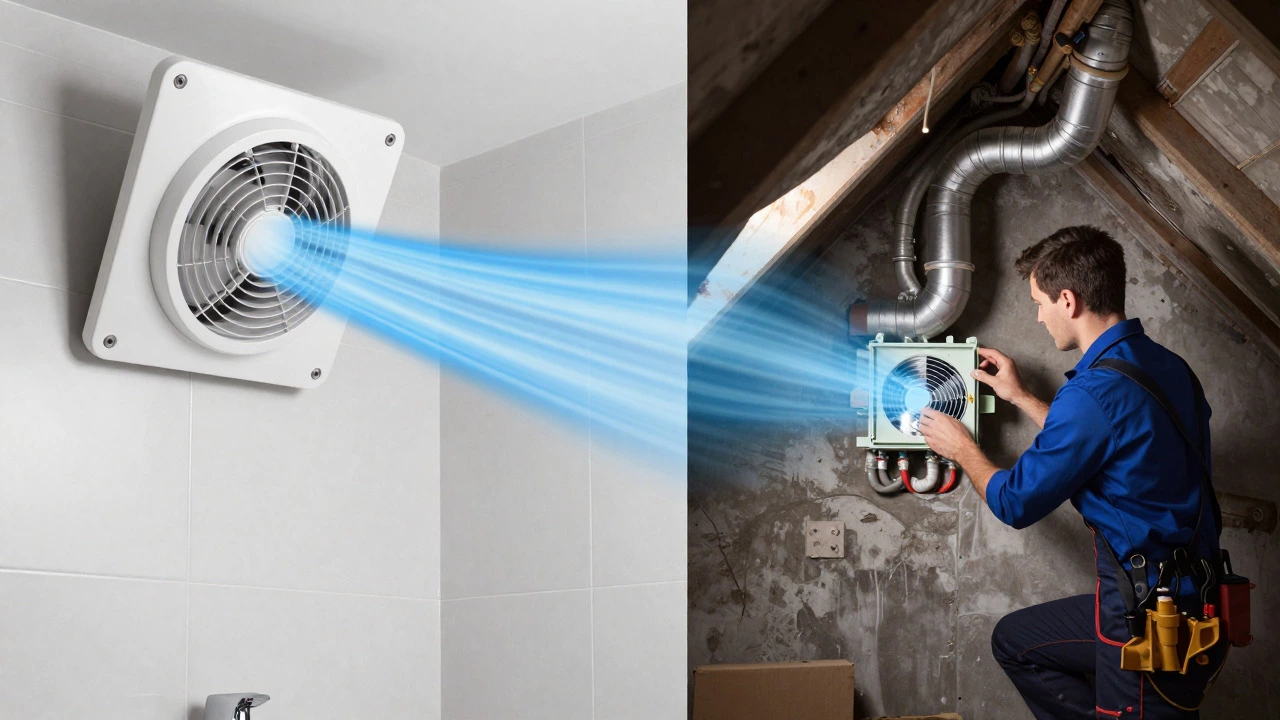
When to Call a Professional
You should hire an electrician or HVAC technician if:
- The wiring is messy, unlabeled, or contains more than three wire pairs.
- The fan is tied to a smart home system or dimmer switch that requires specific voltage handling.
- You discover water damage or mold in the ceiling cavity behind the fan.
- The ductwork is blocked or leaking air into the attic.
A professional can diagnose underlying ventilation issues that a simple fan swap won’t fix. For example, if your home lacks proper intake vents, adding a stronger exhaust fan could actually cause structural problems over time.
Frequently Asked Questions
How long does it take to replace a bathroom extractor fan?
For a standard ceiling-mounted unit with separate wiring, expect 1 to 2 hours. If the fan is tied to the light fixture or requires duct modifications, plan for 3 to 5 hours.
Do I need to match the exact model of my old fan?
No, you do not need the exact same model. However, you must match the duct diameter (usually 4 or 6 inches) and ensure the new fan’s CFM rating is appropriate for your bathroom size.
Can I install an extractor fan without drilling holes?
Only if you are replacing an existing fan. If you are installing a fan where none existed before, you will need to drill a hole for the duct unless you choose a window-mounted unit that clips into a sash.
What is the best time of year to replace a bathroom fan?
Spring or early summer is ideal. You want to avoid freezing temperatures if you need to work on exterior vents, and you want to avoid peak humidity months if you are opening up the ceiling cavity.
Is it harder to replace a fan in a condo or apartment?
Yes, it can be harder due to limited access to ductwork. In many condos, the ducts run through shared walls or attics managed by the building. Check with your HOA or property manager before starting work to ensure you have permission to modify the ventilation system.