Oven Replacement: Quick Guide for Homeowners
Got an oven that’s smoking, uneven, or just plain unreliable? It might be time to replace it instead of keeps fixing it. Replacing an oven sounds bigger than it is, but with a solid plan you can avoid headaches and keep the kitchen running smoothly.
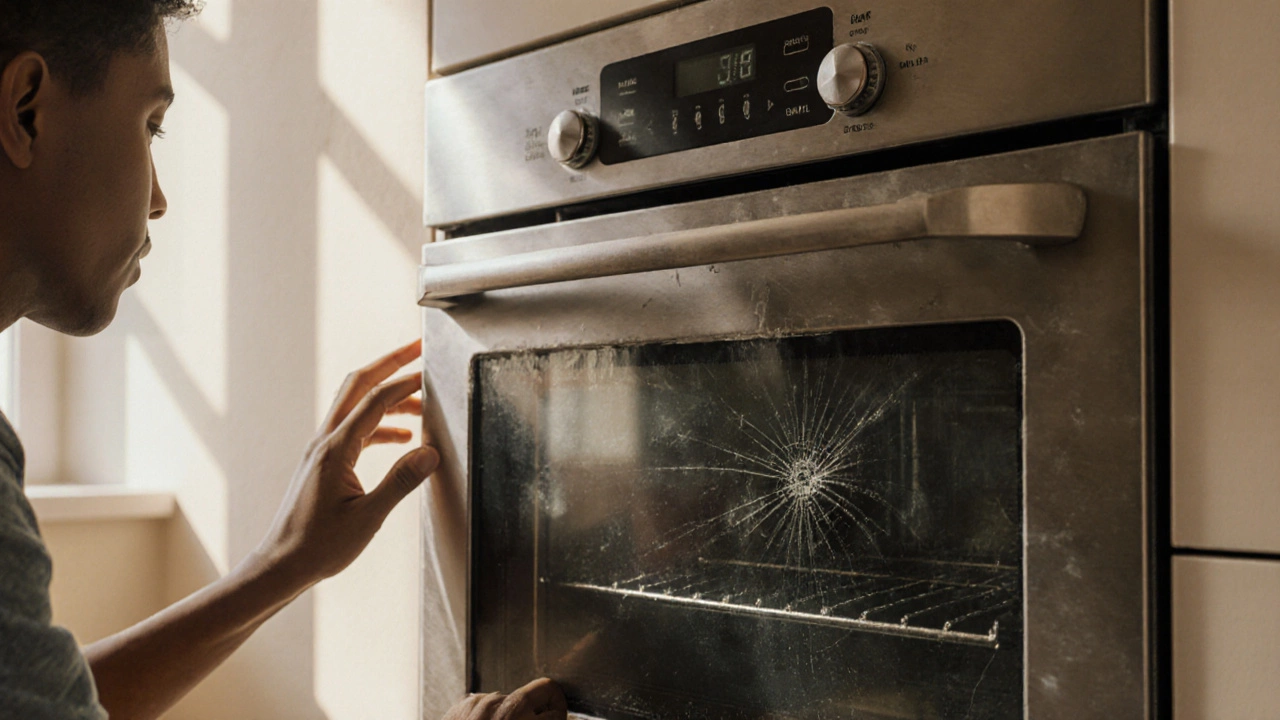
How to Know It’s Time for a New Oven
Here are the most common signs that a replacement makes more sense than a repair:
• The oven won’t heat at all or takes forever to warm up.
• You see uneven baking – some spots brown while others stay raw.
• The door won’t seal, so heat leaks out constantly.
• The control panel is dead or constantly flickering.
• Repair costs are already close to the price of a new unit.
If any of these sound familiar, start measuring the space and thinking about the type of oven you really need.
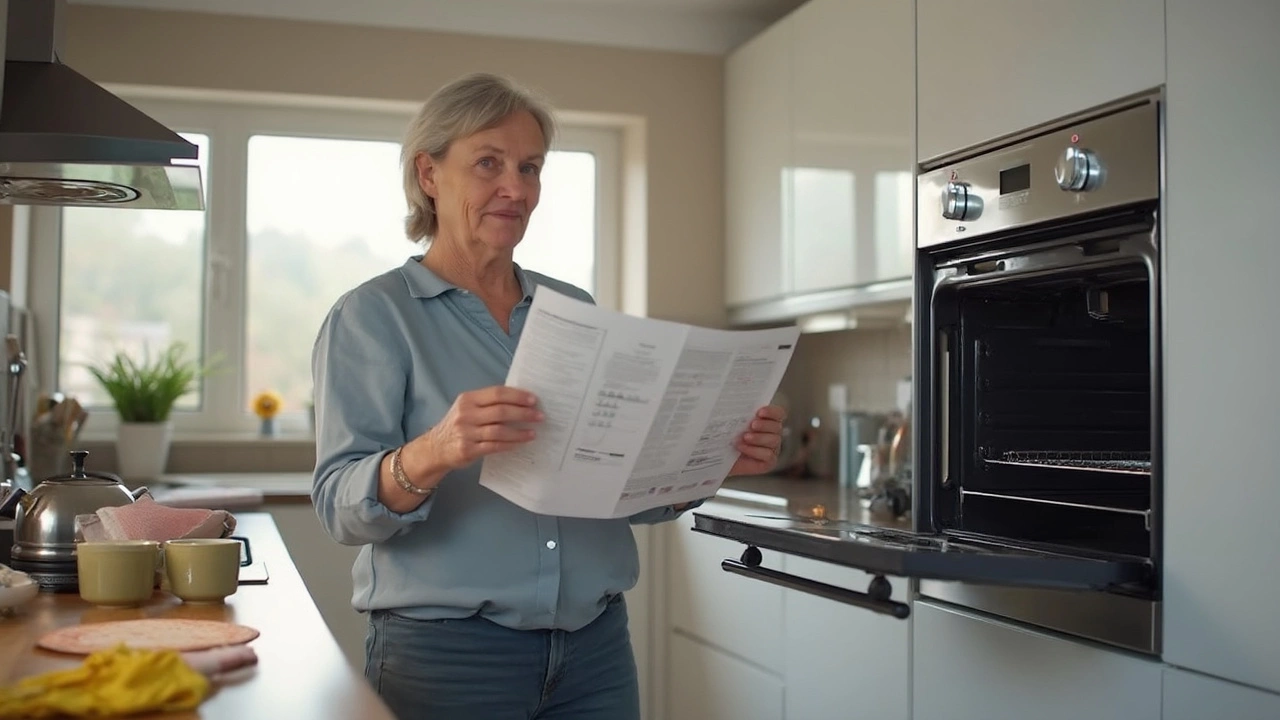
Choosing the Right Oven and Planning the Install
First, decide between electric and gas. Electric ovens are easy to install in most homes, but they need a proper 240‑V circuit. Gas ovens give quick heat but require a certified gas line connection – that’s where a licensed plumber or electrician comes in.
Next, measure the width, height, and depth of the cavity. Most UK ovens are 60 cm wide, but taller or shorter models exist. Add a few centimeters for clearance on each side – you don’t want the oven rubbing against cabinets.
When you shop, compare energy ratings, cooking features (like convection, steam, or self‑cleaning), and warranty length. A higher‑efficiency model can save you money on electricity bills, especially if you bake often.
Now the big question: Do you need an electrician? If you’re installing an electric oven and the existing circuit isn’t 240 V, or if you’re moving the oven to a new spot, you must hire a qualified electrician. They’ll check the wiring, install a dedicated circuit if needed, and make sure everything complies with UK regulations. Trying to do this yourself can be dangerous and may void insurance.
Plan the install day like this:
1. Turn off the power at the consumer unit.
2. Disconnect the old oven (keep the screws for the new one).
3. Have the electrician finish any wiring work and test the socket.
4. Slide the new oven in, level it, and secure it with brackets.
5. Re‑connect power, run a quick test, and read the manual for first‑use settings.
Most professional installs take 2–3 hours, but if you need extra work – like adding a new circuit or moving gas – give the electrician a full day.
Finally, don’t forget to register your new oven with the manufacturer and schedule a quick safety check if you’ve had a big install. A well‑installed oven lasts years and saves you from surprise breakdowns.
If you’re in Bridgewater and want a hassle‑free replacement, give Bridgewater Appliance Fixers a call. We’ll assess your current setup, recommend the right model, and handle any electrical work so you can get back to cooking fast.

Is It Cheaper to Repair or Replace an Oven? Here’s the Real Cost Breakdown
Deciding whether to repair or replace your oven? Learn the real costs, when to fix it, when to buy new, and how to avoid costly mistakes. Save money and avoid energy waste with smart choices.
How to Spot When Your Electric Oven Needs Replacement
Learn how to tell if your electric oven needs replacement, spot key warning signs, compare repair vs new costs, and choose the right oven for your kitchen.
Do You Need an Electrician to Replace an Electric Oven?
Thinking about replacing your electric oven? This article breaks down whether you actually need an electrician for the upgrade. You'll get practical tips, safety advice, and a look at how complicated oven replacement really is. Find out when it's safe to DIY and when it's time to call a pro. Get straight, no-nonsense answers to keep your kitchen safe and your wallet happy.