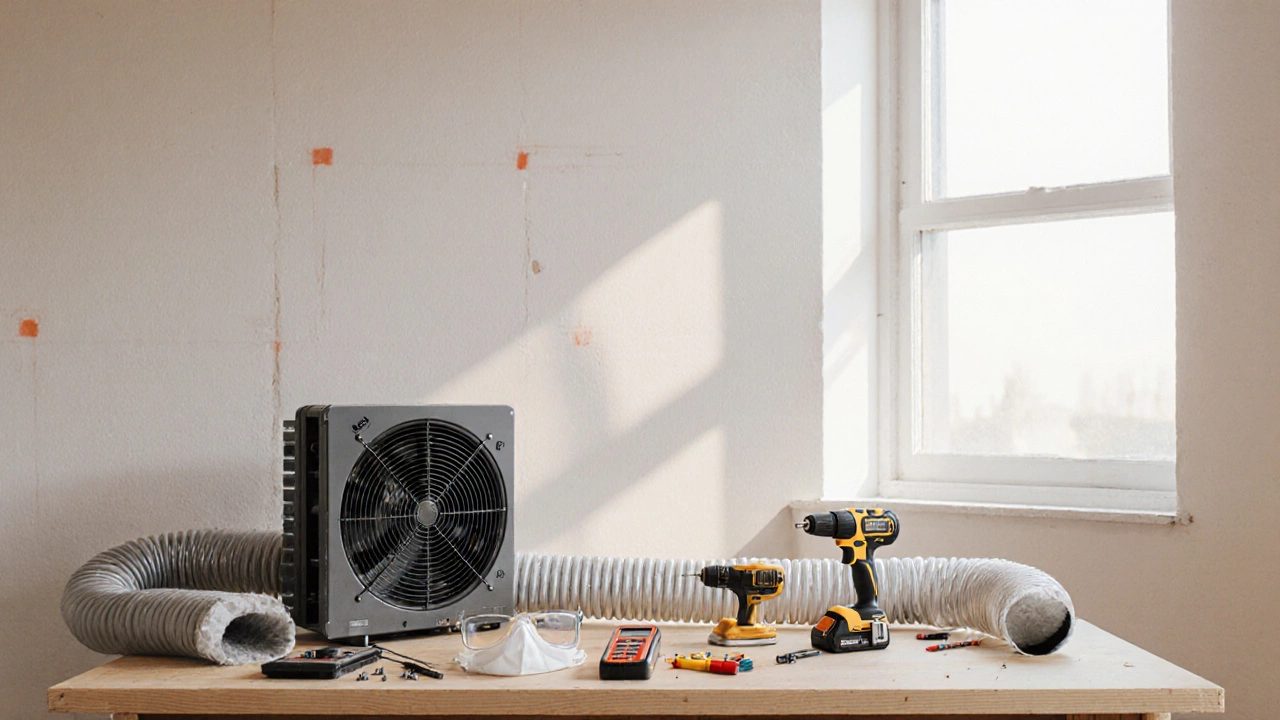
How to Install an Extractor Fan
When working with Extractor Fan, a device that pulls moist, smelly or hot air out of a room and pushes it through a duct to the outdoors. Also known as vent fan, it is a key part of any kitchen or bathroom ventilation system.
Successful installation hinges on three core pieces: the Ventilation Duct, the conduit that carries the extracted air to the outside, the Electrical Wiring, the safe connection that powers the fan, and compliance with local Building Codes, the rules that guarantee the work is legal and safe. In practice, install extractor fan means matching the fan size to the room, cutting the right opening, and securing a continuous airflow path.
Step‑by‑Step Process
1. Plan the location. Measure the room’s square footage and choose a spot where the fan can reach an exterior wall or roof. The fan should be centered over the cooking area or shower to capture the most steam.
2. Select the right fan. Look for a model with a CFM (cubic feet per minute) rating that equals at least 1 CFM per square foot of the room. Higher CFM is better for larger kitchens or bathrooms with multiple fixtures.
3. Prepare the duct. Cut a piece of insulated metal duct that matches the fan’s outlet diameter. Keep the run as short and straight as possible to minimize airflow loss. Seal every joint with foil‑tape, not cloth tape.
4. Mark and cut the opening. Use a drywall saw or hole‑saw to create a hole in the wall or ceiling that matches the fan’s housing. Make sure the opening is centered on the stud layout to avoid weak points.
5. Mount the fan housing. Secure the fan with the supplied brackets, drilling into studs or joists. Tighten all screws, but don’t overtighten, which could crack the housing.
6. Connect the duct. Slip the duct onto the fan’s exhaust port and lock it with the supplied clamp. Verify the airflow direction arrows on the duct point outward.
7. Wire the fan. Turn off power at the breaker. Connect the fan’s black (hot) wire to the switched live line, the white (neutral) to the neutral bus, and the green or bare (ground) to the grounding screw. Use wire nuts and electrical tape for a secure connection.
8. Test the fan. Restore power and turn the fan on. Feel for steady airflow at the vent outlet and listen for unusual noises. If the fan stalls, check the duct for obstructions and verify the wiring.
9. Seal and finish. Apply caulk around the fan housing on the interior side to block drafts. Cover the exterior vent with a weather‑proof grille to keep rain out.
10. Document the work. Keep a record of the fan model, CFM rating, and any permits or inspections required by local building codes. This info helps future homeowners and service technicians.
Each of these steps ties back to the core entities: the fan needs a properly sized duct, a safe electrical connection, and code approval. Skipping any one of them can lead to reduced performance, fire risk, or failed inspections.
Now that you know what tools, materials, and checks are involved, you’re ready to assess which part of the process you can tackle yourself and where you might call a professional. Below you’ll find a curated set of articles that dive deeper into specific challenges—like troubleshooting weak suction, choosing the right motor, or deciding whether an electrician or HVAC specialist should do the work. Explore them to fine‑tune your installation plan and avoid common pitfalls.
DIY Extractor Fan Installation: Step‑by‑Step Guide
Learn how to safely install an extractor fan yourself with step‑by‑step instructions, tool lists, wiring tips, code checks, and common pitfalls for a DIY home ventilation upgrade.