DIY Ventilation Fan: How to Install, Wire, and Maintain Your Own Fan
When working with DIY ventilation fan, a home‑made solution that moves stale air out of kitchens, bathrooms, or workshops. Also known as self‑installed extractor fan, it lets you cut costs and control airflow without waiting for a contractor.
One of the first decisions is choosing the right extractor fan, a device that pulls humid or smelly air through a duct and vents it outside. The fan’s CFM rating (cubic feet per minute) determines how quickly it clears moisture, so match the rating to room size. Next, you’ll need a qualified electrician, a licensed professional who can safely connect the fan to your home’s electrical circuit, especially if you’re handling live wires or a new circuit breaker. Finally, proper ductwork, the conduit that carries air from the fan to the outside, must be sealed and insulated to prevent leaks and condensation.
Key Steps and Tools for a Successful Install
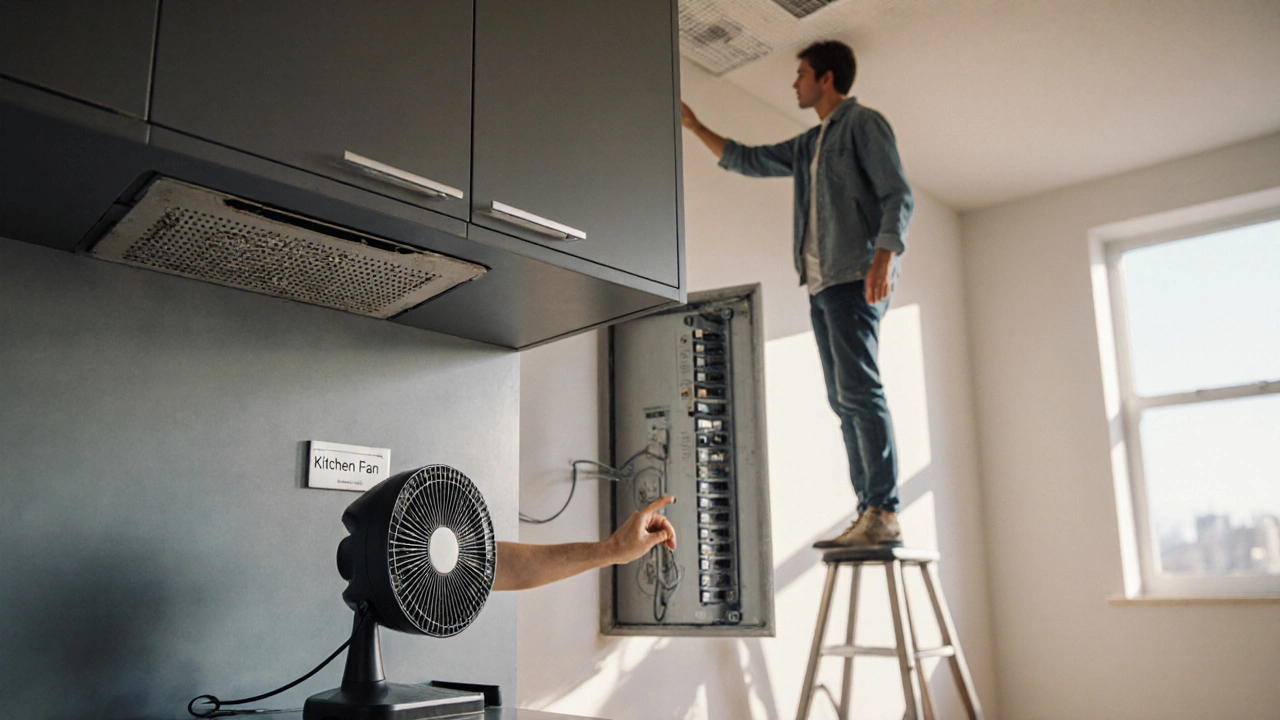
DIY ventilation fan projects follow a clear sequence: select a fan, plan the location, secure electrical connections, attach the duct, and test airflow. First, measure the opening where the fan will sit – most kitchen hoods need a 6‑inch cutout, while bathroom fans often use 4‑inch. Use a drywall saw and a stud finder to avoid studs and wiring. Second, turn off power at the breaker and use a voltage tester to confirm the wires are dead before stripping and connecting them. A wire nut, screwdriver, and a small voltage detector are all you need for a safe hookup.
Third, mount the fan housing with screws that anchor into joists or a sturdy frame. When attaching the duct, opt for smooth‑walled metal or rigid PVC rather than flexible foil – the smoother the interior, the less resistance and the higher the airflow. Seal every joint with foil‑tape or mastic; tape alone can peel over time. Finally, restore power and run the fan to check that it starts smoothly, doesn’t hum excessively, and pulls air effectively. If the fan stalls or makes a rattling noise, double‑check the mounting brackets and ensure the duct isn’t kinked.
Beyond the basics, regular maintenance keeps the system humming. Clean the fan blades and grille every month with warm, soapy water or a vacuum brush. Inspect the duct for dust buildup or moisture, and replace any cracked sections. These tasks extend the fan’s life and maintain indoor air quality, which is especially important in homes with high humidity or cooking fumes.
While many homeowners can finish a basic install in a weekend, there are scenarios where calling a pro is wise. If you discover outdated wiring, lack a nearby vent to the exterior, or need to upgrade a circuit breaker, a licensed electrician can ensure compliance with local codes and prevent hazards. Likewise, if your home’s structure makes routing ductwork difficult – for example, when traversing a ceiling joist bay – a ventilation specialist can design a custom solution that preserves structural integrity.
Overall, a DIY ventilation fan project blends a few core entities: the fan itself, the electrical work, and the duct system. These elements interact as follows: the fan provides airflow, the electrician supplies power, and the duct carries the air outside. Understanding how each part works and fits together makes the whole process less intimidating and more predictable.
Ready to roll up your sleeves? Below you’ll find a curated set of articles covering everything from selecting the perfect extractor fan to troubleshooting common wiring issues and sealing ductwork. Dive in to get step‑by‑step guides, safety tips, and tools lists that will help you finish your DIY ventilation fan project with confidence.
Do I Need an Electrician for an Extractor Fan Replacement?
Find out if you can replace an extractor fan yourself or need a licensed electrician in Toronto. Get step‑by‑step DIY instructions, legal safety tips, cost breakdown, and a quick decision checklist.