Carbon Filter Replacement: When & How to Do It Right
If you’ve noticed a stale smell from your fridge, weak suction from your range hood, or dusty air from your purifier, it’s probably time for a carbon filter swap. Carbon filters trap odors, chemicals, and particles, but they don’t last forever. Replacing them on schedule keeps your kitchen fresh, your water tasting clean, and your indoor air healthy.
Why Replace Your Carbon Filter?
Most manufacturers suggest changing a carbon filter every 3–6 months, but the exact timing depends on usage. Here are the tell‑tale signs that your filter is on its last legs:
- Persistent bad odors coming from the fridge or water dispenser.
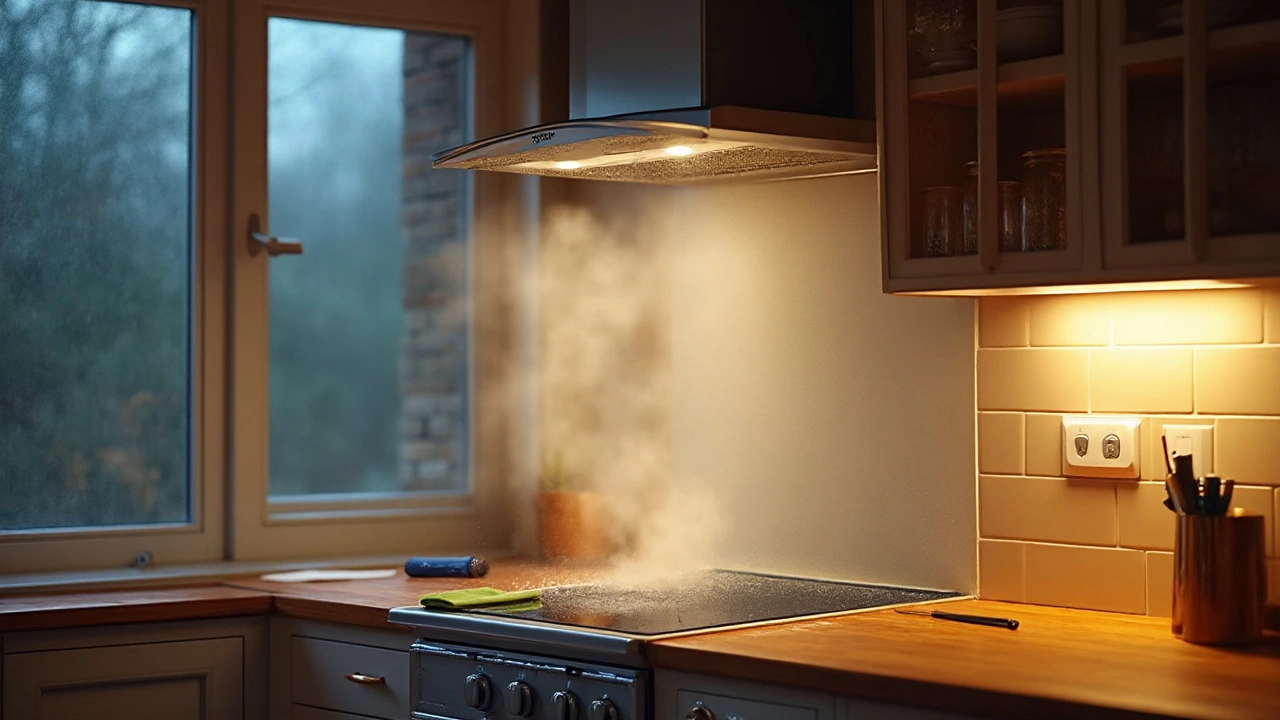
- Reduced airflow or a whining sound from a range hood.
- Visible discoloration or a powdery residue on the filter surface.
- Allergy symptoms getting worse even though you run the purifier.
Ignoring these clues can lead to lower efficiency, higher energy bills, and even damage to the appliance’s internal components. A fresh carbon filter restores performance and protects the system.
Step‑by‑Step Guide to Swapping a Carbon Filter
1. Gather the right replacement. Check your appliance’s model number – it’s usually on a label inside the door or on the back. Buy the exact match from a reputable dealer or the manufacturer’s site.
2. Turn off the appliance. For fridges and range hoods, unplug or switch off the power. This prevents accidental shocks and lets the filter settle.
3. Locate the filter compartment. In a fridge, it’s often behind the vegetable bin or in the upper right corner. Range hoods hide it behind the metal grill; air purifiers have a front panel that clicks open.
4. Remove the old filter. Most carbon filters pull straight out or twist clockwise to release. If it feels stuck, gently wiggle – don’t force it.
5. Clean the housing. Use a soft cloth to wipe away dust or crumbs. A clean seal ensures the new filter sits snugly.
6. Install the new filter. Align any arrows or notches, then push or twist until it clicks. Make sure it’s seated evenly to avoid leaks.
7. Reset the timer (if applicable). Some fridges have a digital indicator that shows when the filter was last changed. Follow the manual to reset it so you get a fresh reminder.
8. Power up and test. Plug the appliance back in, run the fridge water dispenser or turn on the hood. You should notice clearer water and stronger airflow right away.
If any step feels confusing, or you can’t find the right filter, give Bridgewater Appliance Fixers a call. Our technicians are based in Bridgewater, know the local appliance models, and can swap the filter on the spot – often quicker than a DIY job.
Keeping a spare filter on hand saves you a last‑minute store run. Store it in a cool, dry place and label it with the installation date. When the next reminder pops up, you’ll be ready.
Remember, a clean carbon filter is a cheap insurance policy for your appliances. It protects your food, your health, and your wallet. Replace it regularly, follow the simple steps above, and enjoy fresh, efficient performance every day.
How to Unblock a Kitchen Extractor Fan: Fix Weak Suction Fast
Fan whirs but steam hangs around? Here’s how to diagnose and unblock a kitchen extractor fan fast-filters, fan, duct, and vent flap-with simple tools and safe steps.