Can You Fix a Microwave Oven Yourself? A Practical Guide
 Oct, 8 2025
Microwave Repair Decision Helper
Select Your Microwave Problem
Enter your microwave problem and experience level, then click "Analyze Repair Feasibility" to get personalized guidance on whether you can fix it yourself.
Key Takeaways
- Most microwave issues involve the magnetron, fuse, or door switch and can be diagnosed with a multimeter.
- Basic tools - screwdriver set, multimeter, and a pair of insulated gloves - are enough for many repairs.
- Safety is non‑negotiable: always unplug, discharge the high‑voltage capacitor, and avoid touching metal contacts.
- Simple fixes (replacing a fuse or cleaning the turntable) often cost under $30 and take less than an hour.
- If the magnetron or transformer is faulty, professional help is the safest and most cost‑effective route.
Wondering whether a microwave oven is a DIY‑friendly appliance? The short answer is yes - for many common hiccups you don’t need to be an electrician, just a careful homeowner with the right tools. This guide walks you through the inner workings of a microwave oven a kitchen appliance that uses high‑frequency radio waves to heat food quickly, the typical problems that show up, and step‑by‑step fixes you can try before calling a repair service.
How a Microwave Oven Works
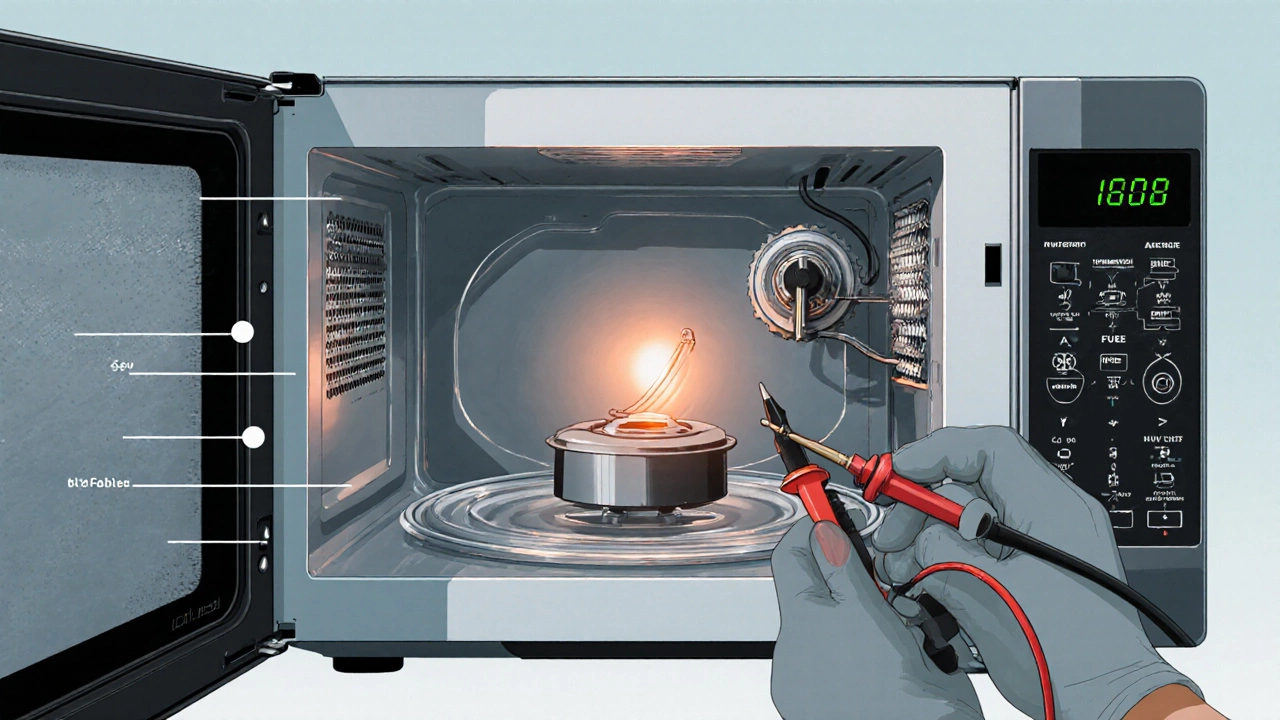
Before you start pulling screws, it helps to know what you’re dealing with. A microwave is essentially a small, sealed box that converts electricity into microwave radiation via a magnetron the high‑power vacuum tube that generates the microwaves. Those waves bounce around the cavity, are absorbed by water molecules in the food, and turn into heat.
Key components you’ll encounter during a repair:
- Turntable motor a low‑speed motor that rotates the glass tray for even cooking.
- Fuse a safety device that blows when current exceeds a safe limit.
- Door interlock switch ensures the microwave stops generating waves when the door is open.
- High‑voltage capacitor stores the surge needed to power the magnetron.
- Control board the electronic brain that regulates power levels and timing.
- Transformer steps up the household voltage to the high voltage needed for the magnetron.
Understanding these parts makes it easier to pinpoint why a microwave hums, stops heating, or refuses to start.
Common Problems and DIY Fixes
Below are the issues you’ll see most often, ordered by how easy they are to resolve.
1. Microwave Won’t Turn On
First, check the power cord and outlet - a tripped GFCI or a loose plug can be the culprit. If the outlet is fine, move on to the fuse. Use a multimeter set to continuity; a good fuse will beep. Replace it with a matching rating (usually 5A or 10A) and test again.
2. Turntable Doesn’t Rotate
Remove the glass tray and locate the turntable motor. Spin the motor shaft by hand - it should turn freely. If it’s gritty or stalls, it likely needs replacement. Swapping in a new motor takes about 10minutes: detach the mounting bracket, unscrew the motor, and bolt in the new one.
3. Food Heats Unevenly
This is usually a door interlock issue. Open the door and listen for a click - that’s the interlock engaging. Use a multimeter to test continuity across the switch terminals while the door is closed. No continuity means a bad switch; replace it and you’ll restore even heating.
4. Sparks Inside the Cavity
Metal fragments on the turntable or a damaged waveguide cover cause arcing. Turn the microwave off, inspect the interior for leftover foil, broken dishes, or a cracked waveguide. Clean or replace the cover; it’s a cheap part and eliminates the sparks.
5. Microwave Runs but Doesn’t Heat
Here the magnetron is suspect. Test it with a multimeter for resistance (usually 0.5‑2Ω). If readings are out of range or the magnetron shows an open circuit, it’s dead and should be replaced. Magnetron replacement is pricey (often $80‑$120 for the part) and can be risky, so many homeowners opt for professional service.
6. Unusual Noises (Buzzing or Humming)
A failing high‑voltage capacitor can cause whining sounds. Carefully discharge the capacitor (use a screwdriver with an insulated handle, touching the leads together) and test its capacitance with a meter. If it reads significantly below the rated value (e.g., 210µF±10%), swap it out.
7. Control Panel Stops Responding
Sometimes the control board or keypad wears out. Try resetting the unit: unplug, wait two minutes, plug back in. If the issue persists, inspect the board for burnt traces or loose connectors. Re‑soldering tiny joints is doable with a fine‑tip soldering iron, but many prefer a replacement board.
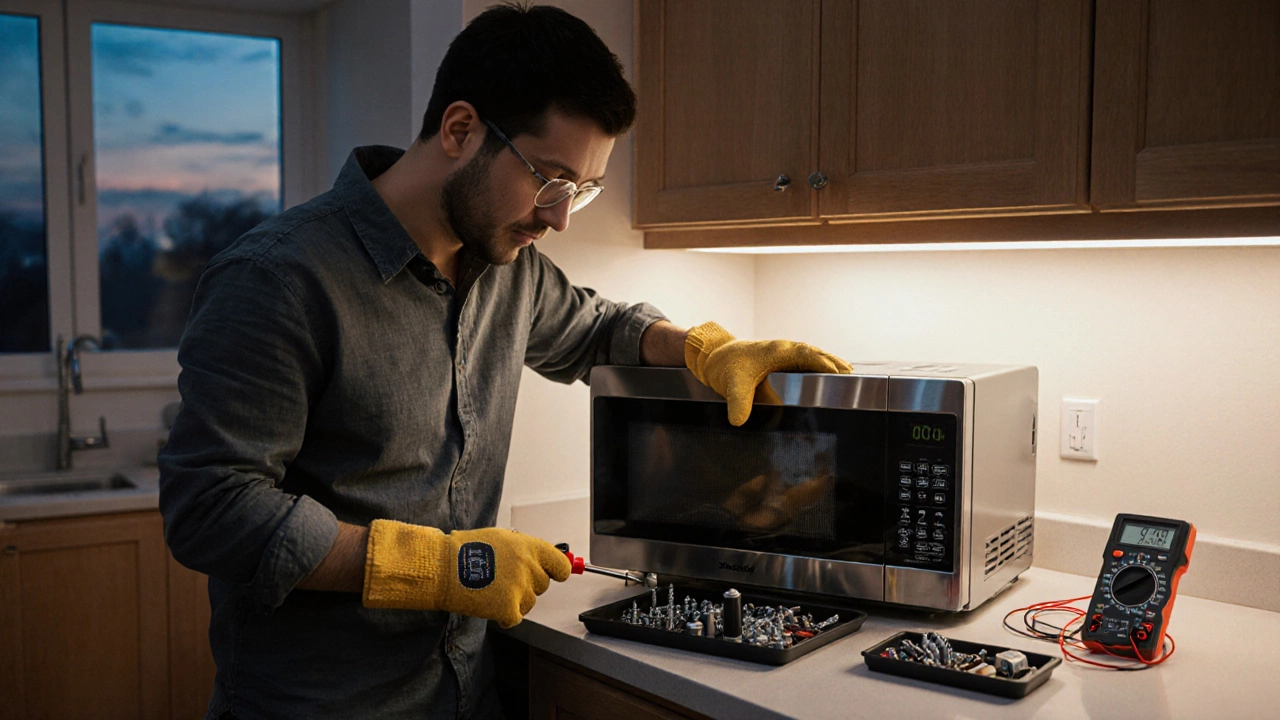
Essential Tools & Safety Precautions
Before you crack open the case, gather these items:
- Phillips and flat‑head screwdriver set (size #2 works for most screws)
- Digital multimeter (continuity, resistance, and capacitance functions)
- Insulated safety gloves
- Needle‑nose pliers
- Replacement parts specific to your model (fuse, motor, interlock, etc.)
Safety checklist:
- Unplug the microwave and wait at least 5minutes.
- Discharge the high‑voltage capacitor - short the terminals with a screwdriver that has an insulated handle.
- Never work on a microwave with the door open if the interlock is compromised; the waveguide may still emit low‑level radiation.
- Work in a well‑ventilated area; some components (especially the magnetron) can emit a faint ozone smell when heated.
- Keep a fire extinguisher nearby - electrical fires spread fast.
When to Call a Professional
If you encounter any of the following, it’s wiser to hand the job to a licensed technician:
- Faulty magnetron or transformer - these parts operate at very high voltage and can cause serious injury.
- Repeated fuse blows after replacing the fuse - indicates deeper electrical issues.
- Water damage inside the cavity - corrosion can affect multiple circuits.
- Missing or broken safety interlocks - the microwave may emit radiation when the door is open.
Professional repair typically costs $80‑$150 for parts plus labor, which can still be cheaper than buying a new unit if you have a high‑end model.
Cost & Time Estimates
| Issue | Part Cost | Labor (DIY) | Professional Quote |
|---|---|---|---|
| Blown fuse | $5‑$10 | 10min | $30‑$50 |
| Turntable motor | $15‑$25 | 15‑20min | $70‑$90 |
| Door interlock | $10‑$20 | 10‑15min | $60‑$80 |
| Magnetron | $80‑$120 | 45‑60min | $150‑$200 |
| Control board | $50‑$90 | 30‑45min | $130‑$180 |

Quick Pre‑Repair Checklist
- Model number noted (usually on the back or inside the door frame).
- All screws and fasteners accounted for - use a magnetic tray.
- Replacement parts match voltage, amperage, and size specifications.
- Space cleared around the appliance for easy access.
- Battery backup for the multimeter is fresh.
Bottom Line
If you’re comfortable handling basic electrical components, many microwave glitches can be fixed at home for under $30 and in under an hour. The biggest barriers are safety and the cost of high‑priced parts like the magnetron. Knowing when to stop and call a pro saves both time and potential injury.
Frequently Asked Questions
How do I know if my microwave’s magnetron is dead?
A dead magnetron will let the microwave run without heating. Test it with a multimeter for low resistance (0.5‑2Ω). If the reading is infinite or far outside this range, the magnetron needs replacement.
Can I replace the high‑voltage capacitor myself?
Yes, but only after fully discharging it with an insulated screwdriver. Check the capacitance with a meter; if it’s out of spec, swap it out. Wear gloves and keep a fire extinguisher handy.
What safety gear do I need for microwave repair?
Insulated gloves, safety glasses, and a pair of rubber‑soled shoes are a good baseline. Always unplug the unit and discharge the capacitor before touching any internal parts.
Is it worth repairing an old microwave?
If the model is less than 10years old and the issue is a simple part like a fuse or motor, repair is usually cheaper than replacement. For units with failing magnetrons or major circuitry, compare the $150‑$200 repair cost to the price of a new, energy‑efficient model.
Why does my microwave make a buzzing sound?
Buzzing often points to a failing high‑voltage capacitor or a loose transformer winding. Discharge the capacitor, inspect the transformer for signs of scorching, and replace the faulty component.