Oven Installation Made Simple for Bridgewater Homeowners
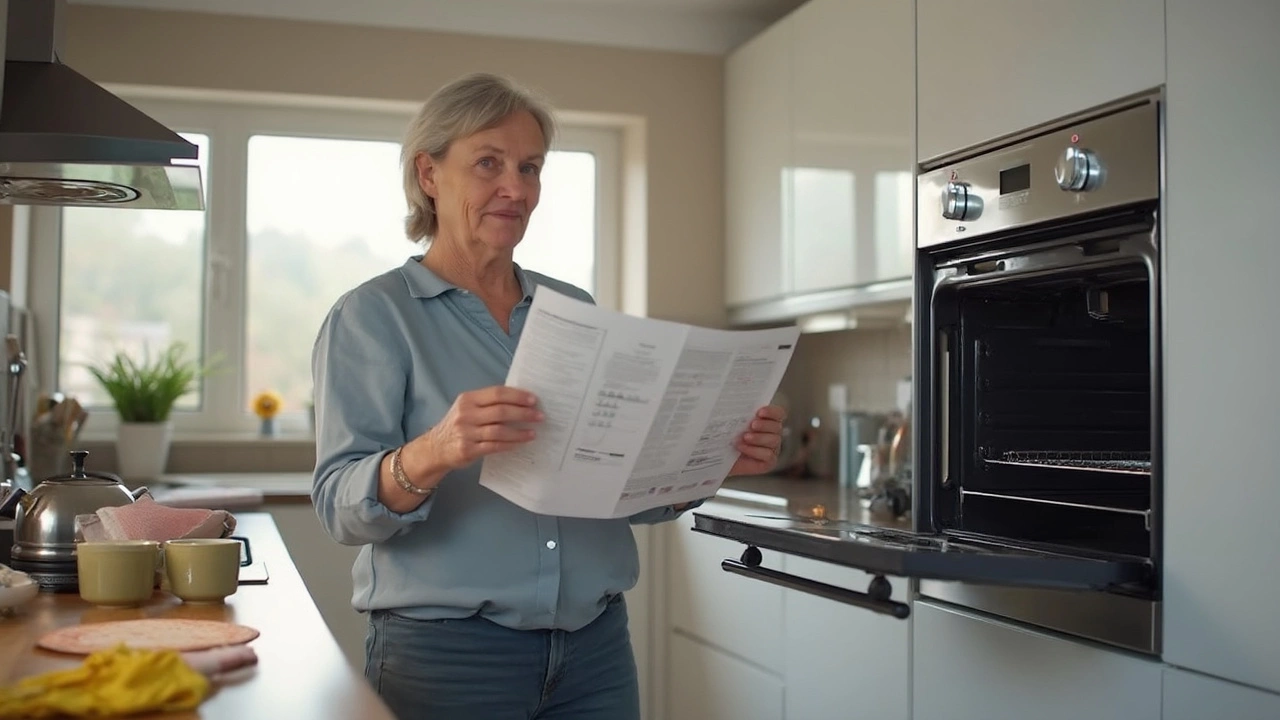
Got a new oven and wondering how to get it into your kitchen without a headache? You’re not alone. Installing an oven looks tough, but with the right tools and a clear plan you can do most of the work yourself. Below is a practical walk‑through that covers everything from checking the space to wiring the unit safely.
Prep Work: Measure, Power, and Safety First
Before you lift the oven out of the box, double‑check three things:
- Dimensions: Measure the height, width, and depth of the cabinet opening. Leave a half‑inch gap on each side for ventilation.
- Power supply: Most electric ovens need a 220‑240 V outlet with a dedicated circuit. If you have a gas oven, you’ll need a proper gas line and a vent.
- Safety gear: Wear work gloves and safety glasses. Make sure the circuit breaker is off before you touch any wiring.
If any of these items don’t match the oven’s specs, it’s time to adjust the cabinet or call an electrician.
Step‑by‑Step Installation
1. Gather tools. You’ll need a screwdriver set, a drill, a level, a wire stripper, and a stud finder. Having a helper makes moving the oven easier.
2. Prepare the cabinet. Remove the old appliance, clean the area, and check that the mounting brackets are secure. If the brackets are missing, use the ones that came with the new oven.
3. Position the oven. Slide the oven into the opening. Use a level to ensure it’s straight; an uneven oven can cause uneven heating.
4. Connect the power or gas. For electric models, attach the wiring to the terminal block, matching the live, neutral, and earth wires. For gas models, connect the hose using a pipe wrench, then test for leaks with a soapy water solution.
5. Secure the unit. Tighten the mounting screws into the brackets. Do not over‑tighten; the oven needs a little wiggle room for thermal expansion.
6. Final checks. Turn the breaker back on and run a quick self‑test if the oven has that feature. Listen for any strange noises and feel for excess heat on the exterior.
Once everything works, push the oven back into the cabinet, making sure the door opens freely. Clip any trim pieces, and you’re done.
When to Call a Pro
If you hit any of these roadblocks, don’t risk damage or injury:
- No dedicated circuit available – an electrician can add one safely.
- Gas line work feels uncertain – a certified gas engineer will handle the hookup and leak test.
- Mounting brackets don’t line up – a professional installer can fabricate or adjust fittings.
Bridgewater Appliance Fixers offers quick oven installation services, so you can enjoy your new oven without the hassle.
With the right preparation and a careful approach, most homeowners can install an oven in an afternoon. Keep these steps handy, follow safety guidelines, and you’ll be baking, roasting, and broiling in no time.

Do You Need an Electrician to Replace an Electric Oven? Safety and Installation Facts
Wondering if you need an electrician to replace an electric oven? Find out what the law says, what can go wrong, and how to keep your kitchen safe.
Do You Need an Electrician to Replace an Electric Oven?
Thinking about replacing your electric oven? This article breaks down whether you actually need an electrician for the upgrade. You'll get practical tips, safety advice, and a look at how complicated oven replacement really is. Find out when it's safe to DIY and when it's time to call a pro. Get straight, no-nonsense answers to keep your kitchen safe and your wallet happy.