Laptop Motherboard Repair: What You Need to Know
When working with laptop motherboard repair, the process of diagnosing and fixing faults on the main circuit board of a laptop. Also known as laptop mainboard fix, it saves you money and gets your device back in shape fast.
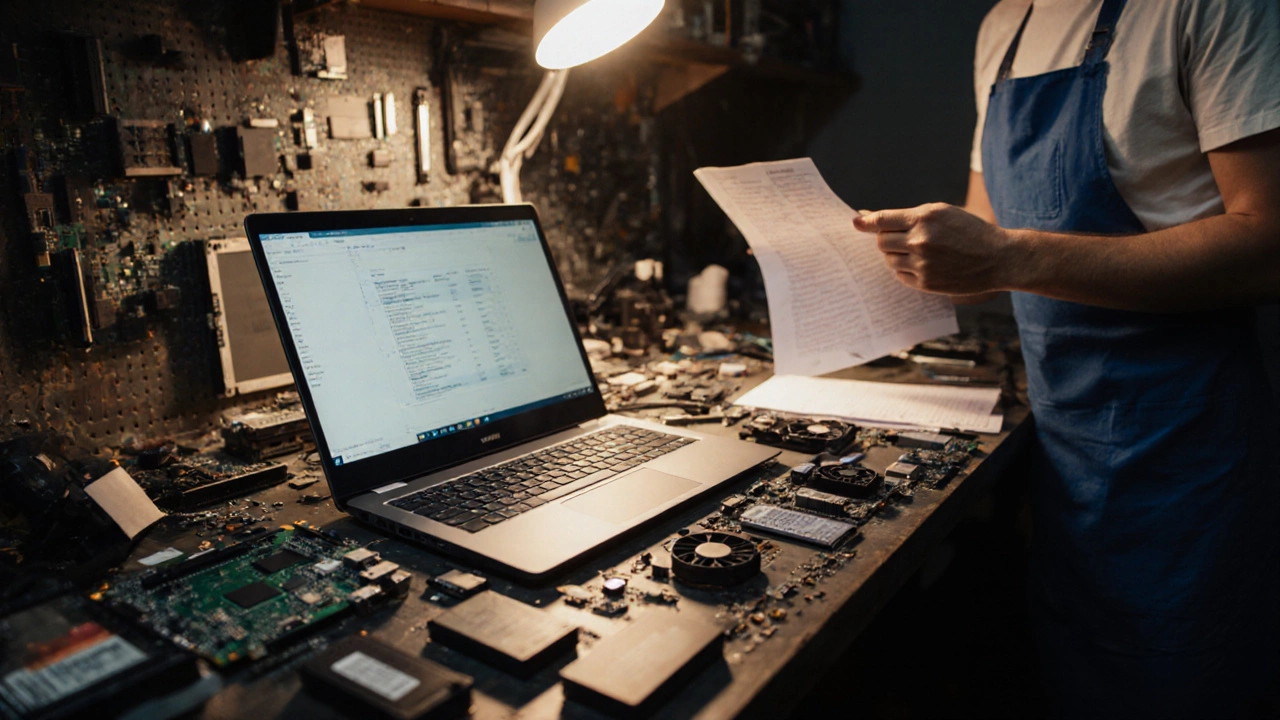
Core components you’ll check
Every successful repair starts by looking at the parts that live on the board. The CPU, the central processing unit that executes commands is the brain; if it overheats, it can scorch traces and cause the whole system to quit. Laptop motherboard repair therefore often begins with a CPU temperature check. Next up is RAM, the memory modules that store temporary data for quick access. Bad RAM sticks can trigger blue screens or random reboots, and the board’s memory slots are a usual suspect when you hear clicking noises from the power circuitry. Speaking of power, the power supply, the circuitry that converts incoming voltage to the levels the laptop needs is another frequent troublemaker; a failing voltage regulator can fry the motherboard’s northbridge. These three components illustrate the semantic triple: "Faulty power supply influences motherboard failure," and "CPU overheating can cause motherboard damage." By testing each one, you create a clear path to pinpoint the exact fault.
To diagnose, you’ll need a set of reliable tools. The diagnostic tools, hardware and software utilities that read error codes and monitor voltages are the backbone of any repair job. A multimeter checks voltage rails, while software like HWMonitor reads sensor data in real time. With these tools, you can confirm whether the power supply is delivering stable 19V, see if the CPU voltage dips under load, or spot memory errors flagged by the BIOS. This satisfies another triple: "Laptop motherboard repair requires diagnostic tools." Having the right equipment cuts down guesswork and keeps the repair time short.
Safety and systematic work are key. Always unplug the laptop, discharge static with an antistatic wrist strap, and keep a clean workspace. Start by removing the battery and any external peripherals, then open the bottom panel to expose the board. Visual inspection for burnt components, bulging capacitors, or broken traces often reveals the culprit instantly. If nothing looks obvious, plug in your diagnostic tools and run a power‑on self‑test (POST) while watching for beep codes. Replace the faulty part—whether it’s a cracked CPU socket, a dead RAM slot, or a fried power regulator—and reassemble. Once you power the machine back on, run a stress test to verify stability.
Now that you’ve got the fundamentals, the articles below will walk you through specific scenarios: fixing a dead USB port, swapping out a fried voltage regulator, troubleshooting intermittent shutdowns, and more. Each post builds on the core ideas introduced here, giving you practical steps you can follow right away.
Most Expensive Laptop Repair Parts - What Costs the Most to Fix?
Discover which laptop component costs the most to fix, from pricey motherboards to cheaper batteries, and learn how to keep repair bills low.