How to Service a Bathroom Fan: Easy DIY Steps
Ever notice your bathroom fan humming louder than usual or not pulling moisture out fast enough? A little maintenance can bring it back to life without calling a pro. Below you’ll find a practical, no‑nonsense guide that anyone can follow in under an hour.
Why Service Your Bathroom Fan?
A clean fan does three important jobs: it removes humidity, keeps mold at bay, and reduces the smell of soaps and shampoos. When dust, hair, and soap scum build up, the motor works harder, the noise goes up, and the airflow drops. Regular service not only saves energy but also extends the fan’s lifespan, meaning fewer surprise breakdowns and lower repair bills.
Step‑by‑Step Service Guide
1. Gather your tools. You’ll need a screwdriver (usually Phillips), a soft brush, a vacuum with a narrow nozzle, a mild detergent, a cloth, and a flashlight. No special equipment needed.
2. Turn off power. Safety first – switch off the circuit breaker or remove the fuse for the bathroom. Double‑check the fan is dead by giving it a quick tug; it shouldn’t spin.
3. Remove the cover. Most bathroom fans have a plastic or metal grille that snaps or screws off. Use the screwdriver if needed, then set the cover aside.
4. Clean the grille. Soak it in warm, soapy water for a few minutes, then scrub with the soft brush. Rinse and let it dry completely before re‑installing.
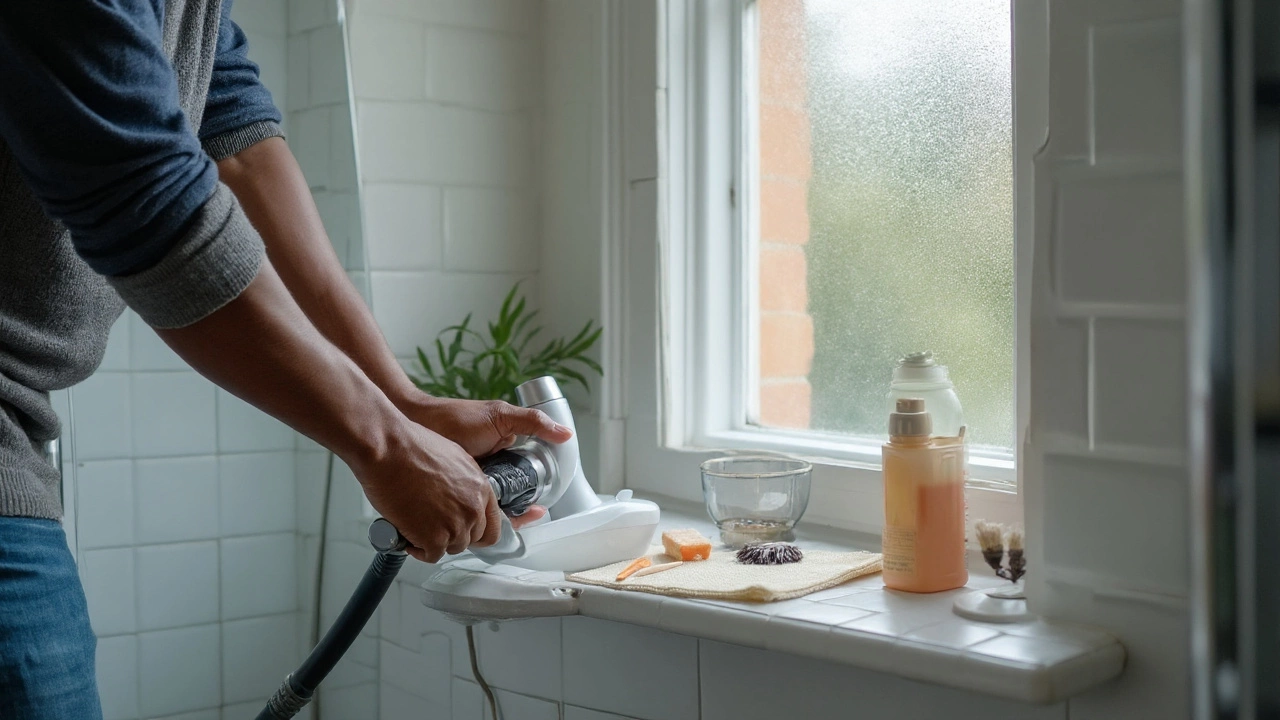
5. Vacuum the interior. Use the narrow nozzle to suck out dust from the motor housing and the duct entrance. A quick pass removes most of the buildup that chokes airflow.
6. Brush the fan blades. Gently wipe each blade with a damp cloth and a touch of mild detergent. Avoid getting water on the motor windings; a barely‑moist cloth is enough.
7. Check the motor. Spin the blades by hand – they should move freely. If you feel resistance or hear grinding, the motor may need lubrication or replacement. Most small fans aren’t serviceable beyond cleaning, so plan for a swap if the motor feels rough.
8. Inspect wiring. Look for loose connections, frayed insulation, or corrosion. Tighten any loose screws and replace damaged wires if you’re comfortable; otherwise, call an electrician.
9. Re‑assemble. Put the cover back on, secure any screws, and restore power at the breaker. Turn the fan on – you should notice a steadier, quieter flow.
10. Test airflow. Hold a piece of white paper in front of the grille; it should be pulled toward the fan. If the pull feels weak, the duct may be clogged. A quick duct clean‑out can be done with a flexible brush or by hiring a vent specialist.
That’s it! A monthly quick‑check and a deeper clean every six months keep most bathroom fans humming smoothly. If you ever notice a burning smell, sparks, or the fan refuses to turn on after cleaning, shut the power immediately and call a qualified electrician.
Regular service is cheap, easy, and keeps your bathroom fresh. Next time you step out of a shower and the room stays dry, you’ll know it’s thanks to your own hands.
How to Service a Bathroom Extractor Fan: Clean, Lubricate, and Boost Airflow
Fix foggy mirrors, smells, and noise. Learn how to service a bathroom extractor fan: clean, lube, check ducting, test airflow, and know when to replace.