Electric Oven Replacement: DIY Tips, Safety Rules, and Pro Help
Thinking about swapping out your old electric oven for a new one? It’s a big job, but with the right plan you can avoid costly mistakes. Below you’ll get the basics on what you need to check, when you can tackle the work yourself, and the red‑flags that mean it’s time to call an electrician.
Do You Really Need an Electrician?
In the UK, connecting a high‑power appliance like an electric oven usually involves a dedicated 13‑amp or 32‑amp circuit. If your existing wiring already has a properly sized, correctly labeled circuit, you might be able to do the swap yourself – but only if you’re comfortable turning off the main breaker, removing the old unit, and reconnecting the plug or hard‑wired terminals.
Here are three quick questions that tell you whether you need a pro:
- Is the oven hard‑wired? If it’s bolted directly to the wall outlet, you’ll need a qualified electrician to handle the live connections.
- Does the circuit match the oven’s rating? A 2‑kW oven demands more amperage than a 1‑kW model. Mismatched circuits can overload your fuse and cause a fire.
- Are you unsure about the wiring colour code? Modern UK wiring uses brown for live and blue for neutral, but older homes may have different colours. When in doubt, bring in an expert.
If you answered “yes” to any of those, call a certified electrician. It’s worth the extra cost to keep your home safe and stay within building regulations.
Step‑by‑Step Quick Replacement Checklist
When you’ve confirmed the wiring is suitable and you feel confident, follow this straightforward checklist. Keep a screwdriver, a voltage tester, and the oven’s manual handy.
- Turn off power at the consumer unit. Double‑check with a voltage tester that the socket is dead before you touch anything.
- Remove the old oven. Unscrew the mounting brackets, pull the unit out, and disconnect the plug or terminals. Note how the wires are attached.
- Check the cavity and surrounding area. Clean any debris, make sure the cut‑out matches the new oven’s dimensions, and seal any gaps to keep heat inside.
- Fit the new oven. Slide it into the cavity, level it with a spirit level, and secure it with the supplied brackets.
- Reconnect the power. If you have a plug, simply plug it in. For hard‑wired units, match live, neutral, and earth to the correct terminals and tighten securely.
- Test the oven. Turn the breaker back on, set the oven to a low temperature, and verify it heats up without tripping the circuit.
After you finish, keep the consumer unit label updated with the new oven’s details. This helps future homeowners or service technicians know the exact load on that circuit.
Even if you manage the swap yourself, a quick call to an electrician for a post‑install safety check can give you peace of mind. It’s a small price to pay for a safe kitchen.
Bottom line: you can replace an electric oven yourself if the wiring is right and you follow the safety steps. When anything feels uncertain, call a qualified electrician – it protects you, your family, and your home.
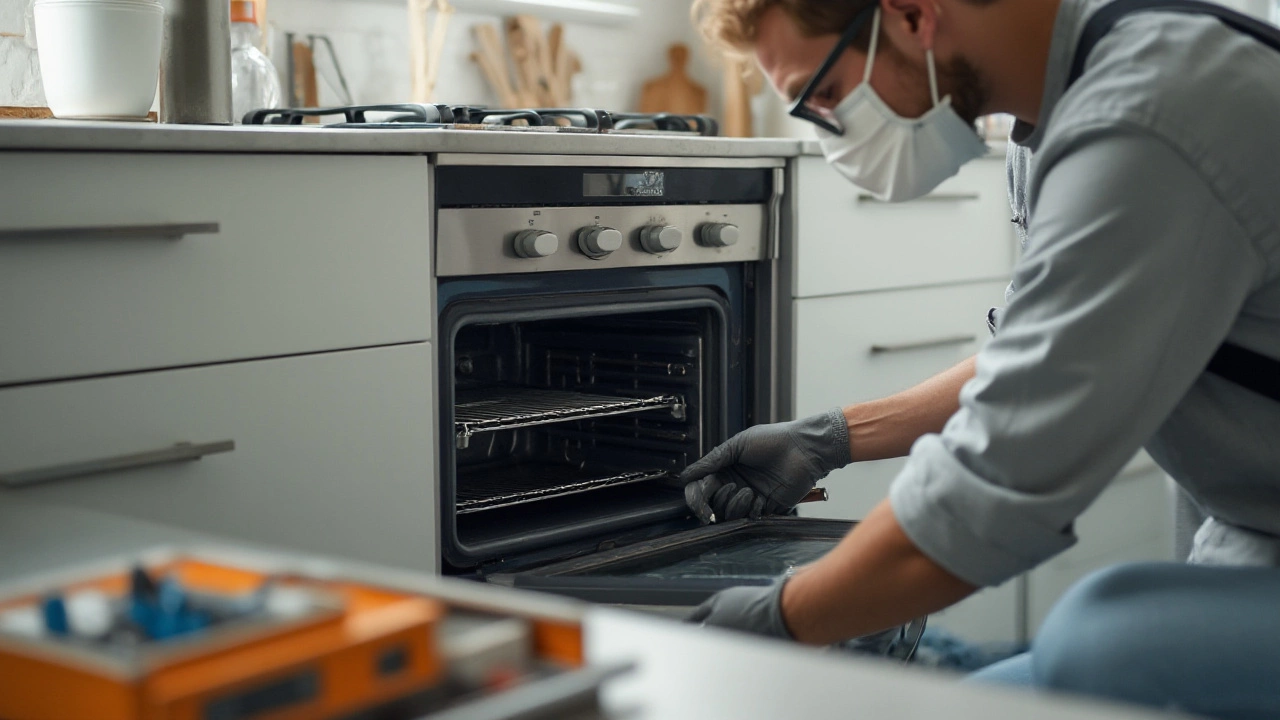
How to Safely Replace Your Electric Oven at Home
Replacing an electric oven yourself can be a feasible task with the right tools and precautions. This article explores the steps needed to safely and effectively carry out the replacement, from disconnecting the old unit to installing the new one. It highlights essential safety tips to consider and provides practical advice for DIY enthusiasts. Discover whether this project suits your skill level and how to ensure a successful installation.